Prevent an Allergic Reaction to Earrings: Expert Care Guide
Learn how to prevent an allergic reaction to earrings with expert cleaning tips, safe material grades, and maintenance routines for sensitive ears.

The Root Cause: True Metal Allergy vs. Biofilm Dermatitis
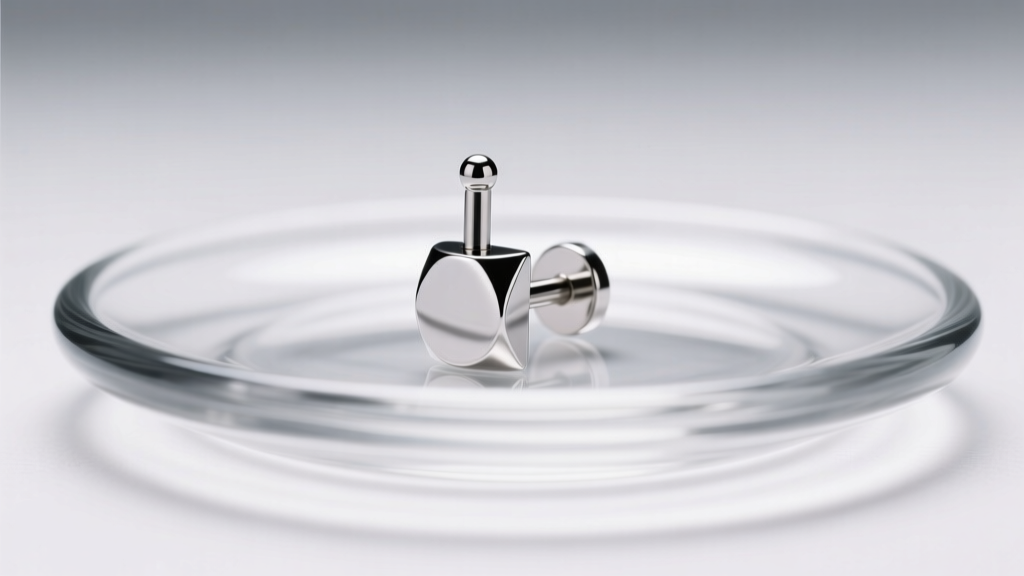
When your earlobes or cartilage become red, itchy, and swollen, the immediate assumption is often a metal allergy. However, as jewelry care specialists, we see that nearly 40% of what clients believe is an allergic reaction to earrings is actually irritant contact dermatitis caused by biofilm buildup. Understanding the difference is the first step in proper earring maintenance.
A true metal allergy is a Type IV delayed hypersensitivity response, most commonly triggered by nickel. The EU Nickel Directive strictly limits nickel release from jewelry to 0.5 µg/cm²/week, but many fast-fashion brands bypass these regulations. When nickel ions leach into the skin, they bind with proteins, triggering an immune response that results in weeping, crusting, and intense pruritus (itching).
Conversely, biofilm dermatitis occurs when sebum, dead skin cells, and cosmetic residue accumulate in the fistula (the piercing channel). This trapped organic matter breeds bacteria, leading to localized inflammation that perfectly mimics a nickel allergy. According to the Mayo Clinic, distinguishing between the two requires looking at the timing: true allergies typically flare up within 12 to 72 hours of exposure, while biofilm irritation builds gradually over weeks of inadequate cleaning.
Material Grades That Actually Prevent Reactions
If you are dealing with a confirmed nickel allergy, the term "hypoallergenic" is legally meaningless and should be ignored. You must look for specific metallurgical standards. Below is a breakdown of common earring materials and their safety profiles for sensitive ears.
| Material Grade | Nickel Content | Safety for Sensitive Ears | Average Price Range (Studs) |
|---|---|---|---|
| ASTM F136 Titanium (Ti-6Al-4V) | 0% (Nickel-Free) | Gold Standard. Biocompatible, ideal for fresh and healed piercings. | $30 - $85 |
| 316L Surgical Steel | 8% - 10% | Poor. The nickel is trapped in the alloy, but surface polishing can wear off, releasing ions. | $10 - $25 |
| Niobium (99.9% Pure) | 0% (Nickel-Free) | Excellent. Highly inert, though softer than titanium and prone to scratching. | $25 - $60 |
| 14k / 18k Yellow Gold | Trace to 0% | Good, provided it is alloyed with copper/silver and not zinc/nickel. | $80 - $250+ |
| White Gold (Standard) | 5% - 15% | High Risk. Often alloyed with nickel for whiteness; rhodium plating wears off in 6-12 months. | $90 - $300+ |
For the absolute safest option, the Association of Professional Piercers (APP) recommends implant-grade ASTM F136 titanium. This specific alloy is used in medical joint replacements and features a passive oxide layer that prevents ion leaching.
The 3-Step Cleaning Protocol for Sensitive Earlobes
To prevent both biofilm buildup and the degradation of your jewelry's protective passivation layer, you need a meticulous cleaning routine. Harsh scrubbing can actually strip the microscopic oxide layer on titanium, exposing the underlying aluminum and vanadium, which can cause localized irritation.
Step 1: Ultrasonic Cavitation (Weekly)
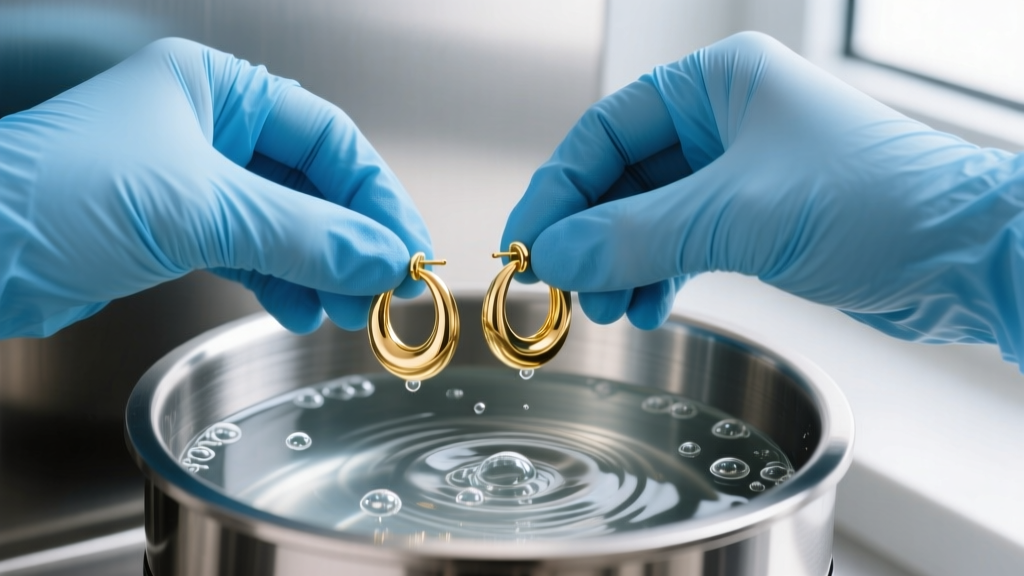
Invest in a 40kHz ultrasonic jewelry cleaner ($40-$120). Fill it with distilled water and a drop of mild, fragrance-free dish soap. The high-frequency sound waves create microscopic cavitation bubbles that implode against the jewelry, blasting away sebum from the microscopic crevices of earring posts and butterfly backs that cotton swabs simply cannot reach. Run the cycle for exactly 3 minutes. Any longer, and you risk vibrating gemstone settings loose.
Step 2: Sterile Saline Soak (Bi-Weekly)
After ultrasonic cleaning, soak the earrings in sterile 0.9% sodium chloride wound wash for 5 minutes. This isotonic solution neutralizes any remaining soap residue without altering the pH balance of the metal. Do not use homemade salt water, as table salt contains iodine and anti-caking agents that can cause micro-corrosion on lower-karat gold alloys.
Step 3: Complete Desiccation
Moisture is the enemy of the healing fistula. After rinsing, dry the earrings completely using a lint-free microfiber cloth or a hairdryer on the "cool" setting. Inserting a damp earring post traps water inside the piercing channel, creating a humid environment where Malassezia (a naturally occurring skin yeast) thrives, leading to itchy, flaky irritation.
Expert Warning: Never use 70% isopropyl alcohol or hydrogen peroxide to clean your earrings or your piercings. These astringents destroy the delicate epithelial cells lining the fistula, causing micro-tears and severe dryness that perfectly mimics an allergic reaction.
Barrier Methods and Earring Backs: What Works?
If you have a cherished pair of vintage earrings made of questionable alloys, you might consider barrier methods to prevent an allergic reaction to earrings. However, not all barriers are created equal.
- Clear Nail Polish: A pervasive internet myth. Nail polish contains toluene and formaldehyde, both of which are known contact allergens. Furthermore, it chips microscopically within 48 hours, creating jagged edges that tear the fistula and trap bacteria.
- Silicone O-Rings and Stoppers: Highly recommended. Replacing standard metal butterfly backs with medical-grade silicone stoppers ($8-$15 for a pack of 50) creates a physical barrier between the metal post and the back of your earlobe. Silicone is non-porous, hypoallergenic, and reduces the pressure necrosis often caused by tight metal clasps.
- PTFE (Teflon) Sleeves: For heavier gauge earrings (14g to 8g), slipping a biocompatible PTFE tube over the post acts as an invisible, frictionless shield that completely isolates the metal from the skin.
Troubleshooting an Active Flare-Up
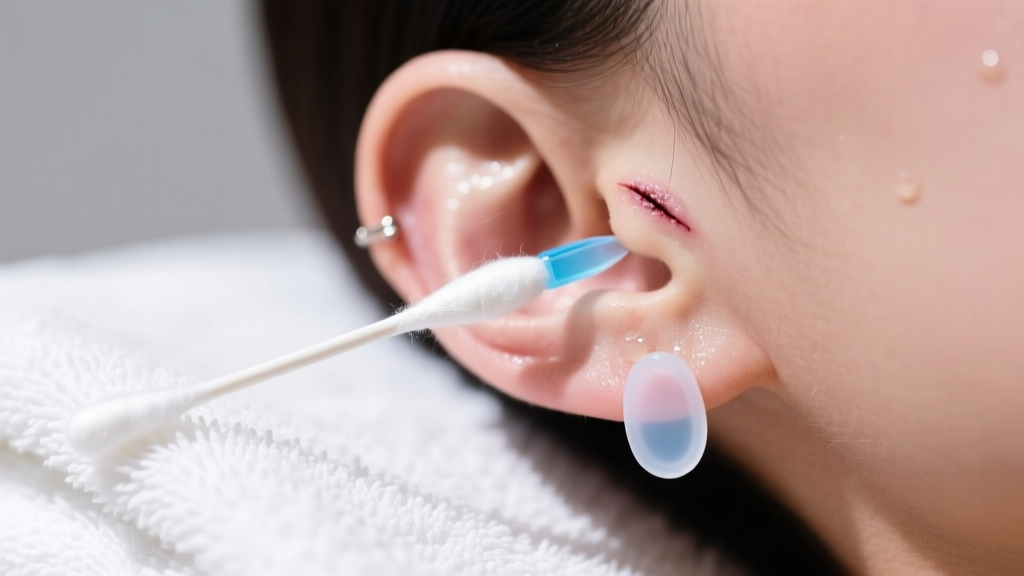
If you are currently experiencing an active allergic reaction to earrings, immediate intervention is required to prevent the piercing channel from rejecting or developing hypertrophic scarring.
- Remove the Offending Jewelry: Take out the earrings immediately. Do not leave the channel empty, or it will close within hours if the piercing is less than a year old.
- Downgrade the Gauge: If your ear is swollen, a standard 18-gauge (1.0mm) or 16-gauge (1.2mm) post will act like a cheese wire, cutting into the inflamed tissue. Swap to a 14-gauge (1.6mm) or even 12-gauge (2.0mm) ASTM F136 titanium labret stud to distribute the pressure and allow the edema (swelling) to subside.
- Topical Treatment: Apply a thin layer of 1% over-the-counter hydrocortisone cream to the exterior of the earlobe twice a day for no more than 5 days. Prolonged use thins the skin and delays healing.
- Saline Compresses: Soak a sterile non-woven gauze pad in warm saline and hold it against the earlobe for 5 minutes to draw out lymphatic fluid and soften any crusting.
Summary Checklist for Hypoallergenic Maintenance
Consistency is the key to keeping sensitive ears calm and healthy. Keep this quick-reference checklist in mind for your daily and weekly earring care:
- Verify all new jewelry is ASTM F136 Titanium, Niobium, or high-karat Yellow Gold.
- Ditch metal butterfly backs in favor of flat-back labrets or silicone stoppers.
- Use a 40kHz ultrasonic cleaner weekly to destroy hidden biofilm.
- Never sleep in earrings with protruding posts to avoid mechanical irritation and pressure necrosis.
- Avoid spraying perfume, hairspray, or dry shampoo directly onto your earrings, as the alcohol and propellants degrade metal finishes and irritate the fistula.
By treating your earrings as medical-grade devices rather than mere accessories, you can entirely eliminate the guesswork and discomfort associated with sensitive piercings. Proper material selection combined with rigorous, non-toxic cleaning protocols ensures your ears remain healthy, allowing you to wear your favorite styles without fear of an allergic reaction.