How to Put On Flat Back Earrings: An Expert Technical Guide
Learn exactly how to put on flat back earrings with our expert technical guide covering threadless, internally threaded, and gauge specifics.

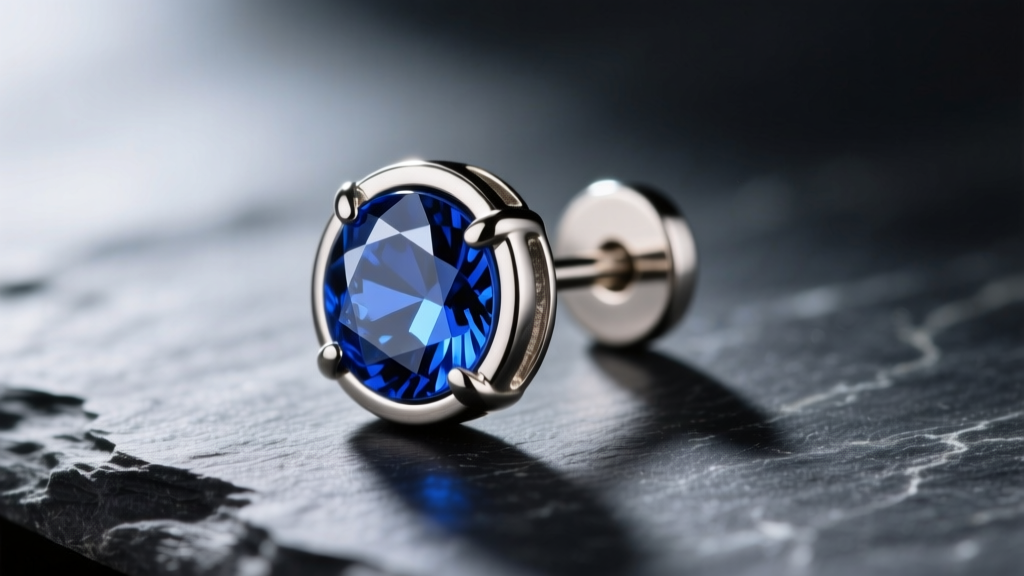
Flat back earrings, technically known as labret studs, have become the undisputed gold standard for both healed and healing piercings. Whether you are wearing them in a standard earlobe, a helix, a tragus, or a conch, their flush-fitting backplate eliminates the friction and pressure necrosis caused by traditional butterfly friction backs. However, the mechanics of inserting and securing them can be deeply frustrating for the uninitiated. Understanding how to put on flat back earrings requires a working knowledge of jewelry engineering, gauge tolerances, and tension dynamics.
In this expert deep dive, we bypass the generic advice and examine the precise technical methodologies for installing the two primary types of flat back jewelry: threadless (press-fit) and internally threaded systems. We will cover exact bending angles, taper utilization, and metallurgical standards to ensure your jewelry stays secure and your tissue remains healthy.
The Anatomy of Flat Back Earrings: Threadless vs. Threaded
Before attempting insertion, you must identify the mechanical coupling of your jewelry. The Association of Professional Piercers (APP) strictly recommends against externally threaded jewelry, as the sharp threads can tear the delicate fistula (the piercing channel) during insertion. Therefore, high-end flat backs utilize one of two internal coupling mechanisms:
- Threadless (Press-Fit): This system relies on the tension of a slightly bent pin that slides into a hollow post. The pin's bend creates outward pressure against the inner wall of the post, locking the gem top securely in place without any screwing mechanism.
- Internally Threaded: The threading is located on the pin of the decorative top, which screws into a tapped hole inside the hollow post. This provides a smooth post surface that glides through the piercing without causing micro-tears.
Gauge and Length Specifications You Must Know
A common failure point when learning how to put on flat back earrings is mismatching the jewelry dimensions to the piercing. Cartilage and lobe piercings require specific thicknesses (gauge) and depths (length) to accommodate tissue swelling and prevent embedding.
| Specification | Measurement (mm) | Primary Application |
|---|---|---|
| 18 Gauge | 1.0mm | Standard earlobes, nose piercings, delicate helixes |
| 16 Gauge | 1.2mm | Standard cartilage (helix, forward helix, tragus, conch) |
| 14 Gauge | 1.6mm | Industrial bars, thick lobes, specific conch placements |
| 5mm (3/16") | Post Length | Fully healed, flat earlobes |
| 6mm - 8mm (1/4" - 5/16") | Post Length | Healed cartilage, standard lobes |
| 10mm - 12mm (3/8" - 1/2") | Post Length | Fresh piercings, thick conches, swelling accommodation |
Step-by-Step: How to Put On Flat Back Earrings (Threadless)
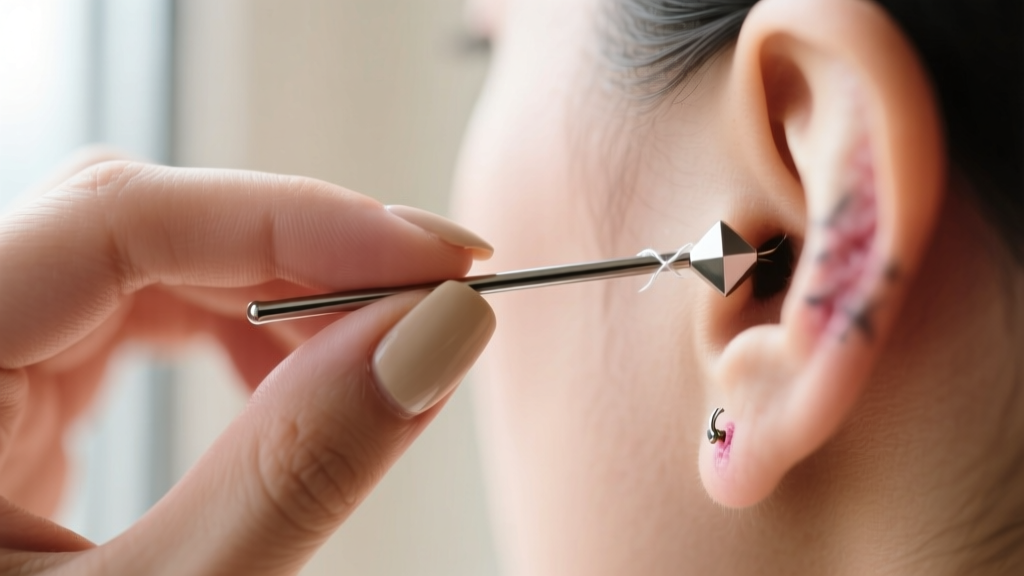
Threadless jewelry, popularized by brands like Neometal and BVLA, is favored for its security and ease of use once the technique is mastered. The secret to threadless tension lies entirely in the pin bend. For a comprehensive visual breakdown, you can also reference the official Neometal threadless insertion guide.
1. Preparation and Pin Bending
Wash your hands thoroughly and dry them completely. Moisture reduces friction, making it difficult to grip the tiny components. Take the decorative top and locate the straight pin. Using your thumb and forefinger, bend the pin slightly (approximately 10 to 15 degrees) about one-third of the way down from the tip. Do not bend it at the base of the gemstone, as this will weaken the joint and fail to create tension inside the post.
2. Post Insertion
Insert the hollow post through the back of your piercing. If the piercing is healed and slightly tight, use a sterile insertion taper lubricated with a drop of sterile saline or jojoba oil to guide the post through the fistula without catching on tissue.
3. Securing the Top
Align the bent pin with the opening of the hollow post on the front of the ear. Push the top firmly into the post. You should feel a distinct resistance as the bent section of the pin enters the shaft. Give the top a slight twist while pushing to ensure it seats fully against the post collar. Finally, perform a tension test: gently pull on the gem. If it slides out easily, remove it and bend the pin slightly more. If it requires significant force to remove, the tension is perfect.
Step-by-Step: How to Put On Flat Back Earrings (Internally Threaded)
Internally threaded flat backs require precise alignment to avoid cross-threading, which can permanently strip the microscopic threads inside the post.
1. Stabilizing the Post
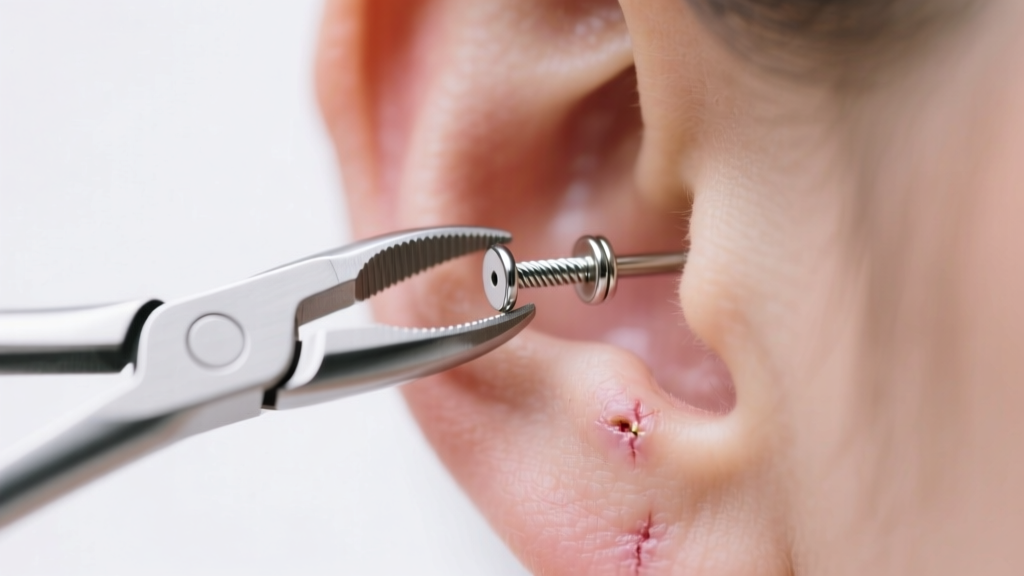
The greatest challenge with internally threaded jewelry is that the post will spin freely in the piercing channel, preventing you from tightening the front gem. To solve this, professional piercers use sterile, rubber-tipped hemostats or locking forceps to grip the flat backplate securely from behind the ear. If you are doing this at home, you can use a clean piece of medical tape to hold the backplate flush against your skin to prevent rotation.
2. Threading and Tightening
Insert the threaded pin of the decorative top into the front of the post. Turn the gem clockwise (righty-tighty). You must feel the threads catch smoothly. If you encounter immediate resistance, stop immediately. You are likely cross-threading. Back the pin out, realign it perfectly straight, and try again. Tighten until the gem is snug against the post collar, but do not overtighten to the point of stripping the metal.
Troubleshooting: Stuck Tops, Stripped Threads, and Swelling
Even with perfect technique, mechanical failures can occur. Here is how to troubleshoot common flat back earring emergencies:
- Threadless Top Won't Stay In: The pin is either not bent enough, or you are using an 18G top in a 16G post. Threadless pins are gauge-specific; an 18G pin will not create tension inside the wider shaft of a 16G post.
- Threadless Top is Stuck: Do not twist and pull. Threadless jewelry is removed by pulling straight out with a slight wiggling motion. Wear powder-free nitrile gloves to maximize your grip on the gemstone and the backplate.
- Internally Threaded Gem is Stripped: If the top spins endlessly without tightening, the internal threads are stripped. The post must be replaced. Attempting to use superglue or adhesives on body jewelry is highly dangerous and will cause severe contact dermatitis and infection.
- Post is Too Short (Embedding): If the skin is swelling over the flat backplate, the post length is insufficient. You must immediately upsize to a longer post (e.g., moving from 6mm to 8mm or 10mm) to accommodate the edema. Visit a professional piercer if you cannot swap it yourself.
Material Grades for Safe Long-Term Wear
Knowing how to put on flat back earrings is only half the battle; ensuring the material is biocompatible is the other. The jewelry market is flooded with misleading terms like 'surgical steel' or 'hypoallergenic.' As a technical consumer, you must look for specific ASTM (American Society for Testing and Materials) certifications.
For fresh piercings and long-term implant wear, ASTM F-136 Implant-Grade Titanium (Ti6Al4V ELI) is the absolute standard. It contains no nickel and is highly polished to a mirror finish, preventing bacterial adhesion. ASTM F-67 (Commercially Pure Titanium) is also acceptable but slightly softer. Avoid 316L Surgical Steel for any piercing that is not fully healed, as the nickel content can trigger localized allergic reactions and delay the healing process. For healed piercings, solid 14k or 18k nickel-free gold is an excellent, biocompatible alternative.
Final Expert Verdict
Mastering how to put on flat back earrings transforms your piercing maintenance from a frustrating chore into a seamless routine. By respecting the mechanical differences between threadless and internally threaded systems, utilizing proper insertion tools like tapers and nitrile gloves, and strictly adhering to implant-grade material standards, you ensure both the security of your jewelry and the longevity of your piercing. When in doubt, or if you encounter severe resistance, always defer to an APP-certified professional piercer rather than forcing the jewelry and risking tissue trauma.


