How to Remove Bell Back Earrings: A Beginner Guide
Learn exactly how to remove bell back earrings without pain or damage. Our beginner guide covers the La Pousette mechanism, stuck clasps, and safe removal.

Understanding the Bell Back (La Pousette) Mechanism
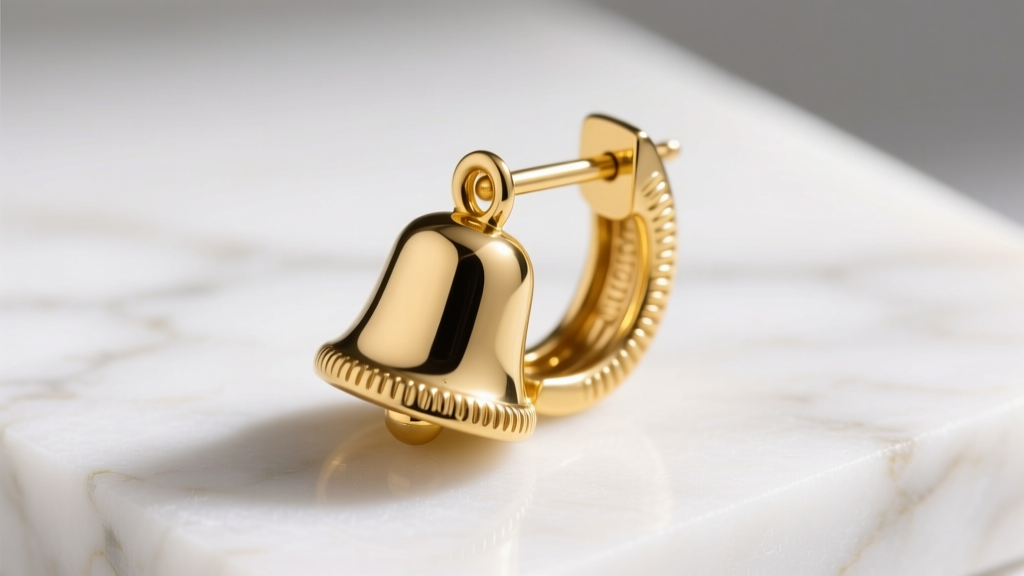
Getting your favorite diamond or gemstone studs stuck can induce instant panic, especially if you are dealing with high-security fasteners. Bell back earrings, often referred to by the original trademarked name La Pousette, are the gold standard for secure earring backs. Unlike standard friction backs (commonly known as butterfly clutches) that rely on the simple tension of bent metal against a grooved post, bell backs utilize an internal spring-loaded clutch mechanism. Inside the bell-shaped housing, tiny metal wings grip the earring post tightly. When you squeeze the outside of the bell, the internal wings retract, allowing the post to slide out smoothly.
Because this mechanism is entirely enclosed, it protects the locking components from accidental bumps, making it a favorite for active lifestyles and high-value jewelry. However, this same enclosed design is exactly why beginners often struggle when learning how to remove bell back earrings. Without the correct technique, you might find yourself pulling, twisting, and accidentally hurting your earlobe. This guide will walk you through the precise mechanics, proper removal techniques, and expert troubleshooting for when a clasp refuses to budge.
Step-by-Step: The Standard Pinch-and-Pull Method
Before attempting removal, always ensure your hands are freshly washed with antibacterial soap to prevent introducing bacteria to the piercing site. According to hygiene guidelines outlined by the Association of Professional Piercers, clean hands are the first line of defense against localized earlobe infections during jewelry manipulation.
1. Locate the Indented Grooves
Examine the bell back closely. You will notice two small, indented grooves or ridges on the sides of the bell housing. These are specifically designed for your thumb and index finger. Do not attempt to squeeze the smooth top or bottom of the bell, as the internal wings will not retract properly from those angles.
2. Apply Firm, Even Pressure
Place your thumb and index finger on the indented grooves. Squeeze firmly. You should feel a very subtle 'give' or click as the internal spring-loaded wings compress. If you have long or manicured nails, use the pads of your fingers rather than your nails to ensure maximum skin-to-metal friction.
3. Pull the Post Straight Out
While maintaining firm pressure on the bell housing, use your other hand to hold the front of the earring stud. Pull the post straight out in a smooth, steady motion. Never twist or wiggle the post while the clutch is engaged, as this can bend the post or damage the internal tension wings.
Troubleshooting: What If the Bell Back is Stuck?
If you are squeezing the grooves and the earring still will not release, do not resort to brute force. A stuck bell back is usually the result of one of three specific failure modes: debris lock, hair entanglement, or gauge mismatch.
Debris and Sebum Lock
The most common culprit is a buildup of sebum (natural skin oils), dead skin cells, and dried soap inside the bell housing. This debris can physically block the internal wings from retracting fully. To fix this, soak a cotton swab in warm water and a mild, fragrance-free antibacterial soap. Gently massage the soapy water into the seams of the bell back. Let it sit for three to five minutes to break down the oils, rinse with warm water, and try the pinch-and-pull method again.
Hair Entanglement
Fine hair can easily wrap around the earring post and wedge itself between the post and the internal clutch wings. If you suspect hair is the issue, use a magnifying mirror and a bright light. Take a clean, unused dental floss pick or a sewing needle and gently tease the hair out of the seam. Never pull the earring forcefully if hair is wrapped around the post, as this will tighten the knot and potentially rip the hair or damage the earlobe tissue.
The Pliers Method (For Bent Posts or Blown Springs)
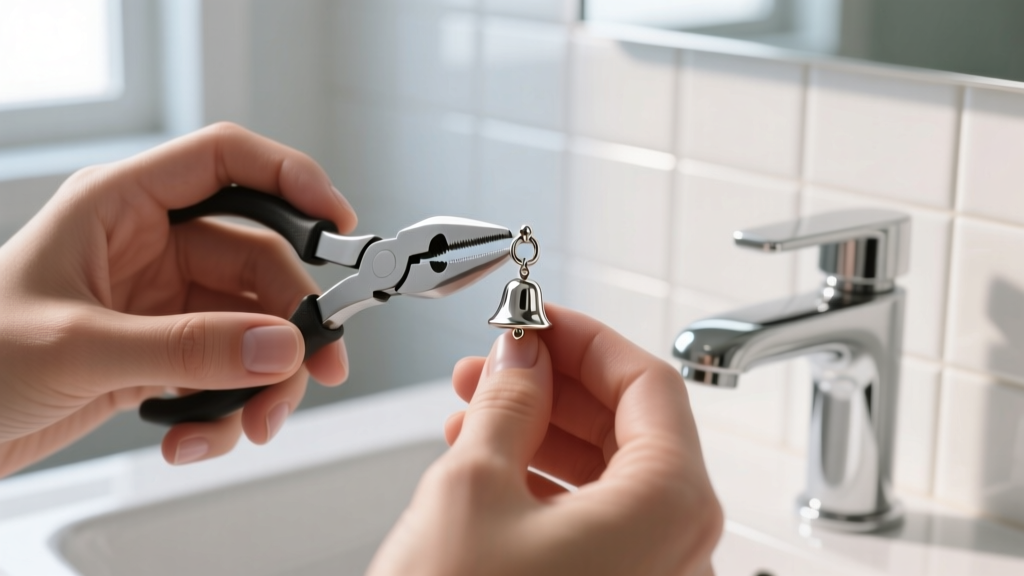
If the internal spring has failed or the post is slightly bent, manual finger pressure might not be enough. You can use jewelry pliers, but you must use nylon-jaw pliers or wrap the tips of standard needle-nose pliers in medical tape. Metal-on-metal contact will permanently scratch and mar precious metals like 14k gold or platinum. Grip the bell housing gently with the padded pliers to apply even, mechanical compression to the internal wings, while pulling the stud straight out with your other hand.
The Metallurgy of Earring Backs: Why Material Matters
Not all bell backs are created equal, and the metal alloy used heavily dictates how the spring mechanism performs over time. According to the Gemological Institute of America (GIA), the durability and hardness of gold jewelry depend on its alloyed metals. Pure 24k gold is far too soft to hold a spring-loaded tension wing; it would warp after a single use.
High-quality bell backs are typically cast in 14k gold. The higher percentage of alloy metals (like copper, silver, and zinc) in 14k gold provides the necessary tensile strength and 'memory' for the internal spring wings to snap back into place repeatedly without suffering from metal fatigue. Cheaper, mass-produced bell backs made from base metals or low-grade silver often suffer from 'spring blowout,' where the internal wings lose their tension, rendering the security feature useless. When purchasing replacement bell backs, always verify the karat weight and ensure they match the post material to prevent galvanic corrosion.
Bell Backs vs. Other Earring Backs: A Comparison
To understand where bell backs fit into your jewelry wardrobe, it helps to compare them against other common fastening mechanisms. Below is a structural and functional comparison of the most popular earring backs on the market.
| Back Type | Security Level | Ease of Removal | Typical Price Range (per pair) | Best Use Case |
|---|---|---|---|---|
| Bell Back (La Pousette) | Very High | Moderate (Requires technique) | $25 - $60 (14k Gold) | High-value diamonds, active wear |
| Friction Push (Butterfly) | Low to Moderate | Very Easy | $5 - $15 | Everyday casual wear, fashion jewelry |
| Screw Back | High | Moderate (Requires twisting) | $20 - $45 | Children's earrings, sleepers |
| Locking Lobe Guards | High | Easy (Slide and click) | $10 - $25 (Silicone/Metal) | Preventing drooping in heavy earrings |
Crucial Gauge Sizing: Avoiding Permanent Damage
A frequent mistake beginners make is attempting to use a bell back on an incompatible earring post. Earring posts are manufactured in specific gauges, most commonly 20-gauge (0.8mm) and 18-gauge (1.0mm), with some heavier pieces using 16-gauge (1.2mm). Bell backs are precision-engineered to fit one specific gauge.
If you attempt to force a 20-gauge bell back onto a thicker 18-gauge post, you will permanently stretch and break the internal spring wings. Conversely, using an 18-gauge bell back on a 20-gauge post will result in a loose fit that defeats the purpose of the security clasp. Always check the manufacturer's specifications for both the earring post and the bell back to ensure a flawless, safe fit.
Routine Maintenance for Long-Lasting Security
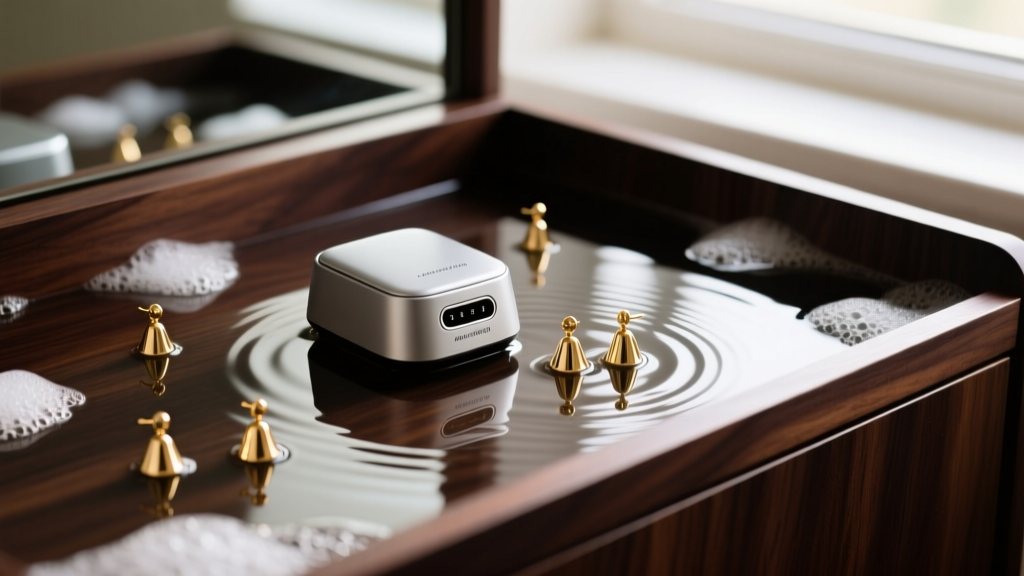
To ensure your bell backs continue to function perfectly for decades, they require periodic maintenance. Once a month, place your bell backs in a small ultrasonic jewelry cleaner filled with a mild, ammonia-free jewelry cleaning solution. The high-frequency sound waves will dislodge microscopic debris from deep within the clutch housing that cotton swabs cannot reach.
Additionally, always remove your earrings before swimming in chlorinated pools or using harsh chemical hair treatments. Chlorine can cause microscopic pitting in gold alloys, weakening the structural integrity of the tiny internal springs. After applying hairspray or perfume, wait for the product to dry completely before inserting your earrings, as the alcohol and resins in these cosmetics can create a sticky film inside the bell housing that attracts dust and locks the mechanism.
Expert Tip: The Post Notch Alignment
When re-inserting your bell back, pay attention to the small notch carved into the earring post. This notch is where the internal wings lock into place. If you push the bell back on backward (with the smooth side of the post facing the wings), the clasp will still hold via friction, but it will not 'click' into the locked position, severely compromising its security. Always ensure the notched groove aligns with the internal clutch.
When to See a Professional Jeweler
If you have tried the warm soapy soak, the dental floss pick, and the nylon-jaw pliers without success, it is time to stop. Continuing to force a stuck bell back can result in a bent post, a torn earlobe, or a completely shattered earring setting. Take the piece to a licensed, professional jeweler. Jewelers possess specialized micro-lubricants and precision jeweler's saws that can safely cut through a seized post or dismantle a broken clutch without damaging the precious metal or gemstones of the earring face. Mastering how to remove bell back earrings takes a little practice, but once you understand the mechanics, they remain the most secure and rewarding fastening system in fine jewelry.


