How to Take Off Earrings With Butterfly Backs Without Damage
Learn how to take off earrings with butterfly backs safely. Discover removal techniques, hidden costs of stuck backs, and high-value upgrade options.

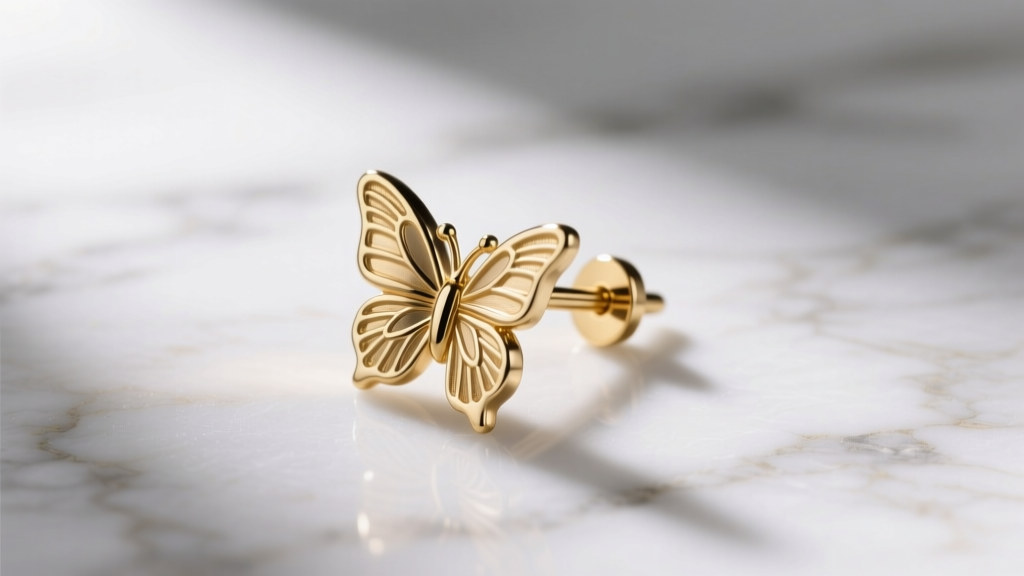
There is a distinct, sinking feeling that every jewelry lover knows well: you pinch the metal wings of your earring back, pull gently, and nothing happens. You pull harder, and the post digs painfully into your earlobe, but the clutch refuses to budge. Learning how to take off earrings with butterfly backs without causing tissue trauma or destroying the earring post is a critical skill for anyone wearing standard stud earrings.
From a budget and value assessment perspective, the humble butterfly back (or friction back) is a paradox. It is the most common, inexpensive earring backing in the world, yet it is responsible for thousands of dollars in lost jewelry, ruined precious metal posts, and even urgent care medical bills every year. In this guide, we will break down the exact mechanics of removing stubborn butterfly backs, analyze the hidden financial costs of cheap earring hardware, and provide a framework for upgrading to high-value alternatives that protect your jewelry investment.
The True Cost of Standard Butterfly Backs
When evaluating jewelry on a budget, consumers rarely factor in the "failure rate" of the hardware. A standard butterfly back relies on two small metal loops that grip the grooved notch on a 20-gauge or 18-gauge post. Over time, skin acids, sebum, and soap residue calcify inside these grooves. Furthermore, cheap brass or copper-alloy backs often oxidize, creating a microscopic layer of corrosion that essentially cements the back to the post.
Below is a budget impact assessment comparing the low upfront cost of friction backs against the potential hidden expenses they generate over a five-year period.
| Expense Category | Average Cost | Value & Risk Assessment |
|---|---|---|
| Standard Brass Butterfly Back | $0.10 - $0.50 | High failure rate; prone to corrosion and tension loss. |
| Replacement 14k Gold Stud | $150 - $350 | High financial loss if the back fails and the earring drops. |
| Professional Piercer Removal | $25 - $50 | Safe extraction; prevents tissue tearing and post gouging. |
| Urgent Care / ER Extraction | $300 - $1,500+ | Extreme cost for embedded metal requiring local anesthetic. |
As the data shows, the initial savings of using cheap friction backs are quickly negated if a backing fails or becomes irreversibly stuck. According to the Association of Professional Piercers (APP), low-quality metal alloys not only cause contact dermatitis but also degrade rapidly in the body's micro-environment, increasing the likelihood of the hardware seizing up entirely.
Step-by-Step: How to Take Off Earrings With Butterfly Backs
If your earring back is stuck, do not resort to brute force. Yanking the post can tear the delicate fistula (the piercing hole) or bend a soft 14k or 18k gold post, rendering the earring unwearable. Follow this progressive removal framework.
Phase 1: Lubrication and Softening
Most stuck backs are bound by dried sebum and dead skin cells. Your first step is to break down this biological glue.
- The Warm Compress: Soak a clean cotton pad in warm (not hot) water and hold it against the earlobe and the back for three to five minutes. This softens the skin and expands the metal slightly.
- Targeted Lubrication: Apply a drop of sterile jojoba oil, vitamin E oil, or even a mild liquid soap directly to the junction where the post meets the butterfly back. Gently twist the back back and forth (never pull straight out yet) to work the lubricant into the groove.
Phase 2: The Friction Grip Method
Fingers often slip off smooth metal, leading to pinched skin and frustration. To maximize your grip without using damaging tools, use a pair of clean, textured nitrile or latex medical gloves. The rubber provides immense friction, allowing you to firmly grasp the tiny wings of the butterfly back and the front of the earring stud simultaneously. Twist in opposite directions while applying gentle, steady outward pressure.
Phase 3: Tool-Assisted Extraction (For Deeply Grooved Posts)
If the glove method fails, you must use tools. However, you must protect the earring's value.
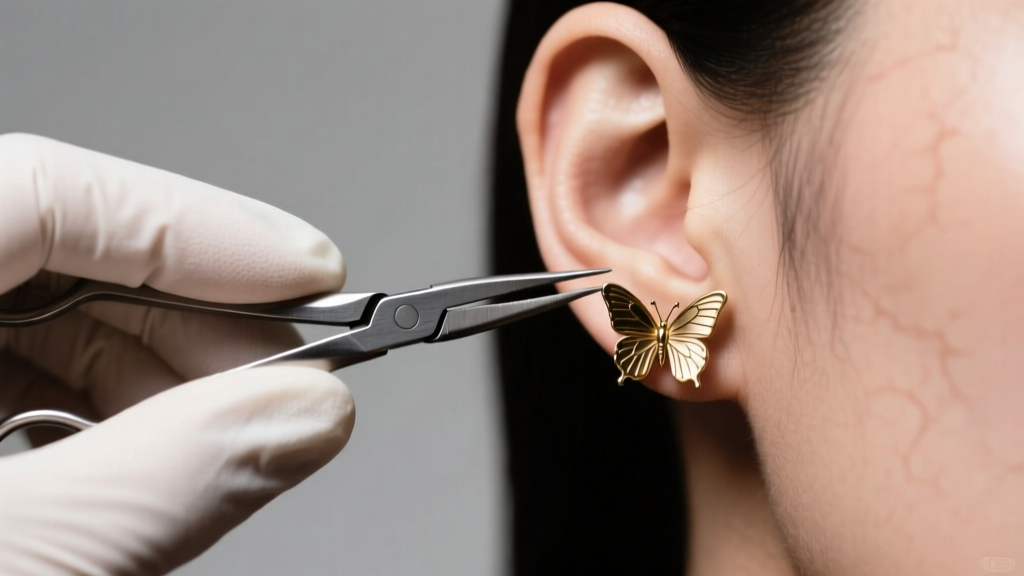
Use a pair of miniature needle-nose pliers with smooth, un-serrated jaws (or wrap the jaws in a layer of medical tape to prevent scratching). Grip the butterfly back firmly with the pliers while holding the front stud steady with your gloved fingers. Apply a gentle rocking motion—up and down, not side to side—to walk the back over the post's groove. Never use bare metal pliers directly on a gold or silver post, as the tool will easily gouge the soft precious metal and destroy the threading or notch.
Troubleshooting: When the Back is Embedded
Sometimes, the issue is not a stuck back, but an embedded back. This occurs when the earring post is too short for the earlobe, or when swelling forces the skin to grow partially over the metal wings of the butterfly back.
"If you cannot see the gap between the earring back and the skin, or if the tissue is red, hot, and swollen over the metal, stop immediately. The backing is embedded. Attempting to dig it out at home introduces staph bacteria and guarantees scarring."
In an embedded scenario, the value of your earring is secondary to the health of your tissue. The most cost-effective and safe route is to visit a reputable professional piercer or an urgent care clinic. A piercer can use a sterile taper and specialized ring-opening pliers to safely separate the hardware from the tissue for a nominal fee ($25-$50), saving you from a massive emergency room bill and permanent keloid scarring. For more on recognizing piercing complications, refer to guidelines from Healthline's piercing aftercare resources.
Upgrading Your Backs: Long-Term Value & Budget Alternatives
Once you have successfully removed your stuck butterfly backs, the smartest financial move is to retire them. Upgrading your earring hardware is a high-ROI (Return on Investment) decision that prevents lost diamonds, dropped gold, and future extraction fees. Here is a value assessment of superior alternatives.
1. Silicone O-Rings (The Budget Champion)
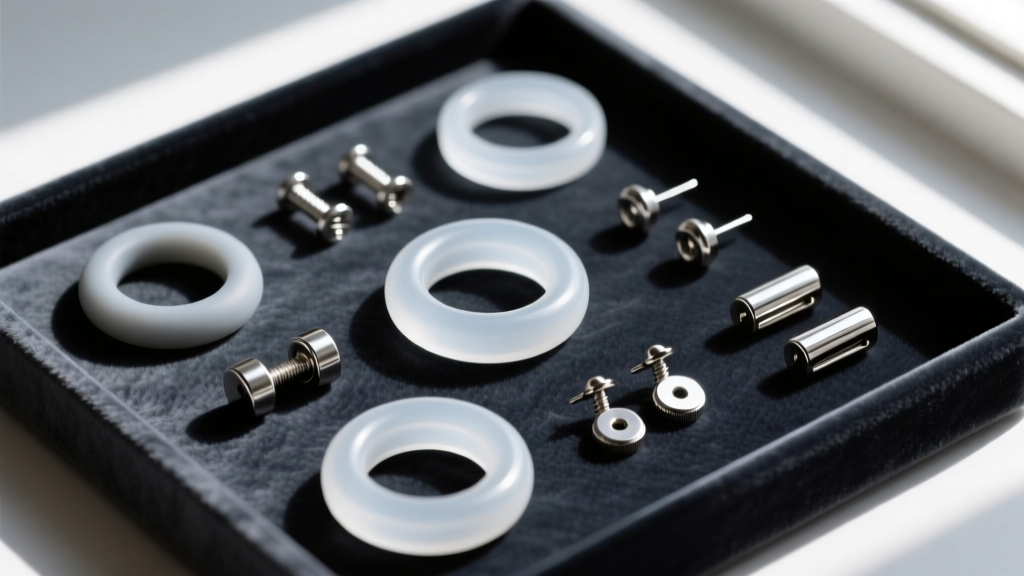
For everyday wear and budget-conscious collectors, medical-grade silicone O-rings are a revelation. They slide onto standard 20G and 18G posts and grip via friction and material tackiness.
- Cost: $5 to $10 for a pack of 50.
- Pros: Hypoallergenic, extremely secure, comfortable for sleeping, and completely eliminates metal-on-metal corrosion.
- Cons: They degrade over 6-12 months and need replacing. They can also trap moisture if not dried properly after showering.
2. Threaded Screw-Backs (The Mid-Tier Workhorse)
Screw-backs replace the friction groove with a threaded post and a backing that screws on. They are the gold standard for high-value diamond and gemstone studs.
- Cost: $20 to $60 per pair (requires buying posts and backs together).
- Pros: Near-zero loss rate. The mechanical threading ensures the back cannot be pulled off accidentally.
- Cons: Threading can cross-thread if forced, and dirt can get stuck in the threads, requiring a soft toothbrush to clean.
3. La Pousette / Locking Backs (The Premium Investment)
Originally designed in France, La Pousette backs feature a tiny mechanical locking system with two side tabs that snap securely into a grooved post. They are the ultimate insurance policy for luxury jewelry.
- Cost: $60 to $150+ per pair (often crafted in 14k/18k gold or platinum).
- Pros: Unmatched security, elegant mechanical design, and maintains the resale value of high-end earrings by ensuring they are never lost.
- Cons: High upfront cost and requires a specific, deeply grooved post to function correctly.
Maintenance Framework to Maximize Earring Lifespan
To ensure your earring hardware maintains its value and remains easy to remove, implement this simple bi-weekly maintenance routine:
- The Alcohol Wipe: Every two weeks, wipe down your earring posts and the inside of your metal backs with a 70% isopropyl alcohol pad. This dissolves sebum and skin acids before they can calcify in the grooves.
- The Tension Check: If using metal butterfly backs, check the tension of the wire loops. If they have flattened out and no longer "click" securely over the post groove, discard them immediately. A loose back is a lost earring waiting to happen.
- Material Upgrades: Transition your everyday studs to implant-grade titanium (ASTM F-136). Titanium does not contain nickel or copper, meaning it will never oxidize, turn green, or fuse to your earring back due to chemical corrosion.
Final Value Takeaway
Knowing how to take off earrings with butterfly backs safely is an essential troubleshooting skill, but it is ultimately a reactive one. By understanding the hidden costs of cheap friction hardware—ranging from ruined precious metal posts to expensive medical extractions—you can make proactive, budget-savvy upgrades. Investing a few dollars in silicone O-rings or upgrading to threaded screw-backs protects your jewelry collection, preserves your earlobe health, and ensures that taking your earrings off at the end of the day is a seamless, painless experience.


