How to Take Off an Earring With a Flat Back: Expert Guide
Learn how to take off an earring with a flat back safely. Expert troubleshooting for stuck labret studs, cartilage jewelry, and threaded backs.

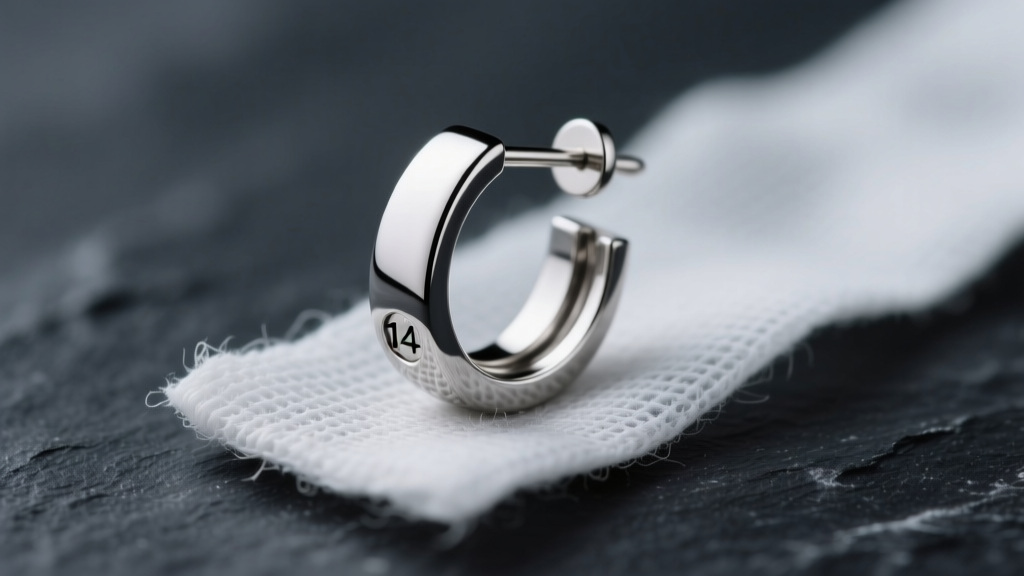
Understanding Flat Back Earrings (Labret Studs)
Flat back earrings, widely known in the professional piercing community as labret studs, are the gold standard for cartilage piercings. Whether you are sporting a helix, tragus, conch, or flat piercing, the flat disc rests flush against the back of the ear, minimizing snagging and preventing the jewelry from embedding into the skin while you sleep. However, when it is time to downsize or change your jewelry, many people find themselves asking how to take off an earring with a flat back without causing trauma to the delicate fistula (the piercing channel).
The difficulty usually stems from the jewelry's threading mechanism, the gauge of the post, and the natural buildup of biological matter. To troubleshoot effectively, you must first identify whether your jewelry is internally threaded, externally threaded, or entirely threadless (push-pin). According to the Association of Professional Piercers (APP), high-quality body jewelry should be crafted from implant-grade titanium (ASTM F-136), which is highly biocompatible but can be prone to thread-binding if mishandled.
Why Your Flat Back Earring is Stuck
Before applying brute force, it is crucial to understand why the earring refuses to budge. Cartilage piercings, typically done at 16-gauge (1.2mm) or 14-gauge (1.6mm), have very little blood flow compared to earlobes. This means they heal slower and are more prone to trapping debris.
1. Sebum and Dead Skin Cement
The most common culprit is a mixture of sebum (natural skin oils), dead skin cells, and hardened soap residue that accumulates exactly where the front decorative end meets the post. Over months of wear, this biological mixture acts like a literal cement, locking the two pieces together.
2. Cross-Threading and Metal Galling
If you recently had the jewelry inserted and it feels completely fused, it may be cross-threaded. Titanium is a relatively soft metal. If the front end was screwed onto the post at an incorrect angle, the threads can strip and bind together—a phenomenon known as metal galling. When this happens, the microscopic ridges of the male and female threads essentially weld themselves together under pressure.
3. Overtightening
Piercers often tighten threaded jewelry securely to prevent it from falling out during the initial healing phase. Without the proper grip, human fingers simply cannot generate enough torque to break that initial seal.
Step-by-Step: How to Take Off an Earring With a Flat Back
If your jewelry is threaded (either internal or external), follow this precise protocol to safely remove it. Never attempt this immediately after waking up or right out of a hot shower when the cartilage is swollen and tender.
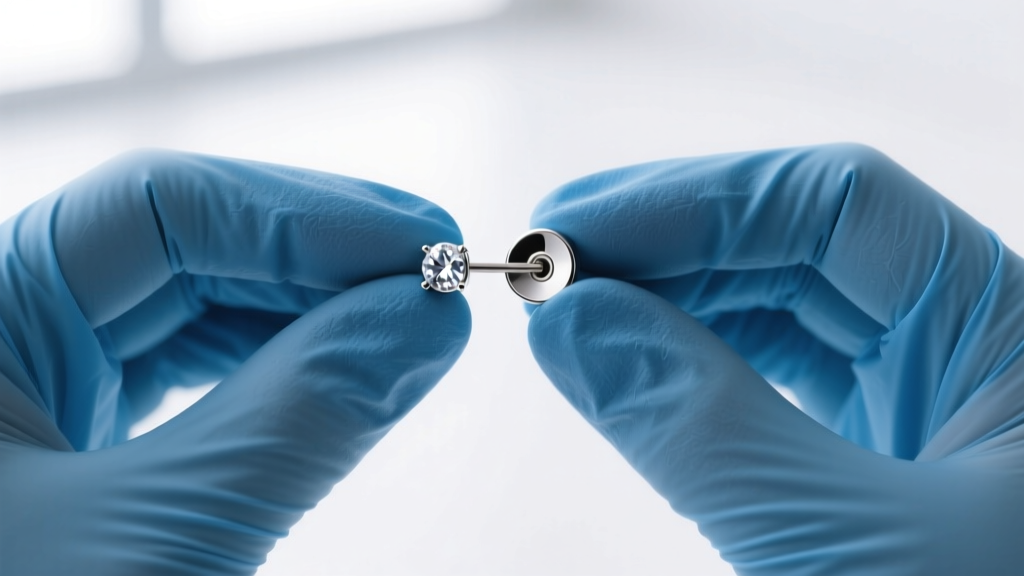
Step 1: Soften the Debris
Soak a sterile cotton pad in warm, sterile saline wound wash (0.9% sodium chloride). Hold it against the front and back of the earring for 3 to 5 minutes. This softens the hardened sebum and crusties that are acting as an adhesive.
Step 2: Secure Your Grip
Finger grease is the enemy of jewelry removal. Wash your hands thoroughly, then put on a pair of powder-free nitrile or latex gloves. The rubber texture provides the necessary friction to grip smooth metal or gemstone settings without slipping.
Step 3: The Push-and-Twist Technique
With your gloved non-dominant hand, reach behind your ear and place your index finger flat against the back disc to stabilize it. With your dominant hand, grip the front decorative end firmly. Apply a very slight inward pressure (pushing toward the disc) while turning the front piece counter-clockwise. The inward pressure prevents the threads from crossing and catching as they unspool.
Troubleshooting Guide: When It Will Not Budge
If the nitrile glove trick fails, do not panic and do not use standard metal pliers, which will permanently scratch your titanium jewelry and introduce nickel or rust into the piercing channel. Refer to the troubleshooting matrix below.
| Problem Identified | Immediate Solution | Tools Required |
|---|---|---|
| Slipping Grip on Gemstone | Use a silicone jar opener pad or thick rubber band wrapped around the gem for extreme friction. | Silicone pad, rubber band |
| Hardened Sebum Cement | Soak the ear in a small cup of warm water and sterile saline for 10 minutes to dissolve the bond. | Shot glass, sterile saline |
| Stripped or Galled Threads | Use locking hemostats (mosquito forceps) with silicone tubing over the jaws to grip the flat back disc while twisting the front. | Locking hemostats, silicone tubing |
| Pain or Swelling During Twist | Stop immediately. Apply a cold compress to reduce cartilage inflammation, then try again in 24 hours. | Ice pack, clean cloth |
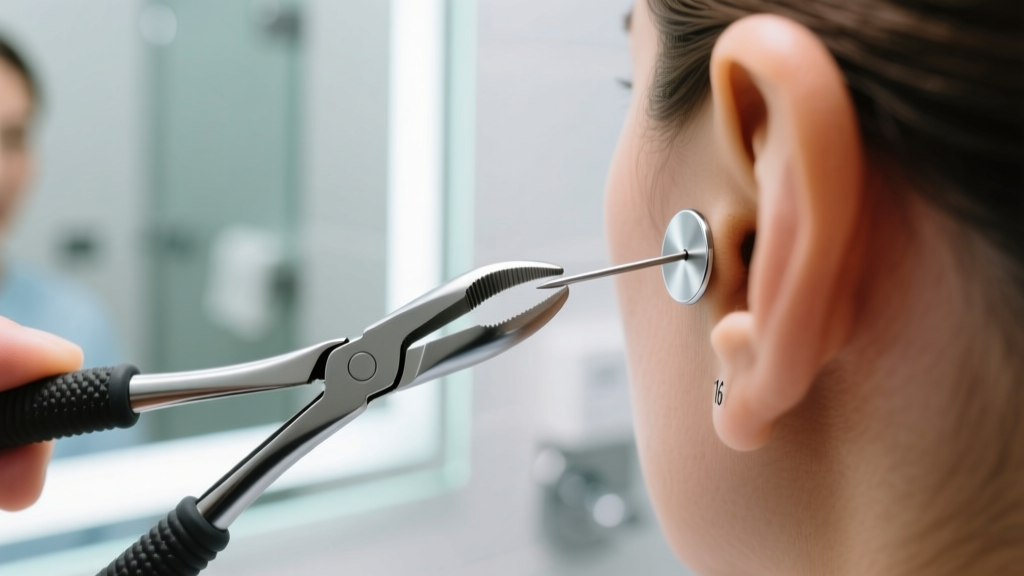
When using locking hemostats, ensure you clamp onto the flat disc on the back of the ear, not the decorative front. The disc provides a wider, safer surface area for the tool to grip without crushing delicate gemstone settings. Always slide a piece of medical-grade silicone tubing over the metal jaws of the hemostat before clamping down; this protects the jewelry's mirror finish from permanent tool marks.
The Threadless (Push-Pin) Exception
Not all flat back earrings twist. Threadless jewelry, often branded as NeoMetal or BVLA, relies on tension rather than threads. A small pin on the back of the decorative end is slightly bent (usually at a 15 to 30-degree angle) before being pushed into the hollow post. The natural spring-back of the titanium creates immense outward tension against the inside wall of the post.
If you are wondering how to take off an earring with a flat back that has no visible threads, twisting will only damage the internal mechanism. Instead, you must pull. Grip the front gem with one hand and the back disc with the other. Pull firmly in opposite directions. It requires a surprising amount of force, and you may feel a sudden "pop" as the bent pin clears the internal lip of the post. If the jewelry is deeply embedded due to swelling, wrap dental floss around the post behind the gem to create a pulling handle, as recommended by many professional piercers.
Preventing Future Flat Back Disasters
Once you have successfully removed the jewelry, take proactive steps to ensure your next change is seamless. The Cleveland Clinic emphasizes that proper hygiene and material selection are paramount for long-term piercing health.
- Lubricate the Threads: Before inserting a new threaded end, apply a microscopic dab of jojoba oil or vitamin E oil to the threads. This prevents metal galling and makes future removal significantly easier.
- Upgrade to Threadless: If you struggle with small threaded ends, switch to threadless (push-pin) jewelry. The tension fit is incredibly secure but much easier to remove with a firm pull, eliminating cross-threading risks entirely.
- Routine Maintenance: Every time you clean your piercing with sterile saline, gently rotate the front end (if threaded) by a quarter turn to break up any microscopic sebum buildup before it hardens into cement.
When to See a Professional Piercer
There is a fine line between troubleshooting and causing tissue damage. If your cartilage becomes hot to the touch, throbs persistently, or if the skin begins to grow over the flat disc (embedding), stop your at-home removal attempts immediately. Visit an APP-certified professional piercer. They possess specialized tools, such as taper pins, insertion tapers, and sterile hemostats, to safely dismantle the jewelry without tearing the fistula or causing a cartilage flare-up. Remember, a minor service fee at a reputable studio is vastly preferable to treating a severe ear infection or a torn piercing channel.


