How to Remove Starter Earrings Safely: An Expert Technical Guide
Learn exactly how to remove starter earrings safely with our expert technical guide. Master butterfly clutch, flat-back, and threadless removal methods.

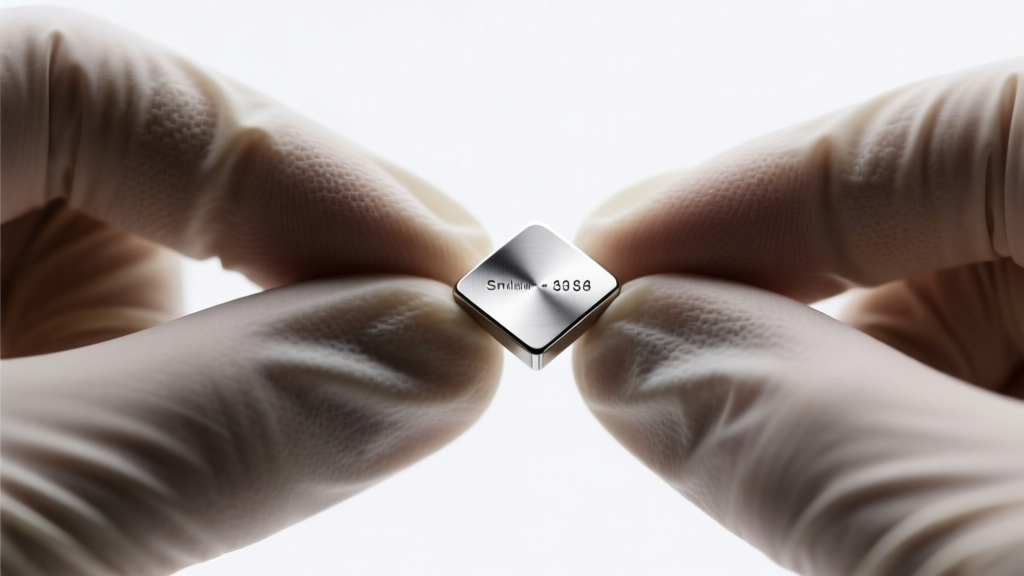
Learning how to remove starter earrings is a critical milestone in your piercing journey, yet it remains one of the most common points of failure for newly pierced individuals. Whether you are transitioning from a standard lobe piercing to a curated ear, or swapping out a cartilage flat-back for a customized end, the initial removal process requires precision, an understanding of jewelry mechanics, and strict hygiene protocols. In this expert deep dive, we bypass the generic advice and examine the technical realities of starter jewelry removal, addressing specific gauge tolerances, clasp friction coefficients, and tissue management.
The Anatomy of Starter Earrings: Why They Get Stuck
Starter earrings are engineered with a primary directive: to remain securely in place during the acute inflammatory phase of healing. This design priority inherently makes them difficult to remove. According to the Association of Professional Piercers (APP), standard starter posts are often longer than necessary to accommodate initial swelling, which creates a leverage problem when attempting to grip the clasp.
Furthermore, the metallurgy and gauge thickness play a massive role in removal difficulty. Most commercial mall-kiosk starters are 20-gauge (0.8mm) or 18-gauge (1.0mm) 316L stainless steel. The thinner the post, the more it bends under the pressure of removal. In contrast, professional studio starters are typically 16-gauge (1.2mm) or 14-gauge (1.6mm) implant-grade titanium (ASTM F136), which offers superior rigidity but requires a firm, calculated grip to disengage the high-friction clasps.
Preparation: Sterilization and Swelling Reduction
Before attempting to learn how to remove starter earrings, you must prepare the tissue and the environment. Attempting removal on dry, crusted tissue will result in micro-tears inside the fistula (the piercing tunnel).
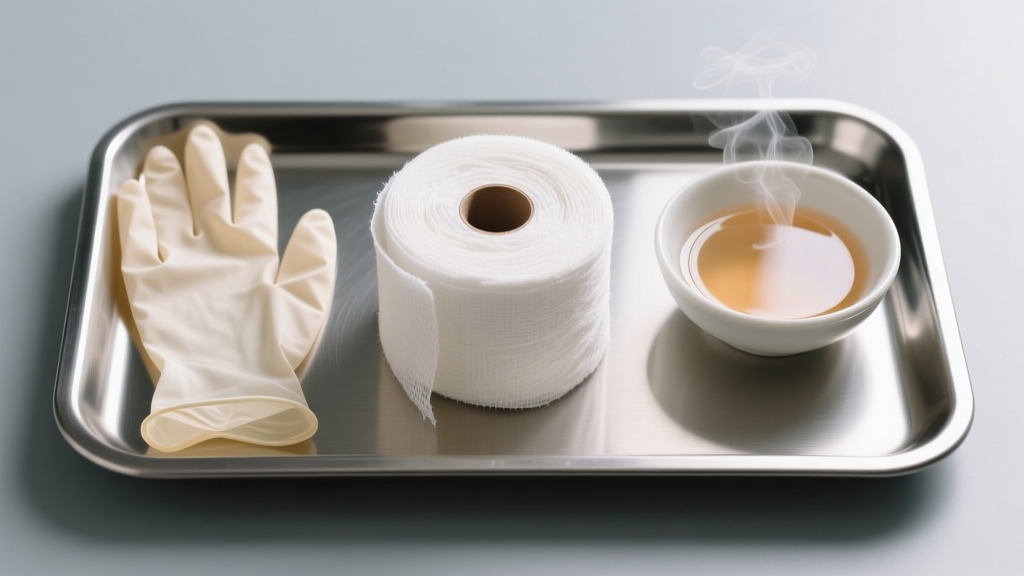
- Saline Softening: Soak a sterile non-woven gauze in warm, isotonic sterile saline (0.9% sodium chloride). Apply it to the piercing for 3 to 5 minutes. This softens the lymphatic crusties that effectively glue the clasp to the skin.
- Thermal Expansion: A warm compress increases local blood flow and slightly expands the metal post, reducing the friction coefficient between the jewelry and the swollen tissue.
- The Grip Factor: Skin oils and saline make metal slippery. The single most effective professional trick is wearing powder-free nitrile gloves. The nitrile texture provides the necessary torque to twist and pull without slipping and damaging the tissue.
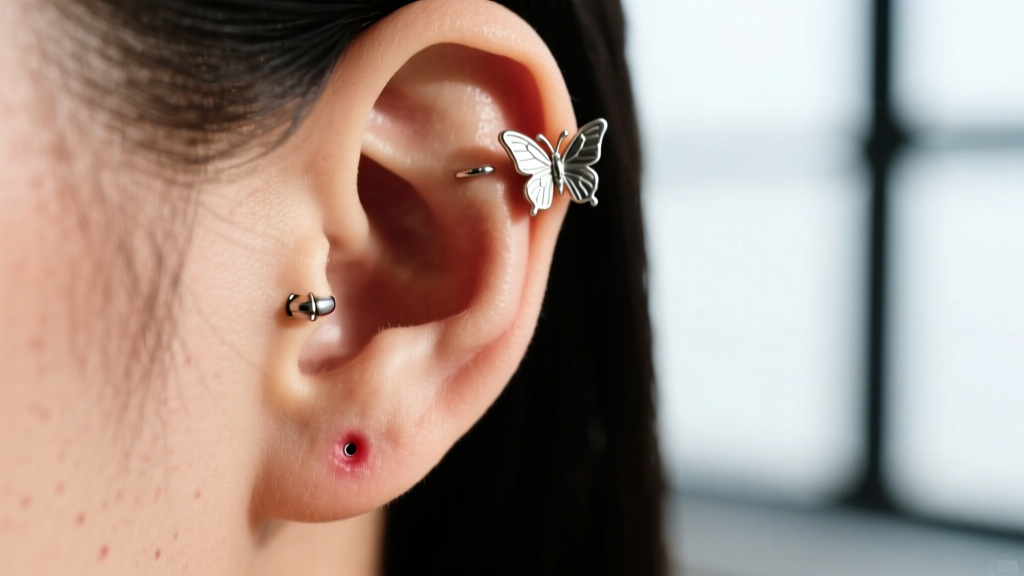
Step-by-Step Removal Techniques by Clasp Type
The technique for removal depends entirely on the mechanical locking mechanism of your starter jewelry. Misidentifying the clasp type is the leading cause of bent posts and torn fistulas.
1. Butterfly Friction Backs (The Standard Lobe Starter)
Butterfly clutches rely on a small metal scroll that grips the post's groove via spring tension. The Technique: Do not simply pull the back off. Instead, place your thumb and index finger of your non-dominant hand on the front stud to stabilize it. With your gloved dominant hand, grip the butterfly back. Push the front stud forward slightly while simultaneously pulling the back away. This counter-pressure prevents the post from dragging through the healing tissue, which can cause severe irritation bumps.
2. Threadless Push-Pin Ends (Cartilage & Flat Starters)
High-end studios often use threadless (press-fit) jewelry for cartilage starters. The tension is created by a slight bend in the pin inserted into the hollow post. The Technique: Grip the decorative front end and the flat-back disc on the rear. Pull them apart with a firm, twisting motion. If it refuses to budge, use two pairs of jewelry pliers (with silicone jaw covers) to gently grip the front and back, applying opposing rotational force to break the tension seal.
3. Internally Threaded Flat Backs (High-End Piercer Starters)
Internally threaded jewelry has the screw mechanism on the post, protecting your fistula from sharp external threads. The Technique: Secure the flat-back disc firmly against the rear of the ear. Grip the front gem or bead and turn it counter-clockwise (lefty-loosey). If the back spins with the front, you must apply harder inward pressure on the back disc to create enough friction against the skin to allow the front to unscrew.
Troubleshooting: Dealing with Embedded or Crusted Jewelry
Sometimes, despite perfect preparation, the jewelry will not yield. Below is a diagnostic framework for common removal failures.
| Failure Mode | Root Cause | Technical Solution |
|---|---|---|
| Clutch Embedded in Tissue | Post was too short for initial swelling; tissue grew over the butterfly back. | Do not dig it out. Visit a professional piercer or dermatologist. They will use a sterilized taper or biopsy punch to safely free the tissue. |
| Front & Back Spin Together | Saline/oil lubrication eliminates skin friction needed to hold the back still. | Dry the skin completely. Press a piece of medical tape over the back disc to grip the skin, then unscrew the front counter-clockwise. |
| Post Bending Under Pressure | Using 20G (0.8mm) low-grade steel jewelry that lacks structural integrity. | Stop pulling. Use two pairs of silicone-tipped pliers to grip the post directly behind the clutch and the clutch itself, squeezing to release tension. |
| Severe Lymph Crust Gluing | Dried lymphatic fluid acting as a biological adhesive between clutch and skin. | Submerge the earlobe in a small cup of warm sterile saline for 10 minutes to fully rehydrate the proteins before attempting removal. |
Post-Removal Care and Downsizing Protocols
Once you have successfully navigated how to remove starter earrings, the immediate next step is fistula maintenance. The American Academy of Dermatology notes that newly formed fistulas can begin to contract and close within minutes of jewelry removal, especially in cartilage piercings.
Have your new, sterilized jewelry ready and unwrapped before you remove the starter. If you are moving to a custom piece, ensure it is the correct gauge. Forcing a 14-gauge (1.6mm) piece into an 18-gauge (1.0mm) unhealed hole will cause a blowout. Cleanse the empty piercing with a single spray of sterile saline, insert the new jewelry immediately, and secure the backing. Avoid touching the new setup with bare hands for the first 24 hours to allow the tissue to settle around the new metal.
Mastering the technical removal of starter earrings ensures the longevity of your piercing and sets the foundation for a healthy, beautifully curated ear. Always prioritize tissue health over force, and never hesitate to consult an APP-certified piercer if mechanical resistance exceeds safe limits.


