Earring Back Stuck in Earlobe: How to Remove at Home
Learn how to safely remove an earring back stuck in your earlobe at home. Expert troubleshooting for butterfly, screw, and friction backs without pain.

The Biomechanics of a Stuck Earring Back
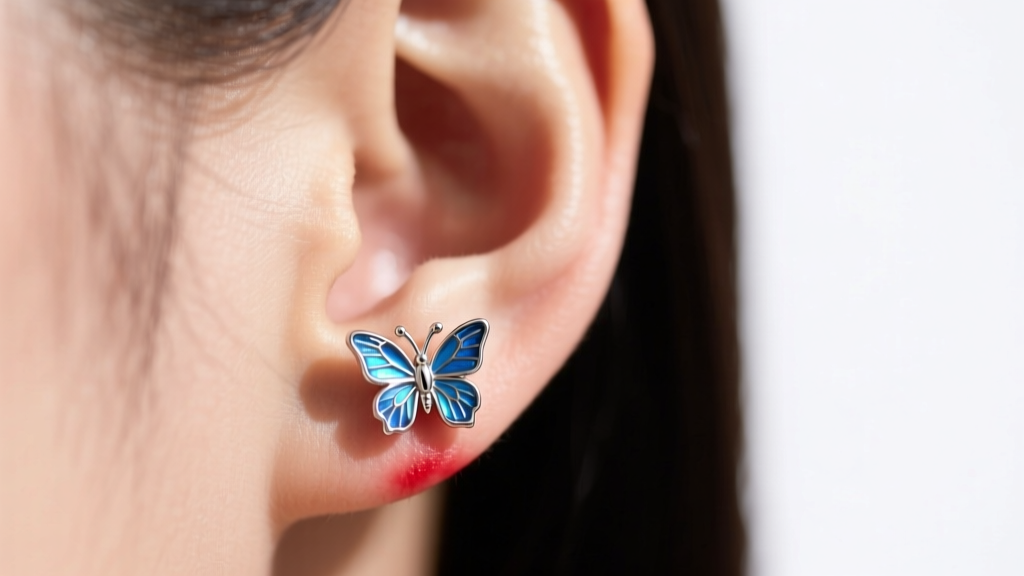
Few jewelry emergencies induce panic quite like an earring back stuck in earlobe. When you cannot remove your jewelry, the immediate instinct is to pull harder, but brute force often leads to tissue tearing, bent posts, and localized trauma. To solve the problem, you must first understand the mechanics of why the hardware failed. Standard lobe earrings typically utilize a 20-gauge (0.81mm) or 18-gauge (1.02mm) post paired with a butterfly friction clutch. This clutch relies on two tensioned metal flanges that snap into a microscopic groove near the end of the post.
Over time, a combination of sebum, dead skin cells, and cosmetic residue accumulates inside the clutch and around the post groove, effectively creating a biological cement. Furthermore, nocturnal pressure—such as sleeping on your side—forces the clutch past the intended groove, pushing it flush against the tissue. This restricts lymphatic drainage, causing localized edema (swelling) that essentially swallows the metal hardware, trapping it against the skin.
Essential Tools for Safe At-Home Extraction
Attempting to remove a stubborn friction back with bare fingers is rarely successful because human skin lacks the necessary coefficient of friction to grip smooth metal, especially when natural oils are present. Before attempting removal, gather the following professional-grade tools:
- Locking Hemostats or Needle-Nose Jewelry Pliers: These provide the mechanical advantage and locking grip required to hold the clutch steady without slipping.
- Nitrile Gloves: Essential for maintaining a sterile field and providing a high-friction grip on the front cabochon or gemstone.
- Sterile Saline Wound Wash (0.9% Sodium Chloride): Used to soften biological buildup without introducing harsh chemicals to compromised skin.
- Pure Jojoba Oil: Jojoba closely mimics human sebum, making it highly effective at breaking down calcified skin oils trapped inside the clutch mechanism.
Step-by-Step Troubleshooting: The Lubrication and Traction Method
If your earring back is stuck due to sebum buildup and minor swelling, follow this systematic approach to break the friction seal safely.
Step 1: Cleanse and Soften
Saturate a cotton swab with sterile saline and gently clean the area around the post. Next, apply two drops of pure jojoba oil directly to the junction where the post meets the clutch. Allow the oil to penetrate for five to ten minutes. This dwell time is critical; it lubricates the internal flanges and softens any hardened debris.
Step 2: Secure the Front Anchor
Put on your nitrile gloves. Firmly grasp the front of the earring (the stud or gemstone setting) between your thumb and index finger. If the setting is small or slippery, use a silicone grip pad. You must stabilize the front to prevent the post from bending or snapping under torque.
Step 3: The Lateral Wiggle Technique
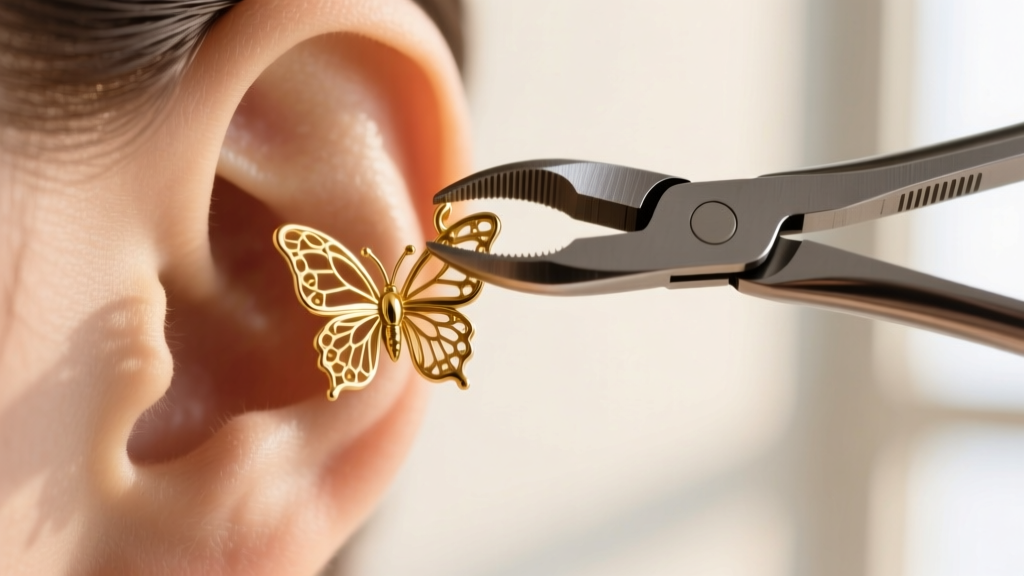
Using your hemostats, gently clamp onto the wings of the butterfly back. Do not pull straight outward. Instead, apply a micro-lateral wiggling motion—moving the clutch up and down by no more than a millimeter—while applying steady, gentle outward traction. This lateral movement breaks the vacuum seal and dislodges the debris trapped in the post groove.
Extraction Strategies by Earring Back Type
Not all earring backs operate on the same mechanical principles. Identifying your specific hardware is crucial for selecting the correct removal strategy. Refer to the troubleshooting matrix below to identify your failure mode and the appropriate extraction tool.
| Back Mechanism | Common Failure Mode | Best Extraction Tool | Pro Troubleshooting Tip |
|---|---|---|---|
| Butterfly Friction | Sebum buildup in post groove; pushed past notch during sleep. | Locking Hemostats | Use the lateral wiggle technique; never pull straight out. |
| Screw-Back | Cross-threading or stripped internal barrel threads. | Rubber Grip Pad | Apply counter-clockwise torque while stabilizing the front post. |
| La Pousette (Locking) | Internal spring mechanism jammed by hair or debris. | Fine-Point Tweezers | Depress the tiny metal tabs on the side of the clutch simultaneously while pulling. |
| Flat-Back Labret | Internal threading stripped; tissue swelling over the flat disc. | Tapered Cork | Press a wine cork against the flat back for grip, then unscrew the front counter-clockwise. |
Handling Embedded Earring Backs (Tissue Overgrowth)
In severe cases, particularly when an earring has been left in an infected or swollen lobe for several days, the skin may begin to heal over the back of the post. This condition, known as embedding, requires immediate and careful attention. According to guidelines from the Association of Professional Piercers (APP), attempting to dig out embedded jewelry with unsterilized household items like sewing needles or safety pins drastically increases the risk of severe bacterial infection and permanent scar tissue formation.
If the earring back is completely obscured by skin, apply a warm, damp compress for 10 minutes to encourage vasodilation and tissue softening. If the metal does not become visible and easily accessible, cease at-home removal attempts immediately and visit a professional piercer or urgent care clinic.
A professional piercer possesses specialized tapering tools and sterile scalpels to safely relieve the tissue tension without causing unnecessary lacerations to the earlobe.
Upgrading Your Hardware to Prevent Recurrence
The most effective way to ensure you never have to search for how to remove a stuck earring back again is to retire butterfly friction clutches entirely. The jewelry industry has largely moved away from this outdated design for daily wear due to its inherent hygiene and mechanical flaws.
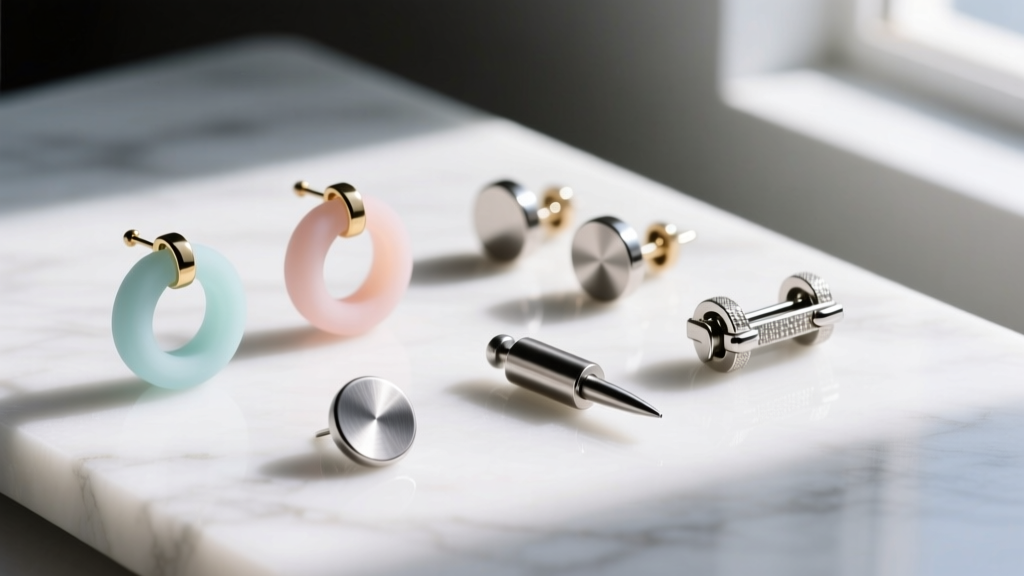
Consider upgrading to ASTM F-136 Implant-Grade Titanium Flat-Back Labrets. These feature a smooth, flat disc that rests flush against the back of the earlobe, eliminating pressure points and preventing the hardware from embedding into the tissue. They utilize secure internal threading, meaning the screw mechanism is hidden inside the post, completely protected from sebum and hair tangles. High-quality titanium ends from reputable brands like Intrinsic Body or Industrial Strength typically range from $25 to $45, a worthwhile investment for long-term lobe health.
For those who prefer to keep their existing straight-post earrings, replacing metal butterfly backs with medical-grade silicone O-rings or secure locking silicone clutches provides a high-friction, hypoallergenic barrier that will not rust, trap bacteria, or lock onto the post groove.
When to Seek Medical Intervention
While most stuck earring backs are a mechanical nuisance, they can escalate into a medical issue if the surrounding tissue becomes compromised. The American Academy of Dermatology advises seeking immediate medical evaluation if you experience any of the following symptoms during or after your removal attempts:
- Purulent Discharge: Thick, yellow, or green fluid weeping from the piercing channel indicates a bacterial infection requiring topical or oral antibiotics.
- Excessive Heat and Radiating Redness: If the earlobe feels hot to the touch and red streaks begin to spread outward from the piercing site, this suggests cellulitis, a serious deep-tissue infection.
- Fever or Chills: Systemic symptoms indicate that a localized infection has entered the bloodstream, necessitating emergency medical care.
By understanding the mechanics of your jewelry, utilizing the proper extraction tools, and knowing when to pivot to professional hardware upgrades, you can maintain healthy, comfortable piercings free from the frustration of stuck earring backs.


