How to Remove Stuck Earring Backs: A Safe Step-by-Step Guide
Learn how to remove stuck earring backs safely with our step-by-step guide. Expert tips for friction, screw, and cartilage hoops without piercing damage.

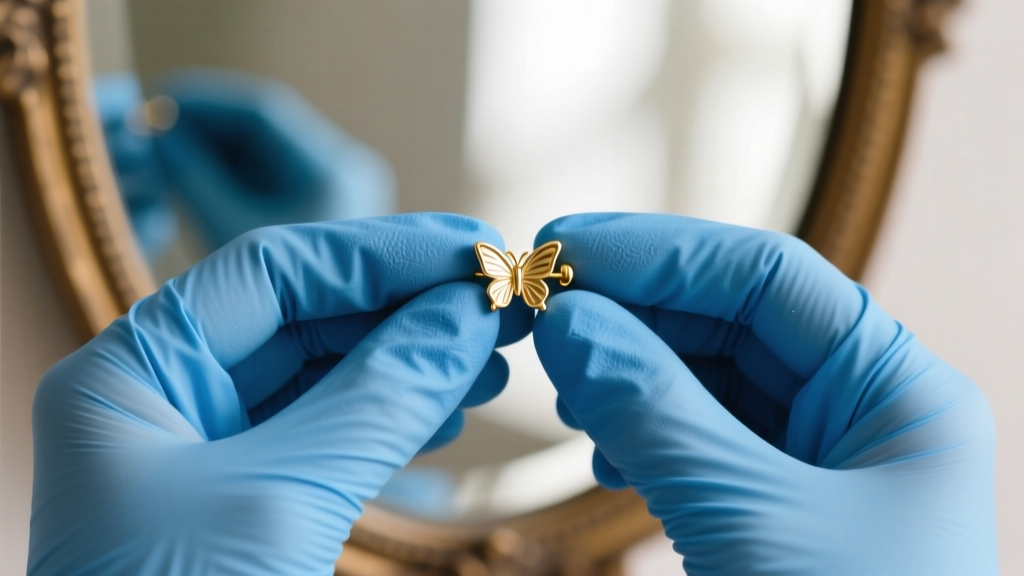
Why Do Earring Backs Get Stuck? The Mechanics of Failure
Panicking when you realize you cannot remove your jewelry is a universal piercing experience. Whether you are dealing with a standard lobe stud or a complex cartilage hoop, a stuck earring is rarely a mechanical defect; it is almost always a biological or physical binding issue. To safely learn how to remove stuck earring backs, you must first understand why they seize in the first place.
For standard friction backs (butterfly clasps), the primary culprit is bio-cement. Your body naturally produces sebum (oil) and sheds dead skin cells (keratin). When mixed with soap scum, hard water minerals, and hair products, this mixture accumulates in the tiny crevices of the butterfly clutch. Over weeks or months, it calcifies into a hardened, glue-like substance that locks the metal post in place. Furthermore, sleeping on standard post earrings can cause localized edema (swelling), trapping the clutch tightly against the swollen tissue.
For threaded jewelry, the issue is usually cross-threading. If a screw-back was forced on at an angle, the metal threads strip and wedge against each other. According to the Association of Professional Piercers (APP), externally threaded jewelry is particularly prone to this, as the sharp threads can harbor debris and damage the fistula (the piercing channel) during insertion and removal.
Essential Tools for Stuck Earring Removal
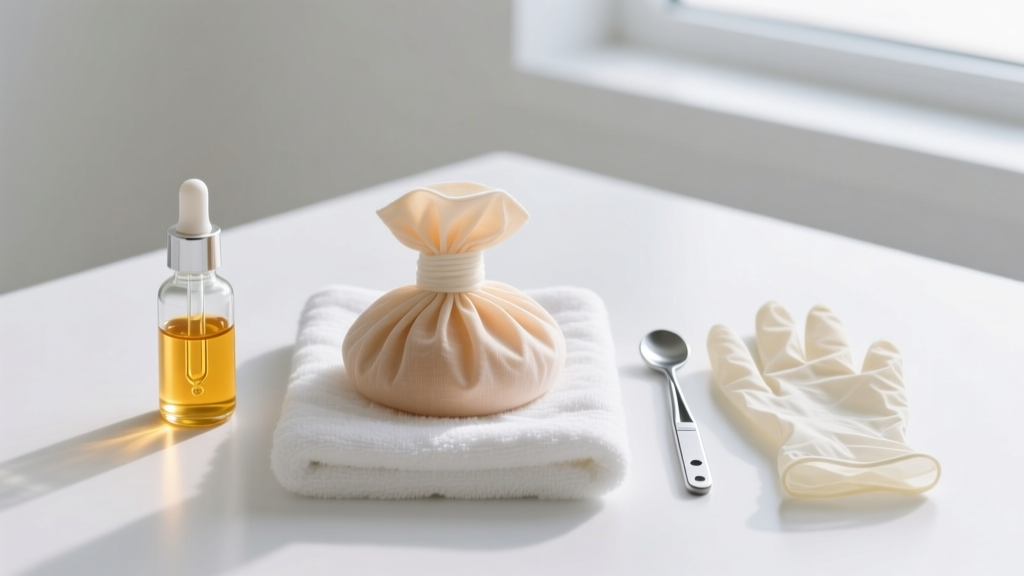
Before attempting to force the jewelry out, gather the proper tools. Bare fingers lack the friction required to grip smooth metal, especially when lubricants are introduced.
- Nitrile or Latex Gloves: Essential for maximizing grip on tiny metal components.
- Sterile Saline Solution: For softening biological debris without irritating the tissue.
- Jojoba Oil or Emu Oil: These mimic natural sebum and break down calcified buildup. Avoid petroleum jelly, which can trap bacteria in the piercing channel.
- Unwaxed Dental Floss: A secret weapon for leveraging off tight friction backs.
- Warm Compress: To increase blood flow and soften hardened sebum.
Step-by-Step: How to Remove Stuck Earring Friction Backs
If you are dealing with a standard 18-gauge or 20-gauge lobe stud with a butterfly back, follow this precise protocol to avoid tearing the earlobe.
Step 1: Soften the Bio-Cement
Soak a clean cotton pad in warm sterile saline and hold it against the back of the earlobe for 3 to 5 minutes. The heat and moisture will begin to dissolve the keratin and sebum buildup locking the clutch to the post.
Step 2: Lubricate the Post
Using a glass dropper, apply a single drop of jojoba oil directly to the seam where the metal post meets the butterfly back. Allow it to seep into the crevice for two minutes.
Step 3: The Gloved Push-Pull Method
Put on your nitrile gloves. With your non-dominant hand, firmly grip the front stud to stabilize it and prevent the post from twisting inside the fistula. With your dominant thumb and index finger, grip the wings of the butterfly back. Pull straight back along the axis of the post. Do not wiggle it side-to-side, as this can bend an 18-gauge or 20-gauge post, making removal impossible without wire cutters.
Step 4: The Dental Floss Lever Trick
If the back still will not budge, take a 6-inch piece of unwaxed dental floss. Slide it behind the butterfly back, wrapping it around the metal post. Pull the floss taut and use it like a seesaw, gently levering the back away from the earlobe while pushing the front stud forward.
Troubleshooting Screw-Backs and Threadless Jewelry
Cartilage piercings, such as helixes or tragus, typically use 16-gauge or 14-gauge flat-back labrets. These rely on threading or tension, presenting unique removal challenges.
Internally vs. Externally Threaded Seizure
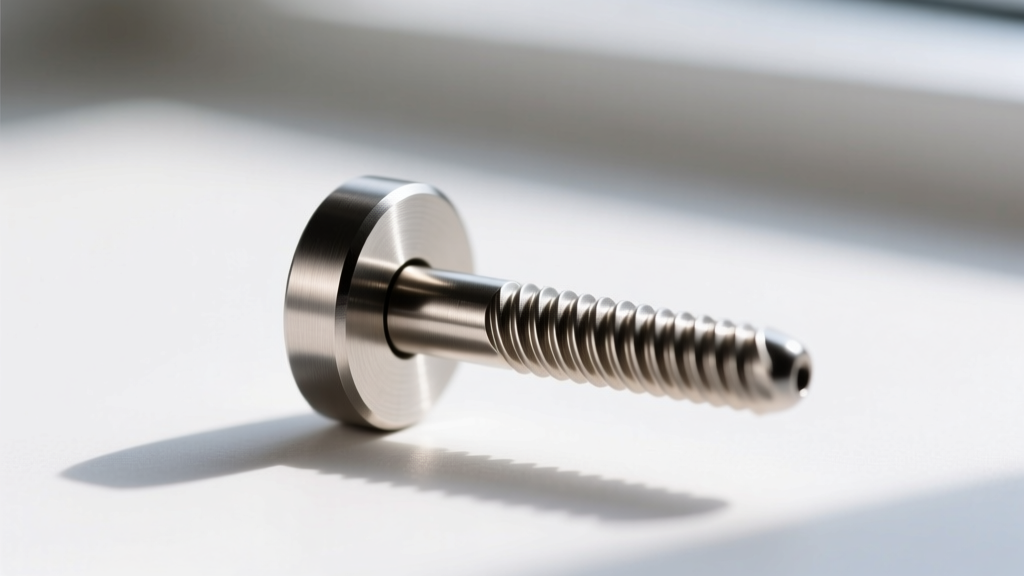
If your screw-back is stuck, you are likely dealing with cross-threading or dried lymph fluid locking the mechanism. Apply a warm compress to the back of the ear to soften any lymph crust. Grip the front gemstone with one gloved hand and the flat back disc with the other. Turn the back counter-clockwise. If you feel grinding, stop immediately. You are cross-threading it further. Apply a drop of jojoba oil to the thread junction, wait five minutes, and try again with slow, deliberate pressure.
Releasing Threadless (Press-Fit) Jewelry
Threadless jewelry stays in place via a bent pin that creates tension inside the hollow post. To remove a stuck threadless end, you must pull the front gemstone and the back disc in opposite directions while simultaneously twisting slightly. If the tissue is swollen, the tension feels magnified. Grip the front and back firmly with gloved hands, and pull apart with a steady, continuous force rather than a sudden jerk.
Dealing with Swollen Cartilage and Captive Bead Rings
Cartilage is highly vascular and prone to severe swelling (edema) when irritated. If a captive bead ring (CBR) or clicker hinge feels embedded in a swollen helix or conch, your first instinct might be to apply heat. Do not use heat on acutely swollen cartilage. Heat causes vasodilation, which will increase the swelling and trap the jewelry further.
Instead, apply a clean, cold compress to the area for 10 minutes to induce vasoconstriction and reduce the edema. Once the tissue shrinks slightly, use two pairs of sterile ring-opening pliers (or your gloved fingers for thicker gauges like 12G or 10G) to gently pry the captive bead out of the ring's tension gaps. If the hinge on a clicker is stuck due to soap scum, soak it in warm saline to dissolve the debris before attempting to unclick the segment.
Never use metal pliers, wire cutters, or excessive blunt force on a swollen piercing. Metal fatigue can cause the post to snap inside the fistula, requiring minor surgical intervention to retrieve the embedded fragment.
Prevention: Upgrading to High-Quality Backs and Gauges
The most effective way to avoid the panic of a stuck earring is to eliminate the hardware that causes it. Standard butterfly backs are notorious for harboring bacteria and seizing up. According to guidelines referenced by the Mayo Clinic regarding piercing hygiene, minimizing crevices where dead skin and oils collect is vital for long-term tissue health.
| Back Type | Common Gauge | Primary Failure Mode | Removal Difficulty |
|---|---|---|---|
| Butterfly (Friction) | 20G - 18G | Sebum/keratin buildup acting as glue | Moderate to High |
| Screw-Back (External) | 18G - 14G | Cross-threading and lymph crust | Moderate |
| Threadless (Press-Fit) | 16G - 12G | Swollen tissue increasing pin tension | Low to Moderate |
| Internally Threaded | 16G - 10G | Stripped threads from forced insertion | Low |
Upgrade your jewelry to ASTM F-136 implant-grade titanium. This specific alloy is highly polished, non-porous, and biocompatible, meaning biological debris is far less likely to adhere to the post. Switching from butterfly backs to flat-back labrets with internal threading or threadless tension pins will virtually eliminate the risk of your jewelry getting permanently stuck.
When to See a Professional Piercer or Doctor
While most stuck earrings can be resolved at home with patience and the right lubricants, there are specific scenarios where you must seek professional help. If the front of the stud is sinking into the skin and you cannot see the post, the jewelry is embedded. This requires a professional piercer or a dermatologist to make a tiny incision to release the pressure.
Additionally, if the stuck earring is accompanied by purulent discharge (thick yellow or green fluid), red streaks radiating from the piercing, or systemic symptoms like a fever, do not attempt to remove it yourself. Removing the jewelry can cause the surface of the fistula to close, trapping an active abscess inside the tissue. In these cases, consult a medical professional immediately for targeted antibiotic therapy before attempting jewelry removal.


