How Do You Take Off Earrings? Modern Closure Trend Guide
Discover how do you take off earrings featuring modern secure closures. A trend analysis of threadless, threaded, and hinged mechanisms.

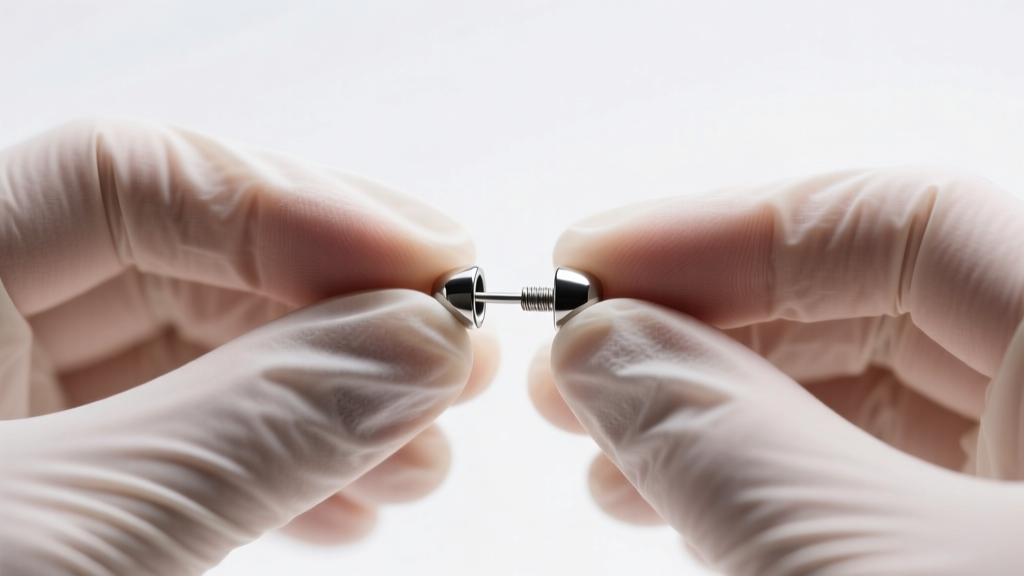
The "curated ear" aesthetic has completely dominated fine jewelry and piercing trends through 2026. Today’s collectors prioritize seamless, secure, and minimalist designs, moving far away from the traditional, easily lost friction backs of the past. However, this evolution in jewelry architecture has introduced a widespread consumer pain point. When enthusiasts and first-time buyers ask us, "how do you take off earrings" that are engineered with high-security closures, the answer requires a deep dive into modern jewelry engineering, material science, and proper mechanical technique.
As a style and trend analysis platform, we observe that the shift toward high-end body jewelry is not just about visual appeal; it is fundamentally about tissue health and longevity. Understanding the mechanics behind today's trending closures is essential for maintaining both your piercing health and the integrity of your investment pieces.
The 2026 Shift: Why Modern Earrings Are Harder to Remove
For decades, the standard earring closure was the "butterfly" or friction back. While easy to remove, these designs are now heavily discouraged by professionals. The backing creates a dark, enclosed pocket against the skin that traps sebum, dead keratinocytes, and moisture. According to the Association of Professional Piercers (APP), this environment is a breeding ground for bacteria and can lead to localized contact dermatitis or severe irritation bumps, particularly in dense cartilage areas like the conch or helix.
To combat this, the 2026 trend landscape favors ASTM F-136 implant-grade titanium and 14k nickel-free solid gold pieces utilizing threadless (push-pin), internally threaded, or hinged segment mechanisms. These designs sit flush against the tissue, eliminating bacterial traps. The trade-off? They are intentionally designed not to fall out. This means that removing them requires specific techniques, proper grip, and an understanding of how the metals interact with human biology over time.
How Do You Take Off Earrings? A Mechanism-by-Mechanism Breakdown
The method for removing your jewelry depends entirely on the closure system. Here is an analytical breakdown of the top three trending earring mechanisms and the precise techniques required to dismantle them safely.
1. Threadless (Push-Pin) Flat-Back Labrets
Threadless jewelry is currently the gold standard for curated ear projects. Instead of screwing together, the decorative end features a tiny, slightly bent metal pin that inserts into the hollow post. The tension created by the bend holds the piece securely in place.
- The Grip: Use two hands. One hand firmly pinches the flat-back disc resting behind the earlobe or cartilage. The other hand firmly grips the decorative front gem or bezel.
- The Motion: Do not pull straight out immediately. Apply a slight twisting motion while pulling the two halves apart. The twisting helps disengage the bent pin from the inner wall of the post.
- Pro Tip: If your fingers are slipping, you must introduce friction. Bare skin sliding against polished 14k gold or smooth titanium will not generate enough lateral force to break the tension seal.
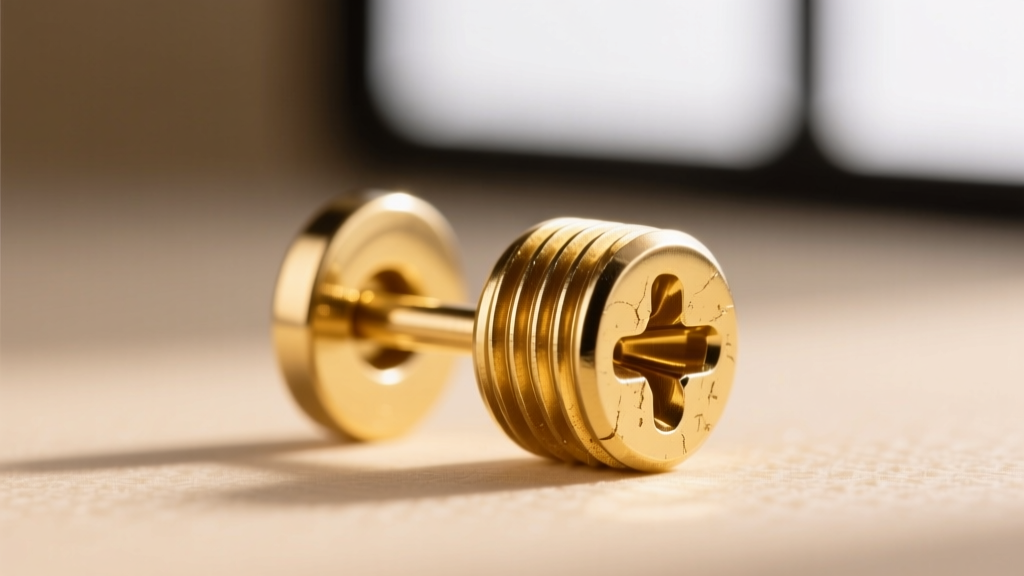
2. Internally Threaded Titanium and Gold Screws
Internally threaded jewelry features the screw mechanism on the decorative end (the male part), which threads into a smooth, hollow post (the female receiver). This is vastly superior to externally threaded jewelry, which forces sharp screw threads through the delicate fistula (piercing channel), causing micro-tears.
- The Rule: "Righty-tighty, lefty-loosey" applies, but counter-pressure is critical.
- The Technique: Secure the flat-back disc tightly from behind to prevent the post from spinning inside the piercing channel. If the post spins, you will cause severe tissue trauma. Gently rotate the front gem counter-clockwise.
- Failure Mode: Cross-threading. If the jewelry was forced in at an angle, the threads may bind. Never use brute force. Apply a warm compress to relax the tissue and expand the metal microscopically before trying again.
3. Hinged Segment Rings and Clickers
Huggies and cartilage hoops have seen a massive resurgence, with hinged segment rings replacing the outdated captive bead ring (CBR). These feature a microscopic hinge on one side and a tension-based click closure on the other.
- Locating the Seam: Run your fingernail along the outer edge of the hoop until you feel a nearly imperceptible indentation. This is the release seam.
- The Release: Place your thumbnail directly on the seam and apply lateral pressure to pop the hinge open. It requires a sharp, precise "snap" of force rather than a slow pull.
- Warning: Never use metal tools like pliers to pry open a hinged ring. You will warp the hinge, permanently destroying the tension mechanism and rendering the earring useless.
Troubleshooting: What to Do When an Earring is Truly Stuck
Even with proper technique, jewelry can become fused in place. This is rarely due to the metal itself, but rather biological factors. Sebum (skin oils) and dead skin cells can calcify around the closure mechanism, acting like biological cement. Furthermore, the American Academy of Dermatology (AAD) notes that localized swelling from minor allergic reactions or trauma can cause the tissue to engulf the backing, making it nearly impossible to grip.
If you are facing a stuck earring, abandon bare-handed attempts and utilize this professional troubleshooting protocol:
The Piercer's Protocol for Stuck Backings:
1. The Nitrile Grip: Put on a pair of tight-fitting black nitrile gloves. Nitrile provides immense friction against polished metals and protects the piercing from the bacteria on your hands. Avoid latex, which can degrade and leave a sticky residue.
2. The Thermal Soak: Soak a clean gauze pad in warm (not hot) saline solution and hold it against the earring for 3 to 5 minutes. This softens and melts the hardened sebum trapping the threads or tension pin.
3. Silicone-Tipped Hemostats: If the decorative end is too small to grip (such as a 2mm or 3mm gem), use medical-grade hemostats fitted with silicone tubing on the jaws. The silicone grips the metal firmly without scratching PVD coatings or marring soft 14k gold.
Closure Trend Analysis & Maintenance Matrix
To help you navigate your jewelry box, we have compiled a comparative matrix detailing the current market status of these closures, their removal difficulty, and their most common failure points.
| Closure Mechanism | 2026 Trend Status | Removal Difficulty | Common Failure Mode |
|---|---|---|---|
| Threadless (Push-Pin) | High (Dominates custom curation) | Moderate | Pin bent too deeply during insertion, requiring pliers to remove. |
| Internally Threaded | High (Standard for premium brands) | Moderate to Hard | Cross-threading or sebum calcification locking the screw. |
| Hinged Segment / Clicker | Very High (Preferred for huggies/hoops) | Easy to Moderate | Hinge warping from improper prying; loss of tension 'click'. |
| Friction / Butterfly Back | Declining (Avoided in fine jewelry) | Very Easy | Backing falls off and is lost; severe bacterial trapping. |
| Omega / Lauset Clip | Niche (Vintage and non-pierced revival) | Easy | Tension spring fatigue causing the earring to pinch the lobe. |
Final Thoughts on Jewelry Architecture
The question of how to safely remove modern earrings is intrinsically linked to the broader movement toward sustainable, body-safe fine jewelry. As consumers invest hundreds or thousands of dollars into high-grade titanium and solid gold pieces, the expectation of security is paramount. The slight inconvenience of learning to manipulate a threadless pin or an internal thread is a small price to pay for the elimination of tissue irritation and the loss of expensive gems.
When styling your curated ear, always consider the "end of life" of the wear cycle. Ensure you have the proper tools—nitrile gloves, a magnifying mirror, and proper lighting—before attempting to swap out your jewelry. If a piece remains stubbornly stuck after attempting the thermal soak and nitrile grip methods, do not risk tearing your fistula. Visit a reputable, APP-certified professional piercer who possesses the specialized, sterilized tools required to dismantle the jewelry without harming your anatomy or the piece itself. By respecting the engineering of your jewelry, you ensure that your style remains as flawless and healthy as the day it was pierced.


