Troubleshooting Heavy and Tarnished Disco Earrings
Learn how to troubleshoot, repair, and restore vintage disco earrings. Expert fixes for heavy lobe strain, tarnished brass, and scratched acrylics.

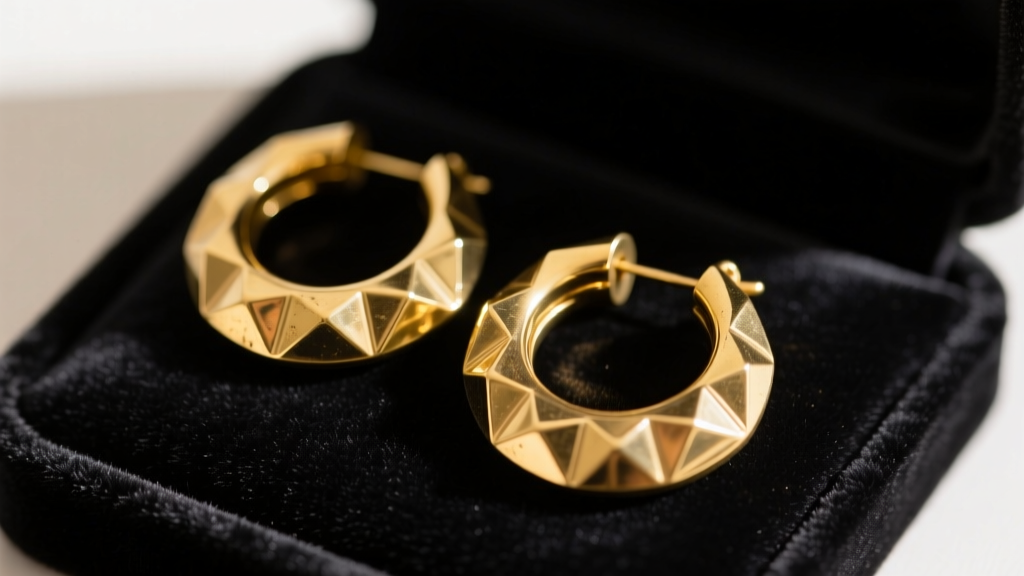
The resurgence of 1970s fashion in 2026 has brought disco earrings back into the spotlight. Characterized by oversized hoops, mirrored dangles, chunky lucite drops, and intricate sequin work, these statement pieces are highly sought after in the vintage market. However, buying and wearing vintage costume jewelry comes with a unique set of structural and material challenges. Unlike fine jewelry crafted from solid gold or platinum, vintage disco earrings were typically mass-produced using base metals, thin electroplating, and early synthetic polymers. Over decades, these materials degrade, tarnish, and fail under the stress of daily wear.
As a jewelry specialist, I frequently see collectors and enthusiasts struggle with the inherent flaws of these vintage pieces. From severe earlobe strain caused by heavy dangles to the irreversible stripping of gold plating from improper cleaning, troubleshooting disco earrings requires a deep understanding of material science and jewelry anatomy. This guide provides actionable, expert-level solutions to restore and reinforce your vintage statement pieces.
Diagnosing Structural and Material Failures
Before attempting any repairs, it is crucial to understand the anatomy of a typical 1970s disco earring. The base metal is almost always brass or a copper-zinc alloy, chosen for its malleability and low cost. This base is then coated with a gold flash—a microscopically thin layer of electroplated gold, usually measuring between 0.5 and 1.5 microns. To put this in perspective, a human hair is roughly 70 microns thick.
The decorative elements often feature early acrylics (like Lucite), mirrored glass, or epoxy-sealed sequins. The primary failure points in these earrings include:
- Wire Fatigue: The original 22-gauge or 20-gauge brass ear wires easily bend, snap, or stretch out of shape under the weight of oversized hoops.
- Galvanic Corrosion: When the thin gold plating wears away, the underlying copper reacts with sweat and environmental moisture, creating verdigris (a toxic, crusty green copper chloride).
- Polymer Degradation: Vintage acrylics are prone to micro-scratching, clouding, and stress fractures, especially when exposed to modern alcohol-based cosmetics or perfumes.
Solving the Heavy Lobe Strain Problem
The most common complaint regarding vintage disco earrings is the physical toll they take on the earlobes. A standard earlobe can comfortably support 7 to 10 grams of weight for extended periods. However, a pair of chunky, mirrored acrylic disco hoops can easily weigh between 25 and 40 grams. This excessive weight pulls on the piercing, leading to micro-tears, stretched fistulas, and eventual lobe sagging.
Upgrading the Ear Wire Gauge and Material
Most vintage earrings utilize flimsy 22-gauge (0.64mm) brass wires. To safely support heavy dangles, you must upgrade the structural integrity of the wire. I recommend swapping the original hooks for 18-gauge (1.0mm) or 16-gauge (1.2mm) ASTM F136 implant-grade titanium French wires or leverbacks. Titanium is significantly stronger than brass, meaning an 18-gauge titanium wire will resist bending and warping, distributing the weight more evenly across the piercing channel.
Utilizing Silicone Support Patches
If the earrings are simply too heavy for the wire alone, incorporate silicone earring support patches. These adhesive-backed silicone discs sit behind the earlobe, increasing the surface area that bears the weight of the earring. This prevents the wire from acting like a cheese-slicer on the delicate tissue of the lower lobe.
Reversing Oxidation on Gold-Plated Brass
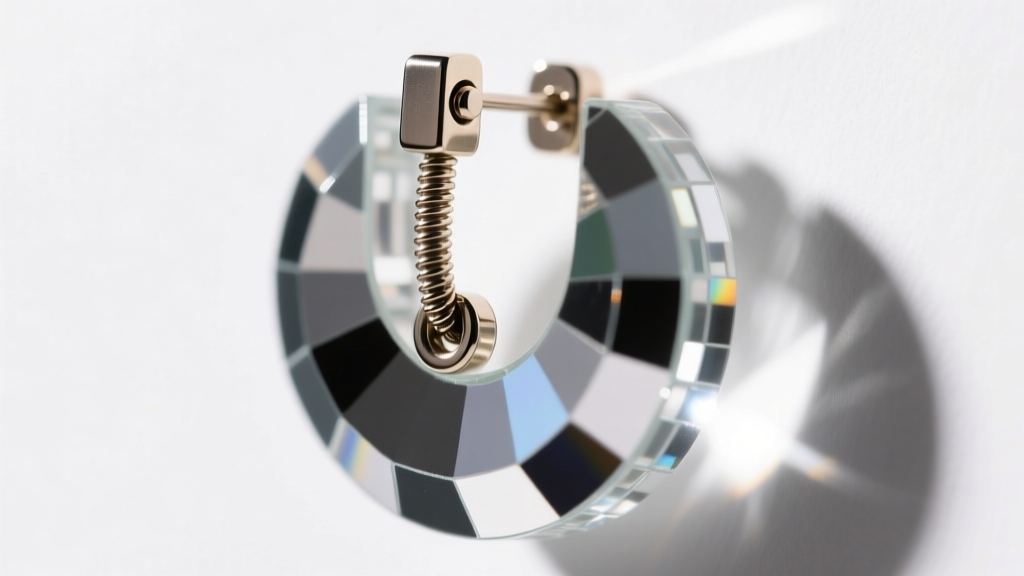
Tarnish and verdigris are the nemeses of vintage disco earrings. Because the gold plating is incredibly thin, traditional silver polishes or abrasive jewelry dips will strip the gold entirely, exposing the raw brass underneath. Once the plating is gone, the only solution is expensive professional re-plating.
When cleaning gold-plated brass, the goal is to remove surface oils and mild oxidation without disturbing the 0.5-micron gold layer. According to the Gemological Institute of America (GIA), the safest method for cleaning delicate plated jewelry involves a mild, non-detergent surfactant and lukewarm water.
Safe Cleaning Protocol for Plated Brass
- Mix a few drops of pH-neutral baby shampoo into a bowl of distilled water.
- Submerge the metal components for no more than 3 minutes.
- Gently agitate the crevices with a baby-soft toothbrush (never a medium or hard bristle, which will scratch the gold flash).
- Rinse with distilled water and pat dry immediately with a lint-free microfiber cloth. Do not air dry, as water spots will etch into the porous brass if the plating is compromised.
Cleaning Agent Safety Matrix
| Cleaning Agent | Gold-Plated Brass | Raw Brass | Vintage Acrylic |
|---|---|---|---|
| Baking Soda Paste | High Risk (Strips Plating) | Safe | High Risk (Scratches) |
| Ammonia-Based Dips | High Risk (Strips Plating) | Moderate Risk | High Risk (Clouds) |
| Isopropyl Alcohol | Safe (Spot Cleaning) | Safe | High Risk (Crazing) |
| pH-Neutral Surfactant | Safe | Safe | Safe |
Restoring Clouded Acrylics and Mirrored Inlays
Lucite and acrylic were the defining materials of 70s disco jewelry, prized for their ability to mimic glass and gemstones at a fraction of the weight. However, vintage acrylics are highly susceptible to 'crazing' (a network of fine micro-cracks) and surface clouding caused by decades of exposure to UV light, hairspray, and skin oils.
Never use glass cleaner, ammonia, or alcohol on vintage acrylic disco earrings. The Victoria and Albert Museum's conservation guidelines explicitly warn that alcohol and harsh solvents cause chemical degradation in early polymers, leading to irreversible brittleness and clouding.
The Novus Plastic Polish System
To restore the optical clarity of scratched or clouded acrylic hoops, use a specialized plastic polish system, such as the Novus 3-step kit.
- Novus #1 (Clean & Shine): Use this for routine dusting and removing light surface oils.
- Novus #2 (Fine Scratch Remover): Apply this with a clean microfiber cloth using circular motions to buff out the micro-scratches that cause the acrylic to look cloudy.
- Novus #3 (Heavy Scratch Remover): Reserve this only for deep gouges, followed immediately by #2 to restore the polish.
Reattaching Loose Components Safely
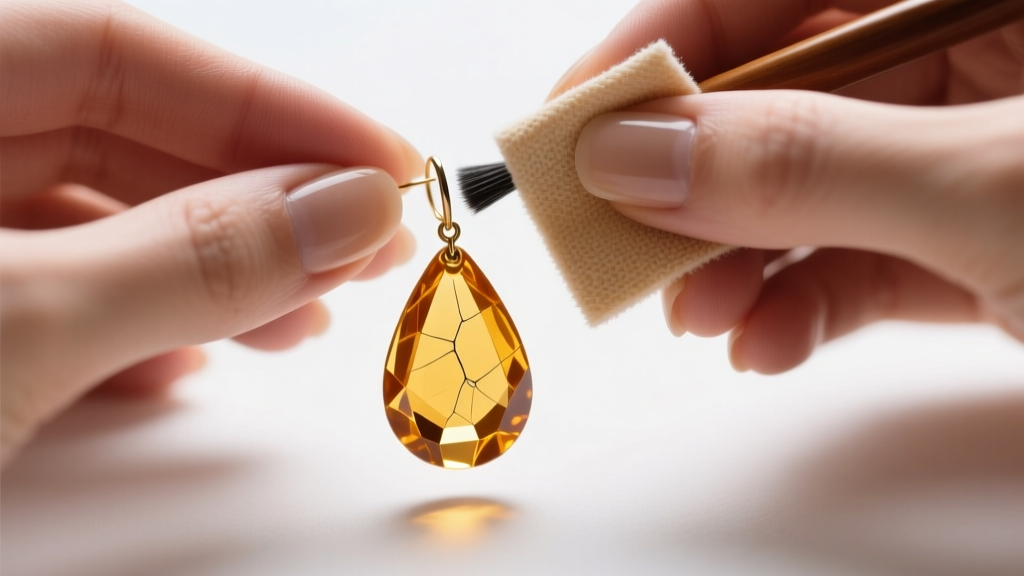
Disco earrings often feature glued elements, such as mirrored glass inlays, rhinestones, or resin beads attached to metal bezels. Over time, the original factory adhesives dry out and fail. When reattaching these components, the choice of adhesive is critical to prevent permanent damage to the piece.
Adhesive Chemistry for Jewelry Repair
A common mistake is using cyanoacrylate (Super Glue). While it bonds quickly, cyanoacrylate releases fumes as it cures that cause 'frosting'—a permanent, chalky white residue that will ruin the reflective backing of mirrored inlays and cloud transparent acrylics. Furthermore, it cures brittle, meaning the repair will shatter under the dynamic movement of a dangle earring.
Instead, use E6000 Jewelry and Bead Adhesive or a high-quality two-part clear epoxy. E6000 cures into a flexible, rubber-like consistency that absorbs the shock and movement of heavy earrings. Apply a microscopic amount using a toothpick, clamp the piece gently with a silicone-tipped jewelry clamp, and allow it to cure for a full 24 hours in a well-ventilated area.
Preventative Maintenance for Vintage Statement Pieces
Troubleshooting is only half the battle; preservation is the other. To ensure your restored disco earrings survive the 2026 vintage market and beyond, implement strict storage protocols. Store each pair individually in acid-free, unbleached cotton pouches. Never store vintage acrylics or plated brass in PVC plastic bags, as the off-gassing from PVC accelerates the tarnishing of base metals and the yellowing of early polymers. By understanding the material limitations of these iconic pieces and applying modern metallurgical and conservation techniques, you can keep the disco era shining brightly for decades to come.


