How to Safely Repair and Repurpose Broken Glass Earrings
Learn how to safely repair and repurpose broken glass earrings using UV resin, bezels, and wire wrapping to create stunning, skin-safe custom jewelry.

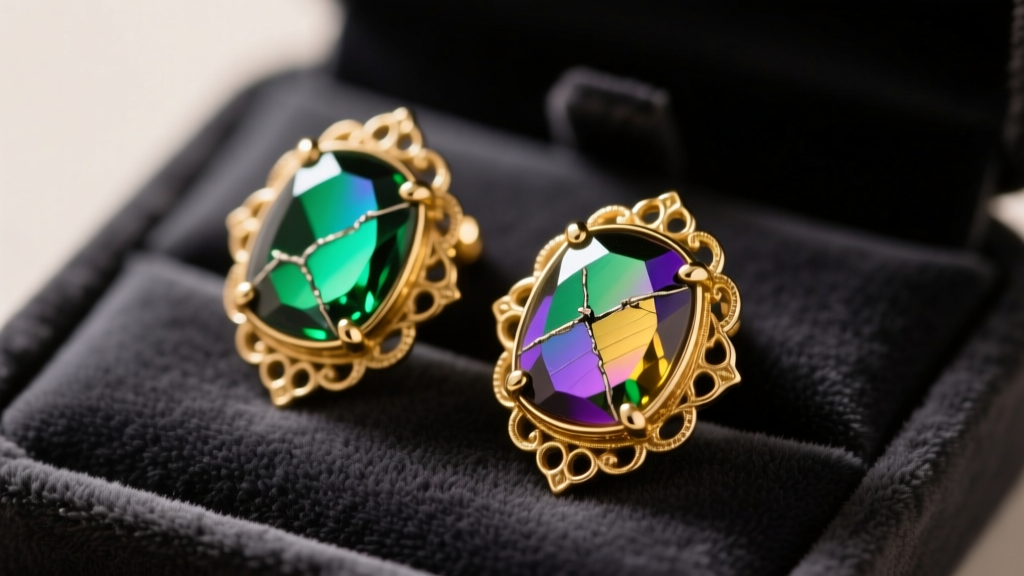
Glass earrings, whether they feature vibrant dichroic patterns, delicate blown-glass teardrops, or frosted sea glass, are stunning additions to any jewelry collection. However, their inherent fragility means that a simple drop onto a hard surface can result in heartbreak. But a snapped or chipped piece of jewelry doesn't have to end up in the trash. With the right lapidary techniques and jewelry-making supplies, you can salvage, repair, and completely repurpose broken glass earrings into entirely new, skin-safe statement pieces. This comprehensive guide will walk you through the exact methods professionals use to transform damaged glass into wearable art, ensuring no sharp edges ever come into contact with your earlobes.
Assessing the Damage: Can Your Glass Earrings Be Saved?
Before you begin any repair work, it is crucial to evaluate the structural integrity of the broken glass. Not all fractures are created equal, and safety must be your primary concern. According to handling guidelines from the Glass Art Society, glass that has suffered from thermal shock or deep internal micro-fractures is highly unstable and should not be worn near the face or ears.
- Clean Snaps: If a fused glass teardrop or a thick glass cabochon has broken cleanly in half, it is an excellent candidate for bezel setting or wire wrapping.
- Surface Chips: Minor chips on the edges of dichroic glass can be easily sanded down and sealed with UV resin.
- Shattered Beads: If a vintage glass bead has cracked into multiple jagged shards, discard it. The structural integrity is compromised, and the risk of the glass crumbling while in your ear is too high.
- Vintage and Painted Glass: Be cautious with vintage broken glass earrings. Older glass may contain lead or cadmium in the paint or glaze. If the protective top coat is chipped, do not attempt to repair it for wear against the skin.
Essential Tools and Materials for Glass Repair
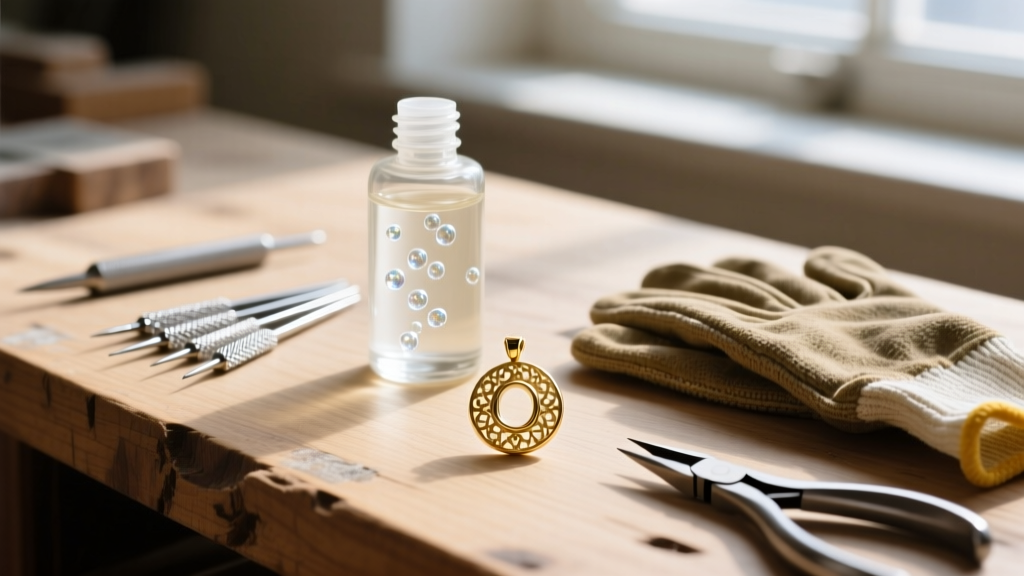
Working with glass requires specific tools designed for lapidary and hard-material crafting. Standard jewelry pliers and steel files will not work; they will merely scratch the glass or cause it to shatter further. Below is a breakdown of the essential materials you will need to safely repurpose your damaged pieces.
| Material / Tool | Best Use Case | Why It Works |
|---|---|---|
| UV Resin (e.g., Padico or Let's Resin) | Sealing sharp edges and encapsulating shards | Cures crystal clear in 60 seconds under UV light; leaves no cloudy residue like traditional epoxy. |
| Diamond Needle Files (400 to 1200 grit) | Smoothing and reshaping broken glass edges | Diamond grit actually cuts glass; steel files will just skate across the surface and cause micro-fractures. |
| 22-Gauge Dead-Soft Wire | Creating protective wire-wrap cages | Dead-soft sterling silver or gold-filled wire is malleable enough to bend tightly around irregular glass corners without snapping. |
| 36W UV LED Lamp | Curing the resin encapsulation | Provides the specific 365-405nm wavelength required to fully cure thick layers of jewelry-grade resin. |
| Silicone Ear Backs (Heavy Duty) | Supporting the weight of repurposed glass | Prevents lobe tearing and fatigue by distributing the weight of dense glass over a wider surface area. |
Method 1: Bezel and Resin Encapsulation
This method is ideal for broken glass earrings that have suffered a clean break, resulting in a flat or slightly curved shard. By encasing the sharp edges in a metal bezel and sealing the top with a dome of UV resin, you create a smooth, skin-safe cabochon.
Step 1: Edge Smoothing and Preparation
Put on cut-resistant nitrile gloves and safety goggles. Using a 400-grit diamond needle file, gently grind down the sharpest points of the broken glass. You do not need to make the edge perfectly round; you just need to remove the needle-like points that could puncture skin or tear through a bezel cup. Once the dangerous points are removed, switch to a 1200-grit diamond file to frost the edges. According to lapidary experts at Gemology Online, a frosted edge provides a microscopic texture that helps adhesives and resins grip the glass more securely. Finally, wipe the glass thoroughly with 99% isopropyl alcohol to remove all glass dust and skin oils.
Step 2: Bezel Fitting and Adhesive Application
Select a blank bezel tray that closely matches the new shape of your broken glass. If the glass is slightly too large, use a diamond file to reduce its footprint until it drops snugly into the tray. Apply a single, tiny drop of E6000 Jewelry Glue to the center of the bezel tray. Avoid using E6000 on the top surface of the glass, as its off-gassing can leave a permanent cloudy film on clear or dichroic glass. Carefully press the glass into the tray and let it cure for 24 hours in a well-ventilated area.
Step 3: UV Resin Encapsulation
Once the glass is secured in the bezel, it is time to seal the top. Squeeze a small pool of hard-formula UV resin onto a silicone mat. Using a silicone-tipped applicator or a wooden toothpick, carefully drag a thin layer of resin over the sharpest edges of the glass, ensuring the resin touches the inner walls of the metal bezel. This creates a seamless, waterproof seal that locks the glass in place and rounds off any remaining sharp corners. Cure the piece under a 36W UV lamp for 60 to 90 seconds. Repeat this process to build a slight dome over the glass, curing between each layer. Attach a 3mm glue-on bail to the top of the bezel, and hang it from a sturdy 20-gauge French hook.
Method 2: The Protective Wire-Wrap Cage
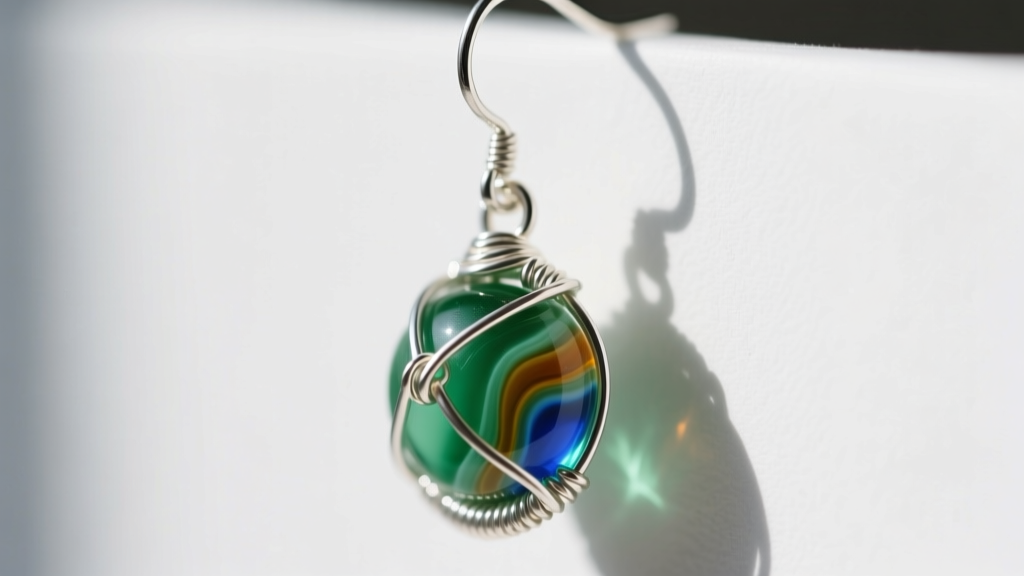
For irregular, jagged shards of broken glass earrings—such as shattered sea glass or uneven pieces of fused art glass—wire wrapping provides a beautiful, organic way to salvage the piece without hiding it inside a metal bezel. Suppliers like Rio Grande emphasize the importance of choosing the correct wire temper for this technique.
Creating the Cage
Cut an 18-inch length of 22-gauge dead-soft sterling silver or 14k gold-filled wire. Begin by creating a small, tight loop at one end; this will serve as the anchor for your bail. Gently bend the wire around the perimeter of the glass shard. The goal is not to wrap the glass tightly like a mummy, but to create a structural 'cage' that covers the sharp points and edges. Whenever the wire crosses a sharp, broken edge of the glass, use your chain-nose pliers to kink the wire slightly, creating a physical barrier that prevents the glass from slipping out. Once the cage is secure, twist the remaining wire around the base of your top loop to form a wrapped bail. Trim any excess wire and tuck the sharp wire ends flush against the frame using a cup burr or a nail file so they cannot scratch your skin.
Crucial Safety Protocols for Ear Health
Repurposing broken glass often changes the weight distribution and center of gravity of the earring. Glass is remarkably dense, and an improperly balanced salvaged earring can cause severe earlobe stretching, fatigue, or even tearing.
- Weight Limits: Dermatological guidelines suggest keeping everyday earrings under 7 to 10 grams per ear to prevent long-term lobe stretching. Weigh your finished salvaged earring on a digital jewelry scale. If it exceeds 10 grams, it should only be worn for short periods.
- Hook Selection: Avoid thin, flimsy fishhooks for heavy glass shards. Instead, opt for 20-gauge or 18-gauge sterling silver leverback ear wires. The leverback mechanism provides a secure closure that prevents the heavy earring from pulling forward and slipping out of the earlobe.
- Friction Backings: Always pair your repurposed glass earrings with heavy-duty silicone friction backs or metal 'clutch' backs with a wide plastic disc. This widens the surface area against the back of the earlobe, preventing the heavy glass from slicing into the skin behind the ear.
- Skin Clearance: Before wearing, run your bare finger firmly over the back and edges of the repurposed earring. If you feel any snags, sharp wire ends, or glass points that catch on your skin, the piece requires further filing or resin encapsulation.
When to Discard Damaged Glass
While the desire to save a sentimental or expensive piece of jewelry is strong, knowing when to let go is a vital part of jewelry safety. If your broken glass earrings exhibit a 'spiderweb' pattern of internal cracks, the glass is actively failing and could shatter spontaneously due to temperature changes or minor impacts. Additionally, if the glass has been exposed to harsh chemicals or saltwater that has degraded its surface, causing it to flake or crumble (a process known as glass disease or crizzling), it cannot be safely stabilized with resin or wire. In these cases, safely dispose of the glass in a puncture-proof container and recycle the metal findings.
By mastering these repair and repurposing techniques, you can breathe new life into your favorite broken glass earrings, transforming a frustrating accident into an opportunity for bespoke, handcrafted jewelry design. Always prioritize smooth edges, secure settings, and proper weight distribution to ensure your salvaged creations are as safe as they are beautiful.


