How to Remove Earrings With Flat Backs: Pro Techniques
Learn exactly how to remove earrings with flat backs, including threadless and internally threaded styles, plus pro tips for stuck jewelry.

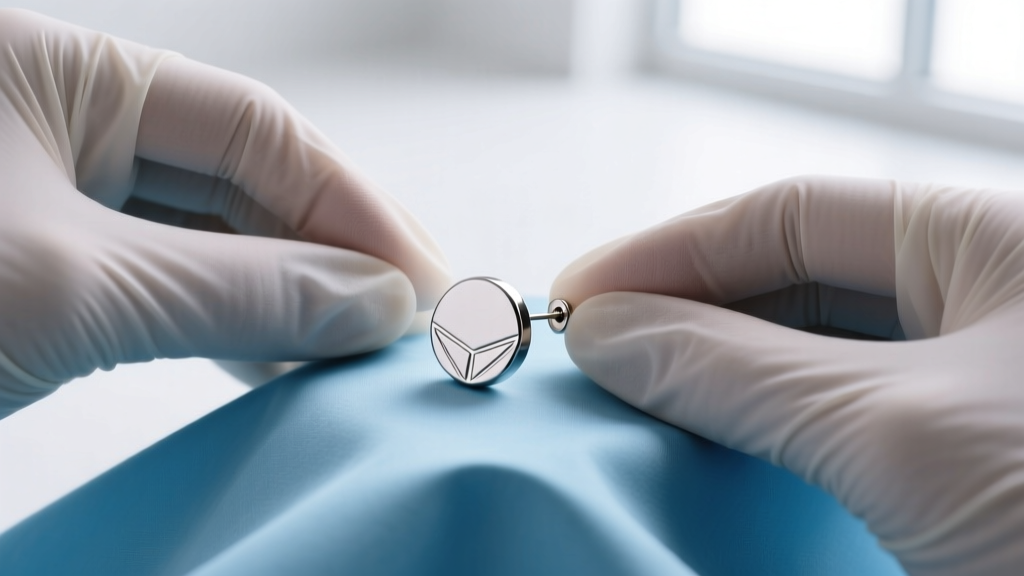
The Anatomy of Flat Back Earrings: Threadless vs. Threaded
Flat back earrings, commonly known as labret studs, are the undisputed gold standard for both fresh piercings and healed cartilage or lobe placements. Unlike traditional butterfly-back studs that harbor bacteria and dig into the neck during sleep, flat backs feature a smooth, disc-shaped backing that sits flush against the tissue. However, this secure, low-profile design often leaves wearers wondering how to remove earrings with flat backs without causing trauma to the delicate fistula (the piercing channel).
To master removal, you must first understand the mechanical engineering of your jewelry. High-quality flat backs utilize one of two secure fastening systems, both of which eliminate the tissue-tearing risks associated with externally threaded jewelry.
Threadless (Push-Pin) Mechanics
Threadless jewelry relies on radial tension rather than screws. The decorative end features a tiny, slightly bent metal pin that inserts into the hollow shaft of the flat back post. According to the Association of Professional Piercers (APP), this press-fit mechanism is exceptionally secure because the natural tension of the bent pin against the inner wall of the post prevents accidental dislodging. Standard gauges for threadless ear jewelry range from 18G (1.0mm) for standard lobes to 16G (1.2mm) and 14G (1.6mm) for cartilage and tragus placements.
Internally Threaded Mechanics
Internally threaded flat backs feature smooth posts with the screw threads located inside the hollow shaft. The decorative end has a smooth pin that passes cleanly through the piercing channel, while the flat back disc screws onto the protruding threads. This design ensures that no sharp threads scrape the epithelial lining during insertion or removal.
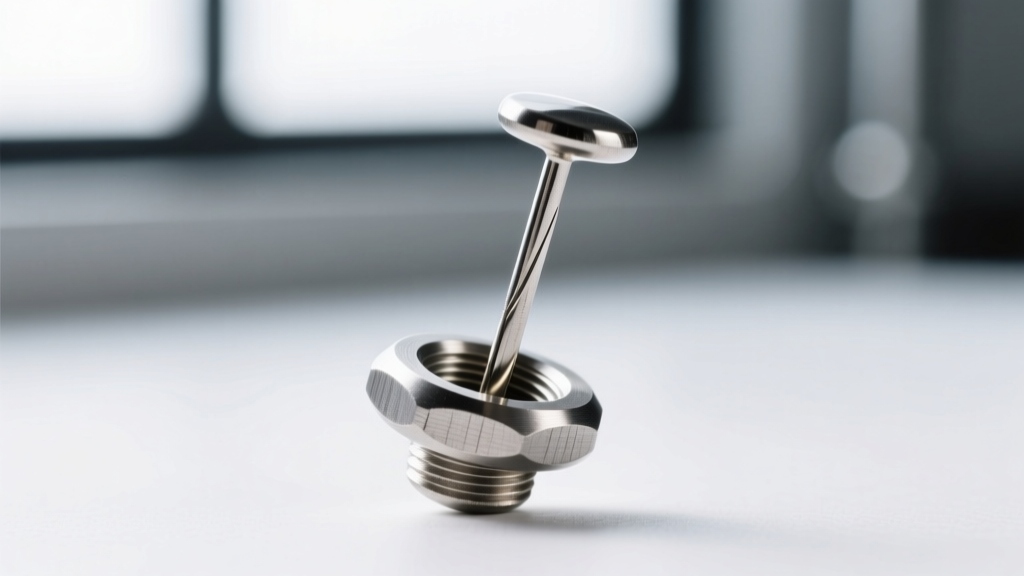
Step-by-Step: How to Remove Earrings With Flat Backs
Removing flat back jewelry requires technique, not brute force. Applying excessive pulling or twisting can lead to micro-tears in the fistula, triggering hypergranulation or hypertrophic scarring. Follow these precise, studio-tested methods based on your jewelry type.
Method 1: Extracting Threadless Jewelry
The most common mistake people make with threadless jewelry is simply pulling the two ends apart in a straight line. Because the tension fit is designed to withstand linear pulling (like snagging on a sweater), this method often fails.
- Step 1: Wash and Dry. Wash your hands thoroughly and dry them completely. Moisture reduces friction on your fingertips, making it impossible to grip the small components.
- Step 2: The Pinch and Snap. Grip the decorative front end with your thumb and index finger of your dominant hand. Grip the flat back disc with your non-dominant hand. Instead of pulling straight out, apply a slight bending or 'snapping' motion, as if you are trying to snap a twig. This lateral pressure breaks the friction seal of the bent pin.
- Step 3: Slide and Remove. Once the tension seal breaks, the pin will slide out smoothly. Gently guide the flat back post out of the piercing channel from the rear.
Method 2: Unscrewing Internally Threaded Studs
Internally threaded flat backs operate on a simple 'lefty-loosey' mechanism, but biological factors often complicate this.
- Step 1: Degrease the Components. Body oils, sebum, and dead skin cells act as a biological cement, seizing the microscopic threads. Soak a cotton swab in sterile saline or warm water and clean the junction where the post meets the back disc.
- Step 2: Maximize Grip. Put on a pair of textured nitrile gloves. The skin on your fingers is too smooth to grip a 4mm titanium disc securely. Nitrile gloves provide the necessary coefficient of friction.
- Step 3: Counter-Torque. Hold the front decorative end completely still. Slowly turn the flat back disc counter-clockwise. If the front end spins, you are dealing with a cross-threaded or seized component (see troubleshooting below).
Troubleshooting Matrix: Dealing with Stuck Flat Backs
When standard removal fails, panic and the use of improper tools (like household pliers) can destroy both the jewelry and your tissue. Refer to this diagnostic matrix to safely resolve the issue.
| Symptom | Technical Cause | Pro Solution |
|---|---|---|
| Threadless pin won't budge despite snapping motion. | The pin was over-bent during initial installation, or lymph fluid has calcified inside the shaft. | Apply a warm, sterile saline compress for 5 minutes to dissolve biological buildup. Use specialized jewelry removal pliers with rubber-dipped jaws to grip the front and back securely, applying controlled lateral pressure. |
| Internally threaded back spins freely but won't unscrew. | Cross-threading (the screw was forced in at an angle) or the post is spinning inside the fistula. | Stop immediately. Apply gentle forward pressure on the front end to stabilize the post while turning the back counter-clockwise. If cross-threaded, a piercer must use a hemostat to lock the post in place. |
| Flat back disc feels embedded or 'sunk' into the skin. | Tissue swelling, hypergranulation, or the post length is too short for your anatomy. | Do not dig into the tissue. Apply a warm compress to reduce localized edema. If the skin has grown over the edges of the disc, you must visit a professional piercer for a sterile downsizing and safe extraction. |
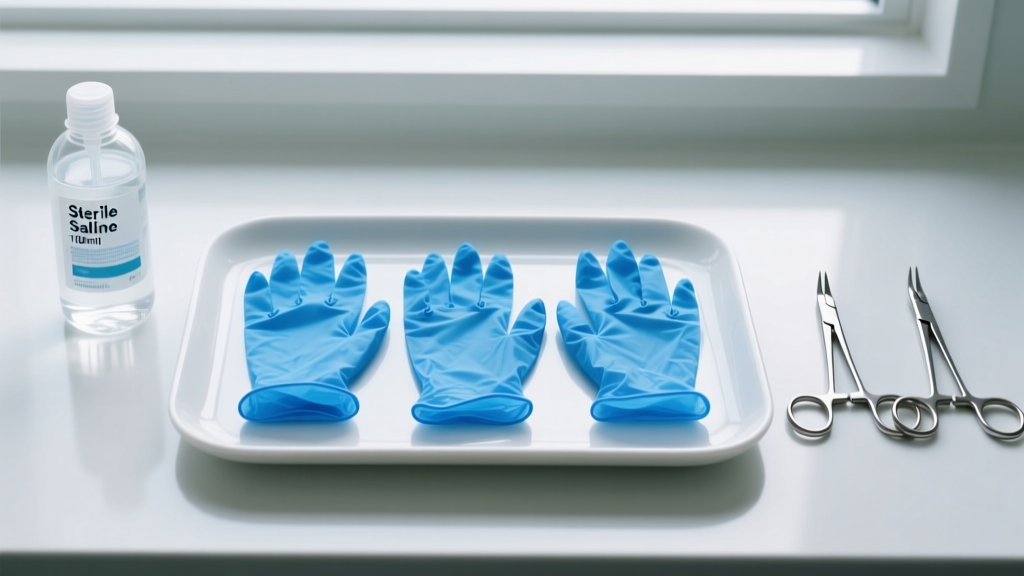
Material Science & Gauge Tolerances: Why Your Jewelry Snags
The ease of removing a flat back earring is directly correlated to the metallurgical quality and machining tolerances of the piece. Cheap jewelry manufactured from 'surgical steel' (often a misnomer for low-grade 316L stainless steel containing nickel) is prone to microscopic pitting and corrosion when exposed to the saline environment of the human body.
These microscopic pits create burrs along the post and the internal threads. When you attempt to remove the jewelry, these burrs catch on the delicate cellular walls of the fistula, causing pain and micro-trauma. Furthermore, low-grade manufacturing often results in poor thread tolerance, meaning the male and female components do not align perfectly, leading to chronic seizing.
By contrast, implant-grade titanium (specifically ASTM F136 compliant) features a mirror-polished finish that drastically reduces the coefficient of friction. The machining tolerances for high-end titanium jewelry are held to within 0.01mm, ensuring that internally threaded components glide apart smoothly without binding, and threadless pins maintain consistent, predictable tension.
'The jewelry you choose dictates the biology of your piercing. A mirror-finished ASTM F136 titanium flat back doesn't just heal faster; it removes without a single point of resistance. Your fistula should never feel like it's fighting the metal.' — Master Piercer, APP Member
Post-Removal Care and Piercing Maintenance
Once you have successfully navigated how to remove earrings with flat backs, the immediate aftercare of the empty channel is critical, especially if the jewelry was stuck or caused minor irritation during extraction.
Avoid the common internet myth of applying tea tree oil or rubbing alcohol to the piercing site. As noted by dermatologists regarding contact dermatitis, harsh astringents and essential oils strip the lipid barrier of the healing tissue, leading to severe contact dermatitis and delayed healing.
Instead, mist the area with a sterile, isotonic saline solution (0.9% sodium chloride with no additives). If you plan to leave the piercing empty for more than a few hours, be aware that cartilage fistulas can begin to constrict rapidly. If you are merely cleaning the jewelry, have your new, sterilized flat back ready for immediate reinsertion, utilizing a sterile taper if the channel has tightened.


