Repairing Earrings Pokemon Merch: Tarnish & Clasp Fixes
Learn how to troubleshoot and repair your favorite anime jewelry. We cover fixing tarnish, bent posts, and chipped enamel on collectible pieces.

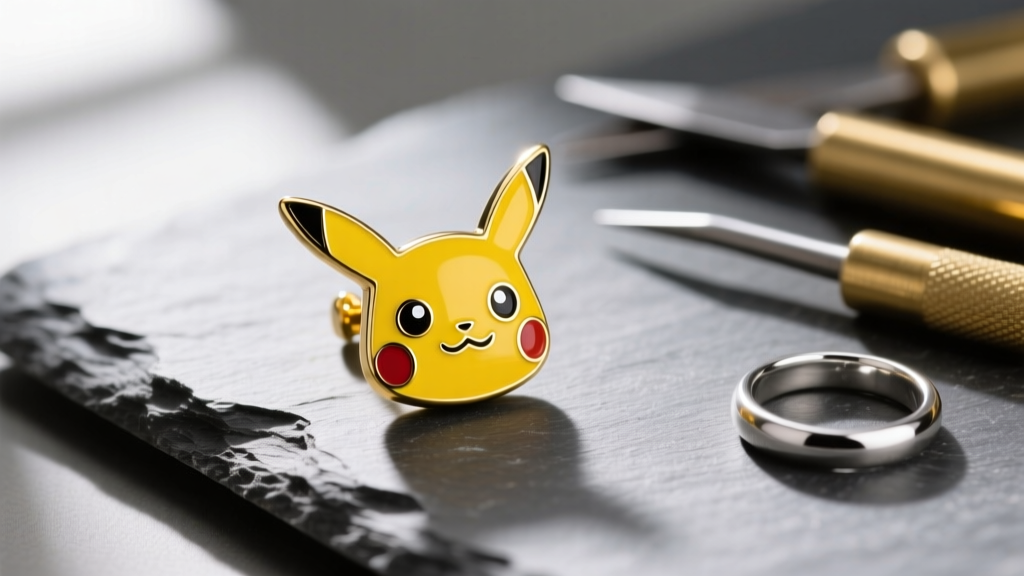
The secondary market for anime-inspired jewelry has exploded, with collectors and fans constantly hunting for rare accessories. However, the excitement of unboxing a new pair often fades when the reality of mass-produced merchandise sets in. If you have been searching for the perfect earrings pokemon fans recommend, you have likely encountered the dark side of licensed and bootleg anime merch: rapid tarnishing, severe allergic reactions, bent posts, and chipped enamel. Mass-produced novelty jewelry is rarely designed for longevity, but with a few bench-jeweler techniques, you can salvage, upgrade, and protect your favorite collectibles.
Diagnosing the "Green Ear" and Contact Dermatitis
The most frequent complaint among anime jewelry collectors is the dreaded "green ear" or sudden onset of itchy, flaky earlobes. This is rarely a sign of an infection; rather, it is a chemical reaction or an allergic response to the base metals used in cheap merchandise.
The Chemistry of Tarnish and Allergies
Most affordable novelty earrings are cast from Zamak, a zinc alloy containing aluminum, magnesium, and copper. When Zamak is plated with a microscopically thin layer of silver or gold-colored paint, it quickly wears off. Once the copper in the alloy is exposed to the chlorides, urea, and moisture in human sweat, it oxidizes, creating copper chloride—a green compound that stains the skin. Furthermore, many unregulated merchandise manufacturers use nickel as a hardening agent in their plating. According to the American Academy of Dermatology, nickel allergy is the most common cause of allergic contact dermatitis, affecting up to 36% of women and causing severe blistering on the earlobe.
Troubleshooting Fix: If your earrings turn your skin green but you love the design, you must create a physical barrier. While clear nail polish is a popular internet hack, it chips within days and degrades the underlying plating. Instead, use a specialized jewelry coating like JewelersSecret or a two-part automotive clear coat. Apply a micro-thin layer to the post and the back of the earring using a fine liner brush, allowing it to cure for 24 hours. For severe nickel allergies, the only true fix is to have a jeweler snip off the base-metal post and laser-weld an implant-grade titanium post in its place.
Post Bending and Friction Back Failures
Another hallmark of cheap anime merchandise is the use of exceptionally thin, soft-metal posts. Standard high-quality earrings use 20-gauge (0.81mm) or 18-gauge (1.02mm) wire for posts. However, to cut costs, many novelty manufacturers use 22-gauge (0.64mm) or even 24-gauge (0.51mm) brass wire. This results in posts that bend under the slight pressure of inserting them into the ear, and butterfly backs that slide off effortlessly, leading to lost merchandise.
Upgrading the Gauge and Clasp Mechanics
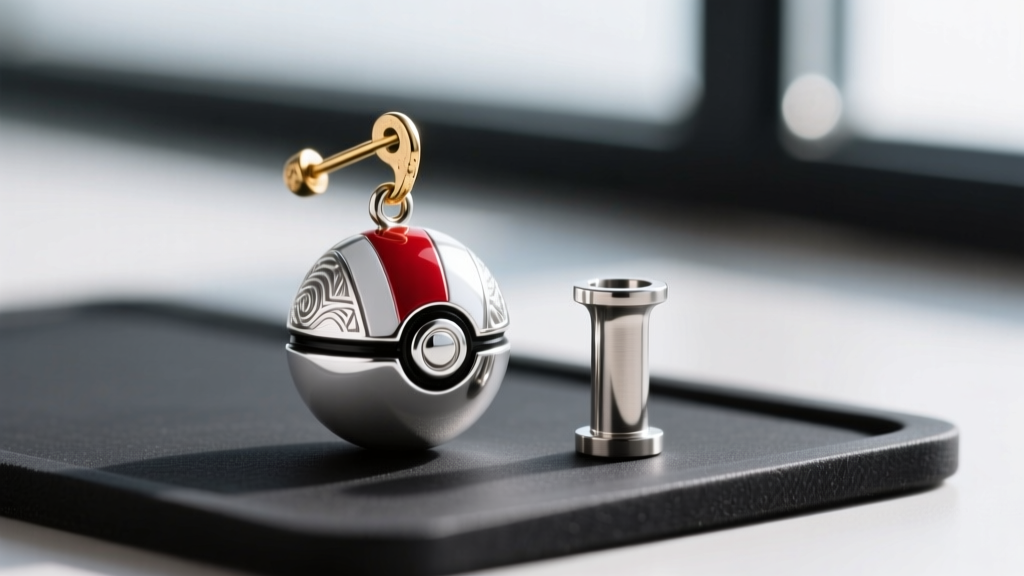
When dealing with a 22-gauge post that refuses to stay secure, attempting to bend it back into shape will inevitably cause metal fatigue and snap the post entirely. The immediate troubleshooting step is to upgrade the friction back. Swap out the standard metal butterfly clutch for a high-tension silicone O-clutch or a La Poussiere locking back, which grips thin wire much more aggressively than standard metal clasps.
If the post is already bent or broken, you can perform a DIY post replacement if you have a steady hand. Using flush cutters, snip the broken post as close to the earring base as possible. Sand the back flat with 600-grit sandpaper. You can then use a two-part metal epoxy (like J-B Weld Micro Steel) to affix a blank 18-gauge stainless steel post. Be sure to rough up the base of the new post with a needle file before gluing to ensure a strong mechanical bond. Allow the epoxy to cure for a full 48 hours before wearing.
Preserving and Repairing Chipped Enamel
Vibrant character designs rely heavily on enamel work. However, merchandise almost exclusively uses "cold enamel" (a pigmented epoxy resin) rather than vitreous enamel (glass fused to metal at high temperatures). Cold enamel is prone to shrinking, cracking, and chipping when exposed to temperature changes or physical impacts.
Troubleshooting Fix: If a chip occurs on a red or yellow section of your favorite design, do not attempt to fill it with paint, which will dry matte and porous. Instead, purchase a clear, UV-curing jewelry resin and a set of mica powder pigments. Mix a tiny amount of the matching mica powder into the UV resin on a glass palette. Using a dental pick or a toothpick, carefully drop the pigmented resin into the chipped void, ensuring it is perfectly level with the surrounding metal borders. Cure it under a 36-watt UV lamp for 60 seconds. This restores the glossy, glass-like finish and seals the metal underneath from moisture.
Material Comparison Table for Custom Upgrades
If you are commissioning a custom piece or buying from an independent metalsmith on platforms like Etsy, understanding the material specifications is crucial for avoiding future repairs. The Association of Professional Piercers (APP) sets strict guidelines for body-safe metals, which should be the gold standard for any jewelry resting in a piercing.
| Material | Nickel Content | Standard Post Gauge | Avg. Custom Price | Best Use Case |
|---|---|---|---|---|
| Zamak (Zinc Alloy) | Unknown/Trace | 22G - 20G | $10 - $25 | Display only; cosplay props |
| 316L Surgical Steel | 8% - 10% (Bound) | 20G - 18G | $30 - $60 | Healed lobes; non-sensitive ears |
| ASTM F-136 Titanium | 0% (Nickel-Free) | 18G - 16G | $65 - $120 | Sensitive ears; fresh piercings |
| Niobium | 0% (Nickel-Free) | 18G - 16G | $50 - $90 | Anodized color designs; sensitive ears |
| 14k/18k Solid Gold | Varies by alloy | 18G - 16G | $150 - $400+ | Heirloom collectibles; daily wear |
When to Use Conductive Epoxy vs. Laser Welding
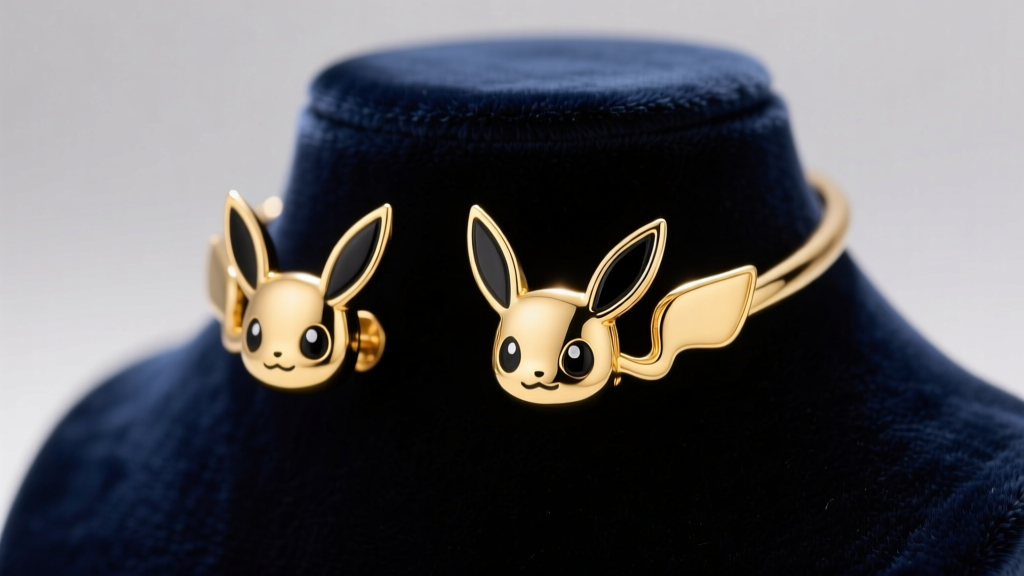
Dangle earrings featuring heavy charms—such as a dangling Snorlax or a complex Pokeball mechanism—frequently suffer from broken jump rings or snapped solder joints. The weight of the charm creates a pendulum effect that fatigues the metal at the connection point.
For a temporary or low-cost fix, you can use a conductive silver epoxy to reattach a broken jump ring. Clean both metal surfaces with isopropyl alcohol, apply the epoxy, and hold it in place with a third-hand soldering tool until it sets. However, epoxy has low shear strength and will eventually fail under the swinging weight of a heavy charm.
The permanent troubleshooting solution is laser welding. Unlike traditional torch soldering, which requires flux and high heat that can melt the cold enamel or scorch the character detailing, laser welding uses a concentrated beam of light to fuse the metal at a microscopic level. A local bench jeweler can typically laser-weld a broken jump ring or reattach a snapped post in under five minutes without applying any heat to the surrounding enamel or gemstones. Expect to pay between $25 and $45 per weld, a worthwhile investment to save a rare, discontinued piece of merchandise from the trash bin.
By understanding the metallurgy and mechanics behind your favorite accessories, you can transform fragile, mass-produced novelties into durable, wearable art that will last for years to come.


