How to Safely Stretch Your Lobes for Gages Earrings
Learn how to safely measure, stretch, and heal your earlobes for gages earrings. Expert steps on materials, taping, and avoiding blowouts.

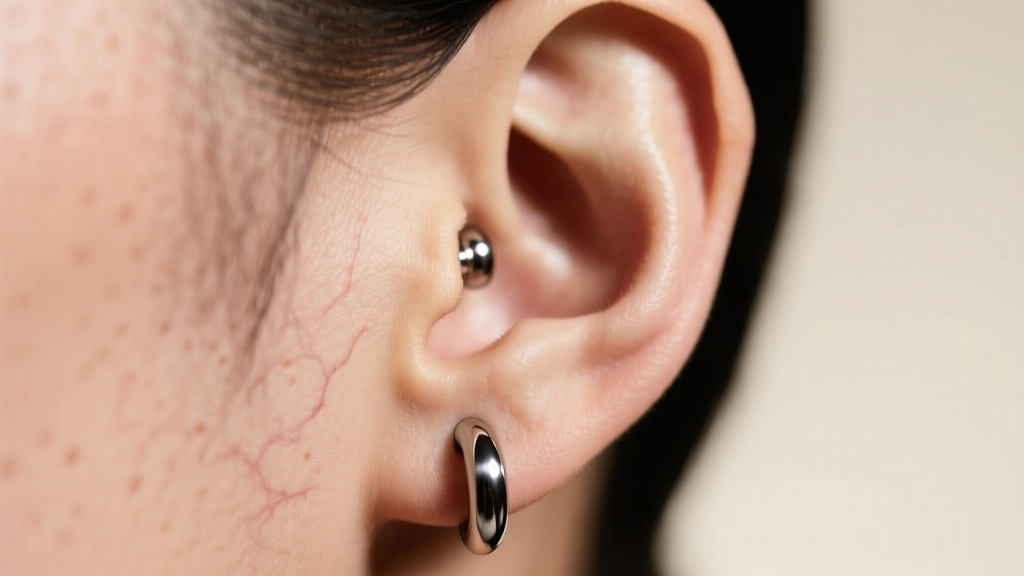
The Reality of Ear Stretching and 'Gages' Terminology
When diving into the world of modified earlobes, you will frequently encounter the search term gages earrings. While professional piercers and body modification artists technically refer to the jewelry as plugs, tunnels, eyelets, or saddles, 'gages' (a colloquial spelling of gauges) has become the dominant cultural shorthand for stretched lobe adornments. The term 'gauge' actually refers to the measurement system used for standard body jewelry, not the jewelry itself. However, understanding how to safely transition from a standard 18-gauge piercing to larger millimeter sizes requires a deep understanding of tissue physiology, material science, and patience.
Stretching your earlobes is a permanent or semi-permanent body modification that involves expanding the fistula (the skin tube of the piercing). The earlobe is composed of collagen, elastin, and vascular tissue. When stretched too quickly, the tissue cannot generate new cells fast enough, leading to micro-tears, scar tissue buildup, and the dreaded 'blowout.' This comprehensive guide will walk you through the exact methodologies, sizing charts, and material grades required to stretch your lobes safely in 2026 and beyond.
The Essential Sizing Chart: AWG vs. Millimeters
The most confusing aspect for beginners looking for gages earrings is the American Wire Gauge (AWG) system. In the AWG system, the smaller the number, the larger the jewelry. Once you pass 00g (approximately 10mm), the industry abandons the gauge system entirely and switches to fractional inches or millimeters. Relying on millimeters is the gold standard for precision, as AWG can vary slightly between manufacturers.
| AWG Size | Millimeters (mm) | Inches (Fraction) | Typical Wait Time Before Next Stretch |
|---|---|---|---|
| 14g | 1.6 mm | 1/16' | 1 - 2 Months (Initial healing) |
| 12g | 2.0 mm | 5/64' | 1 - 2 Months |
| 10g | 2.5 mm | 3/32' | 2 - 3 Months |
| 8g | 3.2 mm | 1/8' | 2 - 3 Months |
| 6g | 4.0 mm | 5/32' | 3 - 4 Months |
| 4g | 5.0 mm | 3/16' | 3 - 4 Months |
| 2g | 6.0 mm | 1/4' | 4 - 5 Months |
| 0g | 8.0 mm | 5/16' | 4 - 6 Months (The 'Point of No Return') |
| 00g | 10.0 mm | 3/8' | 6+ Months |
Note: The 'point of no return' is a generalized threshold. While many people can shrink their lobes back to a standard earring size from 0g, tissue elasticity varies wildly based on genetics, age, and how slowly the initial stretching was performed.
Step-by-Step: The PTFE Tape Stretching Method
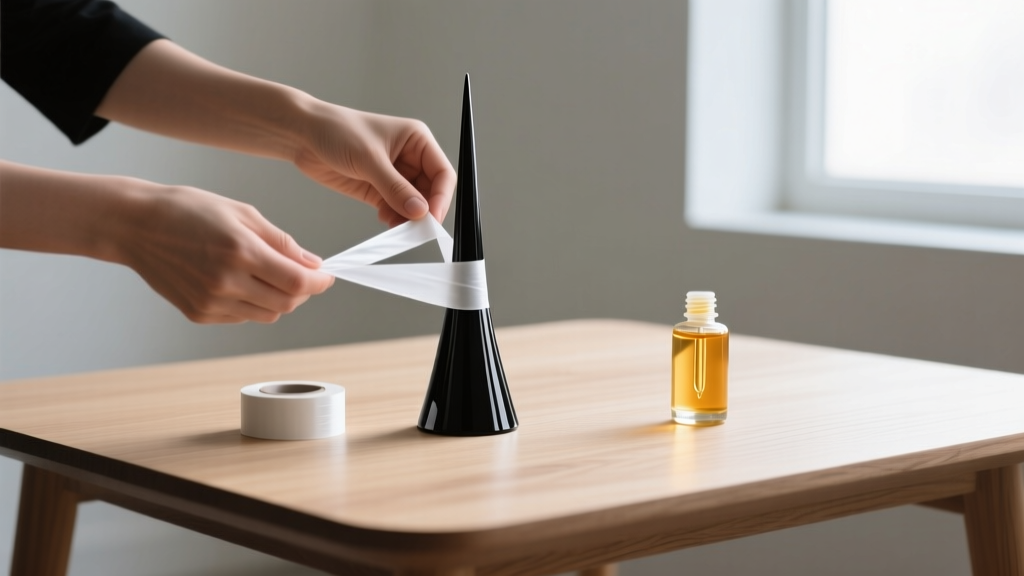
While many commercial shops sell metal 'tapers' for forcing jewelry through the fistula, professional piercers overwhelmingly advise against using tapers to jump sizes. Tapers apply uneven, aggressive pressure that can easily cause a blowout. The safest, most controlled method for inserting larger gages earrings is the PTFE (Teflon) tape method. This method allows you to increase the size of your current jewelry by fractions of a millimeter, forcing the tissue to adapt gradually.
Step 1: Preparation and Sourcing
Purchase genuine PTFE thread seal tape from a hardware store. Do not use electrical tape, duct tape, or medical tape, as these contain adhesives that will trap bacteria against the healing fistula and cause severe contact dermatitis. You will also need a high-quality, non-porous single-flare plug (glass or titanium) and a pure, cold-pressed lubricant like jojoba oil or vitamin E oil.
Step 2: Wrapping the Tape
Remove your current jewelry, clean it with sterile saline, and dry it completely. Wrap 2 to 3 layers of PTFE tape tightly around the wearing surface of the plug. The tape should be smooth, with no wrinkles or bulky seams. Apply a single drop of jojoba oil to the taped plug to reduce friction.
Step 3: Insertion and the Healing Window
Gently insert the taped plug into your lobe. It should feel snug, perhaps with a mild warmth, but never sharp pain. If you see white, blanched skin around the edges of the plug (a sign of restricted blood flow), remove it immediately, take off one layer of tape, and try again. Leave the tape on for 7 to 10 days. Once the lobe feels loose and the tape slides easily, remove the plug, peel off the tape, and re-wrap with 2 fresh layers. Repeat this process until you have built up enough tape to comfortably slide into the next standard millimeter size.
Material Grades: What to Wear (and Avoid)
When shopping for gages earrings, the material is just as critical as the size. A fresh stretch is essentially an open wound. Wearing porous or reactive materials will lead to chronic infections, foul odors, and tissue rejection. According to the Association of Professional Piercers (APP) Material Standards, only specific biocompatible materials should touch a healing fistula.
- ASTM F-136 Implant-Grade Titanium: The absolute gold standard. It is entirely nickel-free, lightweight, and highly polished. Avoid 'surgical steel,' which is a marketing term that often contains nickel and heavy alloys that can drag down and thin the lobe.
- Borosilicate Glass: Often known by the brand name Pyrex, this glass is non-porous, hypoallergenic, and can be sterilized in an autoclave. It is perfect for both single-flare plugs and heavy glass eyelets used for earlobe conditioning.
- Niobium: A highly reactive element that is safely anodized to create vibrant colors without the use of toxic paints or platings. Excellent for freshly stretched lobes.
Materials to Ban from Your Collection
Acrylic: Acrylic is highly porous, harbors bacteria, and can crack under pressure. It also off-gasses chemicals that cause severe irritation in fresh stretches.
Silicone: While popular for healed lobes, silicone grips the skin. If inserted into a fresh stretch, the lobe will swell, the silicone will trap the swelling, and the resulting pressure will almost guarantee a blowout.
Wood and Bone: Organic materials are beautiful but highly porous. They must never be worn in a stretching or healing lobe, as they will absorb moisture, swell, and breed bacteria.
Troubleshooting: Blowouts, Thin Spots, and Tears
Even with meticulous care, complications can arise. Understanding the physiology of these failure modes is crucial for anyone wearing gages earrings.
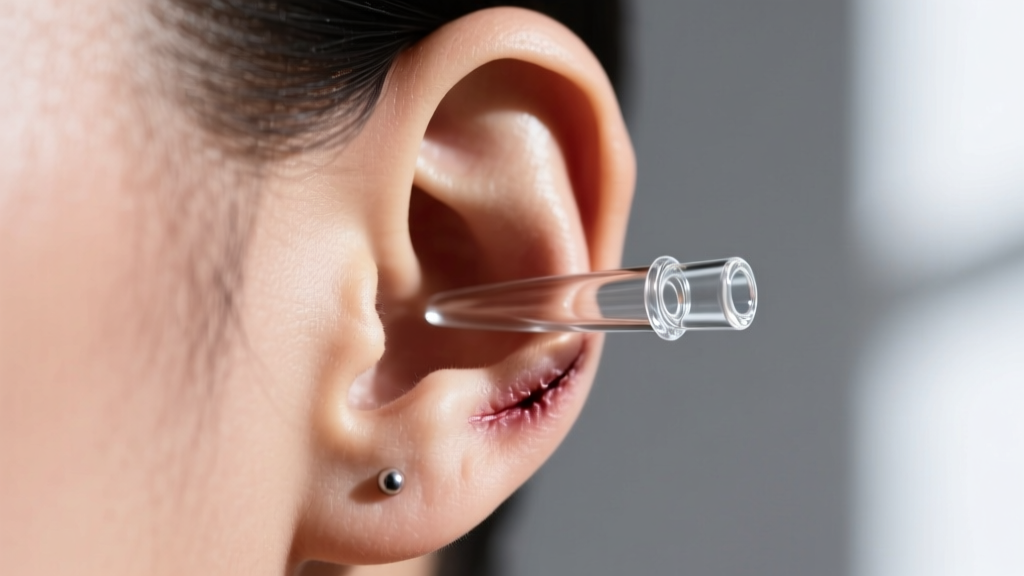
The Blowout (Fistula Prolapse)
A blowout occurs when the inner tissue of the fistula is pushed out through the back of the earlobe due to aggressive stretching. It looks like a red, fleshy ring protruding from the rear of the lobe. Immediate Action: Downsize your jewelry by 2 to 3 millimeters immediately to relieve pressure. Massage the area daily with jojoba oil to encourage blood flow and tissue remodeling. Do not attempt to stretch again until the blowout is completely reabsorbed, which can take months.
Lobe Thinning and 'Cat Ear'
If you stretch too quickly, or if you wear excessively heavy stone or steel gages earrings before the lobe has thickened, the bottom of the lobe will thin out. This can lead to a pinched, triangular shape known as a 'cat ear.' To prevent this, practice 'earlobe conditioning' by wearing lightweight glass or titanium plugs, and perform daily scalp and ear massages to stimulate collagen production.
Aftercare and Long-Term Maintenance
Once you have reached your desired size and the fistula is fully healed (which can take up to a year for larger sizes), maintenance shifts from healing to hygiene. The APP Aftercare Guidelines emphasize that stretched lobes require regular cleaning to prevent the buildup of sebum and dead skin cells, which cause the notorious 'stretched ear odor.'
'A healthy, healed fistula should be treated like the rest of your skin. Wash it daily in the shower with a mild, fragrance-free glycerin soap, and remove your jewelry at least once a week to clean the wearing surface and allow the lobe to breathe.'
Furthermore, always inspect the O-rings on your tunnels and plugs. Cheap rubber O-rings degrade, crack, and harbor bacteria. Upgrade to high-quality silicone or nitrile O-rings, and replace them every few months. By respecting the biology of your tissue, adhering to strict material standards, and utilizing the PTFE tape method, you can build a stunning, healthy collection of gages earrings that will last a lifetime.


