How to Fix, Clean, and Secure Push Back Earring Backs
Learn how to properly secure, clean, and troubleshoot push back earring backs. Expert tips on adjusting friction, gauge sizes, and hypoallergenic upgrades.

The Anatomy of Push Back Earring Backs
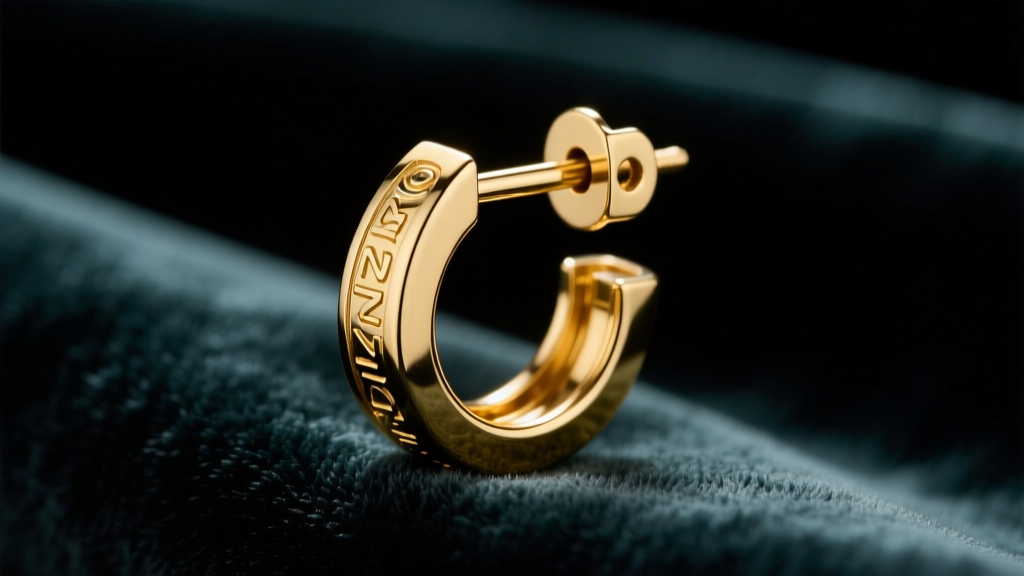
Push back earring backs—commonly referred to as friction backs, butterfly backs, or scroll backs—are the most ubiquitous securement mechanism in fine jewelry. Despite their popularity, they are the leading cause of lost diamond studs and heirloom gold earrings. To master their use, you must first understand their mechanical anatomy and the precise tolerances required for a secure fit.
A standard push back system consists of two main components: the notched post and the scroll back. The post is typically manufactured in standard wire gauges. The most common sizes are 20-gauge (0.81mm) for lightweight diamond studs and 18-gauge (1.02mm) for heavier gold hoops or gemstone earrings. The post features a physical groove or 'notch' machined approximately 1.5mm to 2mm from the tip. This notch is the primary locking mechanism.
The push back earring back itself features a central hole designed to match the post gauge, flanked by two or four tension loops (the 'wings'). When you push the back onto the post, these tension loops flex outward. As the central hole passes over the machined notch, the loops snap back into their neutral position, seating the metal edge into the groove and creating a physical and friction-based lock.
Step-by-Step Guide: How to Properly Adjust and Secure Friction
Over time, the tension loops on push back earring backs can stretch or flatten, causing the back to slide off the post too easily. Conversely, if the loops are squeezed too tightly during manufacturing, they can make the earring painfully difficult to remove. Here is how to calibrate the friction perfectly.
Tools Required
- Nylon-jaw pliers (essential to prevent marring precious metals)
- Jeweler's loupe (10x magnification)
- Microfiber polishing cloth
Step 1: Inspect the Post for Burrs
Before adjusting the back, examine the earring post under a loupe. If the post has microscopic burrs or scratches from repeated use, it will scrape the inside of the push back, degrading the tension loops over time. Gently polish the post with a jeweler's cloth to ensure a smooth glide.
Step 2: Apply Controlled Tension
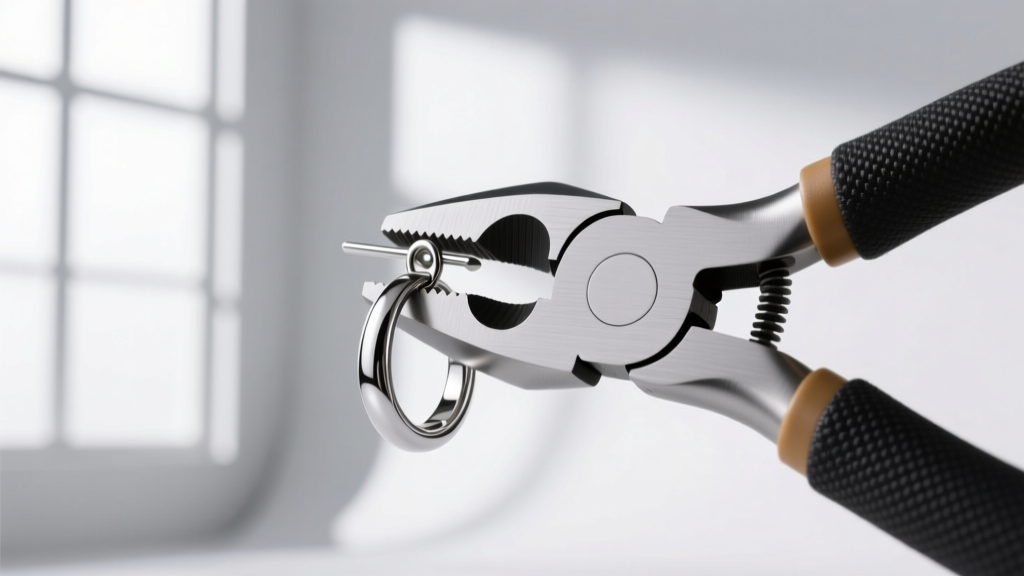
Using your nylon-jaw pliers, gently grip the outer edges of the tension loops on the push back earring back. If the back is too loose, apply a gentle inward squeeze—no more than 5 to 10 degrees of deflection. Test the back on the post. You should feel a distinct, audible 'click' as the back passes over the notch. If it is too tight, use the flat edge of a plastic spudger or the nylon pliers to gently pry the loops outward by 1 to 2 degrees.
Troubleshooting Common Push Back Earring Back Problems
Even with proper adjustment, environmental factors and daily wear can compromise the integrity of your earring backs. Use the following diagnostic table to identify and resolve common failure modes.
| Problem | Root Cause | Expert Solution |
|---|---|---|
| Back slides off during sleep | Tension loops have fatigued and lost their spring memory. | Squeeze loops inward with nylon pliers, or replace with a new solid gold back. |
| Painful to push onto the post | Post is bent, or loops are over-compressed. | Roll the post on a flat glass surface to check for bends; gently pry loops outward. |
| Earlobe itching and redness | Nickel leaching from brass-core plated backs. | Discard immediately and upgrade to solid 14k/18k gold or implant-grade titanium. |
| Post doesn't reach through the lobe | Standard 10mm post is too short for thicker lobes. | Purchase 'long post' extensions (12mm-14mm) from a specialized jeweler. |
Material Grades: Avoiding Contact Dermatitis
The material composition of your push back earring backs is just as critical as the earring itself. Many consumers experience allergic contact dermatitis because they pair solid gold earrings with cheap, gold-plated brass backs. According to the Mayo Clinic, nickel is one of the most common triggers for skin allergies, and it is frequently used in the base alloys of inexpensive jewelry findings to increase hardness.
When the microscopic gold plating on a cheap push back wears off from friction against the post, the underlying brass or nickel-silver alloy is exposed to the skin's moisture and sebum, triggering a reaction. To prevent this, always verify the metallurgical grade of your backs:
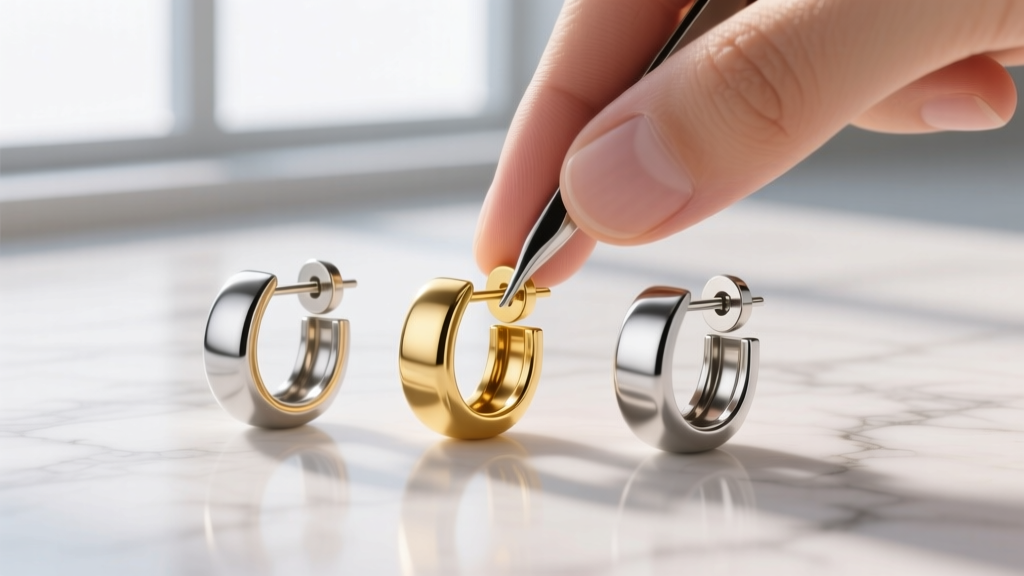
- 14k or 18k Solid Gold: The standard for fine jewelry. 14k (58.5% pure gold) offers excellent durability and spring memory for the tension loops, while 18k (75% pure gold) is softer and highly hypoallergenic but may require more frequent tension adjustments.
- Implant-Grade Titanium (ASTM F136): The absolute gold standard for hyper-sensitive ears or fresh piercings. Ti6Al4V contains zero nickel and is biologically inert.
- Surgical Stainless Steel (316L): A budget-friendly option, but it still contains trace amounts of nickel (around 10-14%). It is generally safe for healed lobes but not recommended for those with known nickel sensitivities.
Step-by-Step Cleaning and Maintenance Routine
Sebum, dead skin cells, and cosmetic residues rapidly accumulate inside the scroll loops and the central hole of push back earring backs. This buildup not only creates a breeding ground for bacteria but also acts as an abrasive paste that accelerates the wear of the earring post. The Gemological Institute of America (GIA) recommends regular, gentle cleaning to maintain both the hygiene and mechanical function of jewelry findings.
The 91% Isopropyl Soak Method
- Remove and Inspect: Take the push backs off the posts. Check the central hole for compacted debris.
- Prepare the Solvent: Fill a small glass beaker with 91% or 99% isopropyl alcohol. Avoid 70% rubbing alcohol, as the higher water content can promote oxidation on certain base metals.
- Soak: Submerge the push backs for 10 to 15 minutes. The alcohol will break down the lipid bonds of the sebum.
- Agitate: Use an extra-soft baby toothbrush to gently sweep the inside of the tension loops and the central hole. Never use a hard-bristled brush, as it can scratch high-polish gold.
- Dry Thoroughly: Blow dry with compressed air or a hair dryer on a cool setting. Trapped moisture can lead to localized corrosion.
Note: If your push backs are attached to earrings featuring porous gemstones like pearls, emeralds, or opals, do not use an ultrasonic cleaner or submerge the entire earring in alcohol, as this can dissolve the epoxy adhesives or damage the stone's surface.
When to Ditch Push Backs for High-Security Alternatives
While push back earring backs are convenient for daily wear, they are not infallible. If you are wearing high-value diamond studs (e.g., 1-carat+ solitaires) or heavy, oversized hoops that catch on clothing, the sheer mechanical force applied to the friction back can exceed its holding capacity. In these scenarios, consider upgrading your securement method:
- La Pousette Backs: These feature a mechanical locking mechanism with tiny levers that snap shut over a specialized notched post, providing a secondary physical lock that friction alone cannot match.
- Screw Backs: The post is threaded, and the back screws on. While highly secure, they require precise alignment and can be frustrating to thread if you have limited dexterity.
- Silicone O-Rings / Stoppers: A modern, inexpensive backup. Sliding a medical-grade silicone O-ring over the tip of the post, behind the push back, creates a high-friction barrier that makes accidental loss nearly impossible.
By understanding the mechanics, materials, and maintenance of push back earring backs, you can ensure your favorite studs remain secure, comfortable, and hygienic for years to come.


