The Ultimate Guide to DIY Shrinky Dink Earrings for Beginners
Learn how to craft, seal, and assemble custom Shrinky Dink earrings. Discover hypoallergenic hardware tips, sealing methods, and styling tricks.

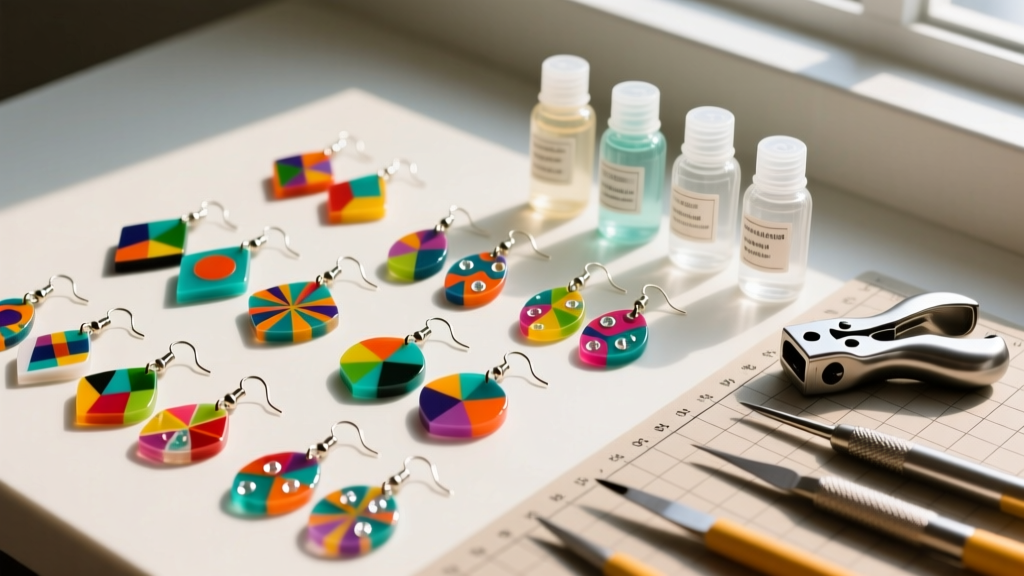
In 2026, the jewelry crafting community has fully embraced the nostalgic charm of shrink plastic, elevating it from a childhood craft to a medium for sophisticated, lightweight statement jewelry. If you are looking to create custom, vibrant accessories, learning how to make shrinky dink earrings is a highly rewarding endeavor. However, transitioning from basic crafting to creating durable, skin-safe, and professional-grade earrings requires a deep understanding of polymer science, proper sealing techniques, and hypoallergenic hardware selection.
This beginner-friendly explainer will walk you through the exact materials, temperatures, and assembly methods needed to craft shrink plastic earrings that won't irritate sensitive ears or degrade after a few wears.
The Science of Shrink Plastic: Understanding #6 Polystyrene
Shrinky Dinks and similar shrink plastic sheets are made from #6 plastic (polystyrene). During the manufacturing process, the plastic is heated and stretched into thin sheets. When you reheat the plastic in your oven (typically around 325°F or 163°C), it passes its glass transition temperature. The polymer chains relax and contract, causing the plastic to shrink to roughly one-third of its original size while becoming three times thicker.
This unique property makes it an incredible medium for earrings. The resulting pieces are exceptionally lightweight—perfect for large dangle earrings or ear cuffs that won't weigh down or stretch the earlobe over time.
Selecting Hypoallergenic Hardware for Sensitive Ears
The most common failure mode for beginner DIY jewelry makers is using cheap, mystery-metal earring posts. Because the shrink plastic charm itself is inert and hypoallergenic, any contact dermatitis or irritation will come directly from the metal post piercing the skin. According to the Association of Professional Piercers (APP), only specific grades of metal are safe for long-term wear in fresh or sensitive piercings.
For shrinky dink earrings, you should exclusively use Implant-Grade Titanium (ASTM F-136) or Niobium for the posts and hooks. Standard 'surgical steel' often contains nickel, which is a primary allergen.
Hardware Material Comparison Chart
| Material | Nickel Content | Safety Rating | Best Use Case |
|---|---|---|---|
| Implant-Grade Titanium (ASTM F-136) | 0% | Excellent | Earring posts, sensitive ear hooks |
| Niobium | 0% | Excellent | Colored anodized hooks, ear wires |
| 316L Surgical Steel | 8-12% | Poor for sensitive ears | Jump rings (if not touching skin) |
| Brass / Copper Alloys | Varies | Unsafe | Avoid entirely for body jewelry |
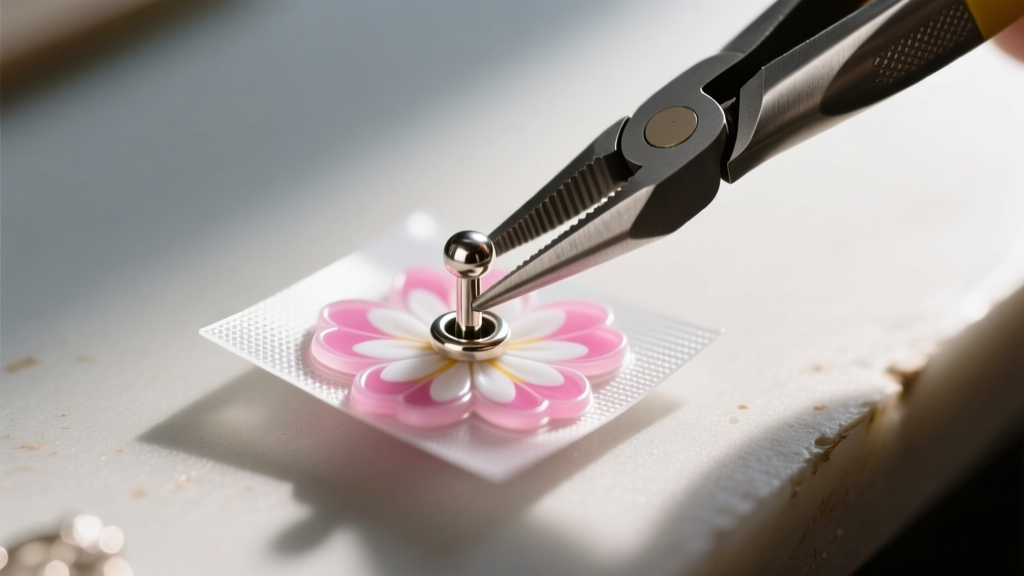
When purchasing titanium earring posts with flat glue pads, look for 20-gauge (0.8mm) or 18-gauge (1.0mm) posts, which are the standard sizes for lobe piercings. The flat pad should be at least 6mm in diameter to provide adequate surface area for adhesive bonding to the plastic.
Step-by-Step Crafting: Cutting, Baking, and Sealing
Creating professional-grade shrinky dink earrings requires precision at every stage. Here is the exact workflow used by indie jewelry designers.
1. Preparation and Cutting
- Coloring: If using inkjet printable shrink paper, print your designs and allow the ink to cure for at least 2 hours. If using plain shrink plastic, color with alcohol markers (like Copic or Ohuhu) on the rough side of the plastic.
- Cutting: Cut out your shapes using sharp micro-snips. Leave a 2mm border around intricate details to prevent tearing during the shrinking process.
- Punching: Use a standard 1/16-inch hole punch for jump ring attachments. Remember: the hole will also shrink by a factor of three!
- Sanding: Lightly sand the sharp cut edges with 400-grit sandpaper. This prevents the plastic from scratching the wearer's neck or ear.
2. The Baking Process
Preheat your oven to 325°F (163°C). Line a baking sheet with parchment paper (never use foil, as it conducts heat too aggressively and can scorch the plastic). Place your cutouts on the parchment. As they heat, the pieces will dramatically curl and twist—do not panic. This is the polymer chains releasing tension. After 1 to 3 minutes, they will flatten out. Once flat, let them bake for an additional 30 seconds to 'set' the shape, then remove and immediately press them flat with a heavy glass or acrylic block.
3. Sealing: The Most Critical Step
Unsealed inkjet ink or alcohol marker ink will smear upon contact with water, skin oils, or humidity. Furthermore, raw ink against the skin can cause staining and allergic reactions. You must seal your charms.
Pro Tip: Avoid water-based sealers like Mod Podge. They remain slightly tacky in humid environments and can cause contact dermatitis. Instead, use a high-quality, non-yellowing UV Resin (such as Sophie & Tofie or JDresin) or a specialized polyurethane jewelry spray. UV resin provides a glass-like, domed finish that completely encapsulates the ink, making it waterproof and skin-safe.
Apply a thin, even layer of UV resin to the front of the charm using a silicone brush. Cure it under a 36W UV/LED lamp for 60 to 90 seconds. Repeat for the back of the charm to ensure total encapsulation.
Assembly Techniques: Overcoming Adhesive Failure
Attaching the metal hardware to the plastic is where most beginners experience structural failure. The plastic is slightly flexible, while the metal is rigid. If you use a rigid glue like Super Glue (cyanoacrylate), the bond will snap when the earring is bumped. If you use E6000, the solvents can sometimes eat into the plastic or leave a messy, visible residue.
The Solution: Use the same UV resin you used for sealing to attach the earring post.
- Lightly scuff the back of the shrink plastic charm and the metal glue pad with 400-grit sandpaper to create mechanical 'tooth'.
- Wipe both surfaces with isopropyl alcohol to remove dust.
- Apply a small drop of thick-formula UV resin to the metal pad.
- Press the pad firmly onto the back of the charm, ensuring no resin squeezes out the sides.
- Hold it under a UV flashlight or in the lamp for 60 seconds to cure.
Troubleshooting Common Beginner Mistakes
- Bubbles in the Resin: If your UV resin has micro-bubbles, gently pass a lighter flame over the surface before curing, or use a heat gun on a low setting to pop them. For stubborn bubbles, use a toothpick to guide them to the edge.
- Uneven Shrinking: This happens when the oven temperature is uneven. Always use an oven thermometer to verify the internal temperature, as built-in oven dials are notoriously inaccurate.
- White Haze on Plastic: If your finished piece looks cloudy, it is likely because the shrink plastic was exposed to moisture before sealing, or you used a water-based sealer over alcohol ink. Always ensure the plastic is bone-dry and use compatible sealants.
Styling and Care Instructions
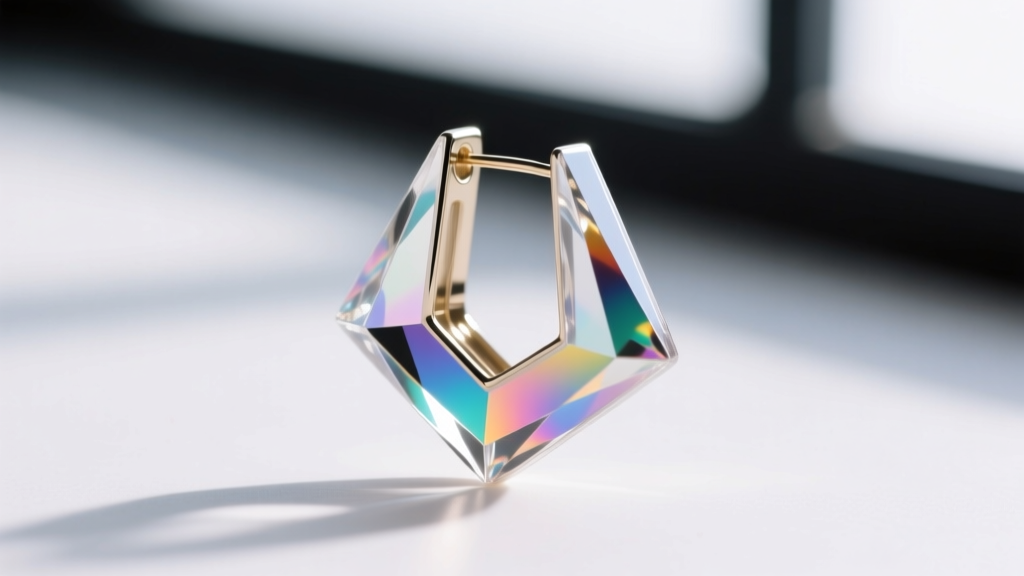
Because shrinky dink earrings are virtually weightless, they are ideal for creating oversized, architectural dangles or large hoops that would be painful in solid metal. They pair beautifully with minimalist titanium huggies or simple threadless labret studs for a balanced, modern aesthetic.
To care for your finished earrings, simply wipe them with a damp microfiber cloth and mild dish soap. Never use rubbing alcohol, acetone, or harsh jewelry dips, as these chemicals will degrade the UV resin over time, causing it to cloud or crack. Store them in a soft pouch away from direct, prolonged sunlight to prevent any long-term UV yellowing of the resin.
By mastering the intersection of polymer crafting and professional jewelry assembly, you can create a stunning, bespoke collection of shrinky dink earrings that are as durable and skin-safe as they are visually striking.


