Earring Back Stuck? Technical Removal and Prevention Guide
Learn how to safely remove an earring back stuck on your lobe or cartilage. Expert tips on friction, screw, and locking backs, plus prevention.

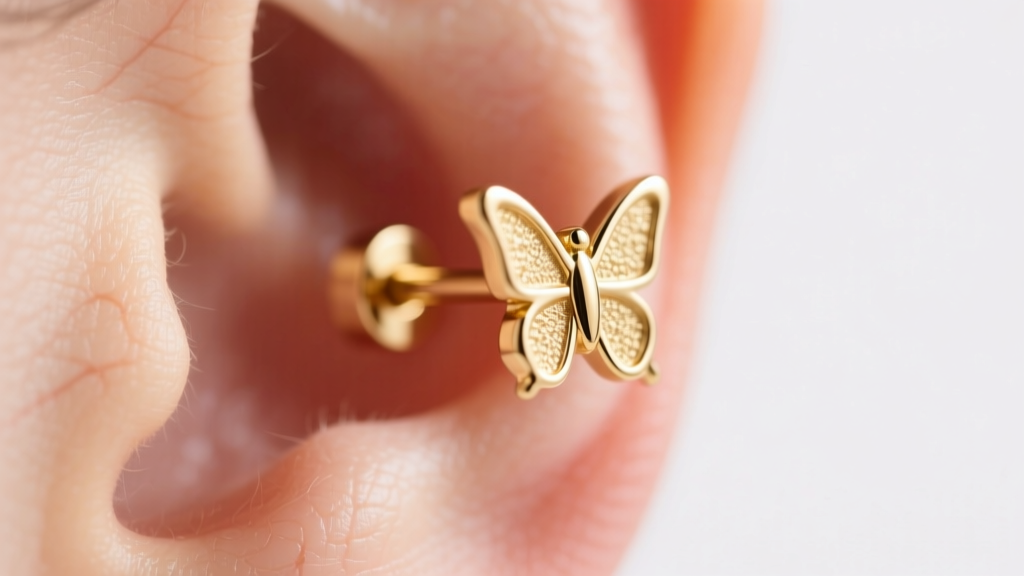
There are few jewelry-related emergencies that induce as much immediate panic as realizing your earring back stuck firmly in place, refusing to budge despite your best efforts. Whether you are dealing with a standard friction clutch on a 20-gauge lobe stud or an internally threaded titanium labret back on a cartilage piercing, forcing the mechanism is a guaranteed way to cause fistula trauma, metal galling, or severe tissue swelling. As jewelry professionals, we approach a stuck earring back not as a simple nuisance, but as a mechanical and biological failure that requires a precise, methodical solution.
In this expert deep dive, we will dissect the exact biomechanics of why earring backs seize, outline step-by-step technical removal protocols for every major backing type, and provide material science insights to ensure your fine jewelry remains secure yet easily removable.
The Biomechanics and Metallurgy of a Stuck Earring Back
To safely remove a seized earring back, you must first understand why it locked in the first place. The gap between an earring post and the inner diameter of a backing is typically less than 0.15 millimeters. This microscopic tolerance is highly susceptible to three primary failure modes:
- Sebum and Keratin Cementing: The human body continuously sheds dead skin cells (keratinocytes) and produces sebum (lipids). When mixed with soap residue, hard water minerals, and oxidized metal ions, this biological matter forms a dense, waxy cement inside the clutch mechanism.
- Metal Galling (Cold Welding): When two similar metals (like a titanium post and a titanium screw back) are subjected to friction and pressure, their crystalline structures can temporarily fuse. This is incredibly common in high-end body jewelry.
- Hydrostatic Tissue Swelling: Sleeping on a friction back pushes the metal flush against the skin, restricting lymphatic drainage. The resulting localized edema (swelling) essentially swallows the post, pulling the backing tighter against the tissue and creating a vacuum seal.
Identifying Your Earring Back Mechanism
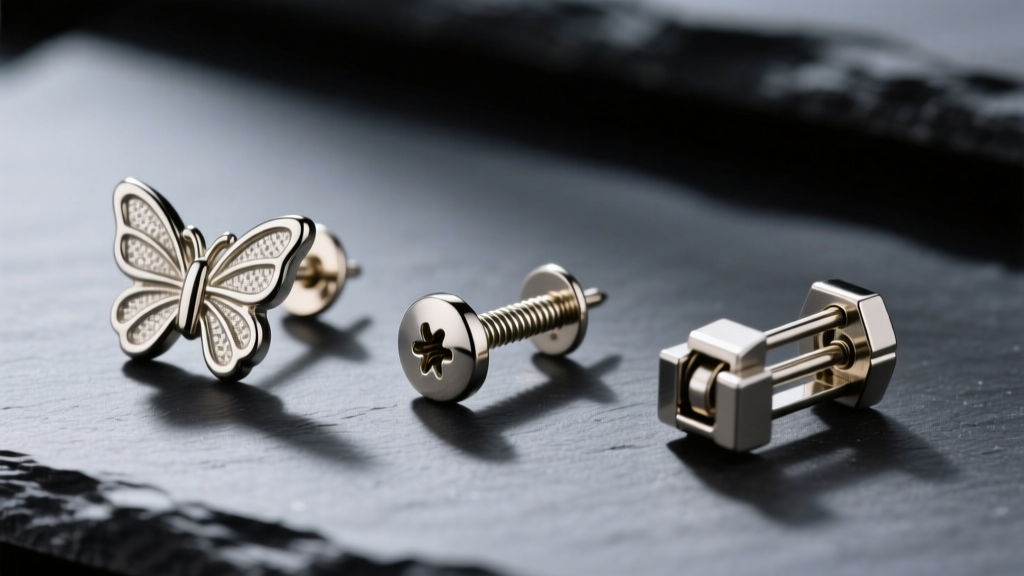
Before attempting removal, you must accurately identify the mechanical architecture of your jewelry. Applying the wrong removal vector will permanently destroy the piece.
1. Friction (Butterfly) Backs
Standard on most 20-gauge (0.81mm) and 18-gauge (1.02mm) commercial earrings. They rely on two rolled metal scroll tabs that grip the notches on the post. They fail most often due to sebum buildup or the tabs bending inward and clamping down on the post too tightly.
2. Internally and Externally Threaded Screw-Backs
Common in 16-gauge (1.29mm) and 14-gauge (1.63mm) cartilage and flat-back labret jewelry. The threading is typically M1.0 or M1.2. They become stuck primarily through cross-threading (forcing the thread at an angle) or galling.
3. Tension-Locking (La Pousette) Backs
High-end security backs featuring a dual-spring tension mechanism with a locking groove. They seize when microscopic debris enters the spring housing, preventing the tension tabs from depressing.
Technical Removal Protocols by Back Type
Critical Warning: Never use standard household pliers or wire cutters to remove a stuck earring back. The crushing force will deform the post, creating microscopic metal burrs that will severely lacerate the delicate fistula tract upon extraction.
Protocol A: The Friction Back (Sebum Lock)
- Thermal Softening: Soak a sterile cotton pad in warm (not hot) sterile saline solution (0.9% sodium chloride). Hold it against the earlobe and backing for 3 to 5 minutes. This softens the keratin-sebum matrix.
- Traction Enhancement: Dry the area completely. Put on textured nitrile medical gloves. Bare fingers lack the friction coefficient required to grip smooth gold or steel.
- The Pivot Technique: Do not pull straight out. Grip the post firmly behind the lobe with one hand. With the other hand, gently twist the butterfly back 45 degrees left, then 45 degrees right, while applying slow outward pressure. This breaks the sebum seal without tearing the tissue.
Protocol B: The Threaded Screw-Back (Galling & Cross-Threading)
If an internally threaded titanium back is stuck, it is likely galled.
- Lubrication: Apply a single drop of sterile, water-soluble surgical lubricant or pure jojoba oil to the seam where the post meets the back. Allow it to capillary-wick into the threads for 10 minutes.
- Counter-Torque: Using two pairs of sterile, rubber-tipped hemostats (or nitrile-gloved fingers), grip the flat back of the labret disc and the decorative front. Apply steady, continuous counter-clockwise torque. Do not jerk or pulse the movement, as this worsens cross-threading.
Protocol C: The Locking Back (Debris Jam)
If a La Pousette back will not unlock, the internal springs are jammed.
- Ultrasonic Cavitation: If the earlobe is not infected or highly inflamed, submerge just the backing (not the whole ear) into a small cup of warm water mixed with a drop of enzymatic cleaner. Use a portable 40kHz ultrasonic jewelry cleaner for 60 seconds to vibrate the debris out of the spring housing.
- Depress and Pull: Once cleaned, use two fingernails to push the side tabs inward simultaneously while pulling straight away from the post.
Material Science: Galling, Tolerances, and Buildup
The material composition of your earring post and back dictates how likely it is to become permanently seized. According to metallurgical standards referenced by the Association of Professional Piercers (APP), surface roughness and alloy hardness play massive roles in jewelry maintenance.
| Material Grade | Surface Roughness (Ra) | Galling Risk | Sebum Adhesion | Ideal Back Type |
|---|---|---|---|---|
| Implant-Grade Titanium (ASTM F136) | Low (<0.2 µm) | Moderate to High | Very Low | Internally Threaded (M1.2) |
| 316L Surgical Steel | Moderate | Low | High (Porous) | Friction or Externally Threaded |
| 14k/18k Solid Gold (Nickel-Free) | Very Low | Low | Low | Locking (La Pousette) or Threaded |
| Niobium | Moderate | High | Moderate | O-Ring Secured (No threads) |
Titanium is highly biocompatible, but its high surface friction makes it notoriously prone to galling if threaded components are forced. Gold, being a softer, more lubricious metal, rarely galls but is highly susceptible to bending if a 20-gauge post is subjected to lateral pressure during sleep.
Preventative Maintenance and Gauge Considerations
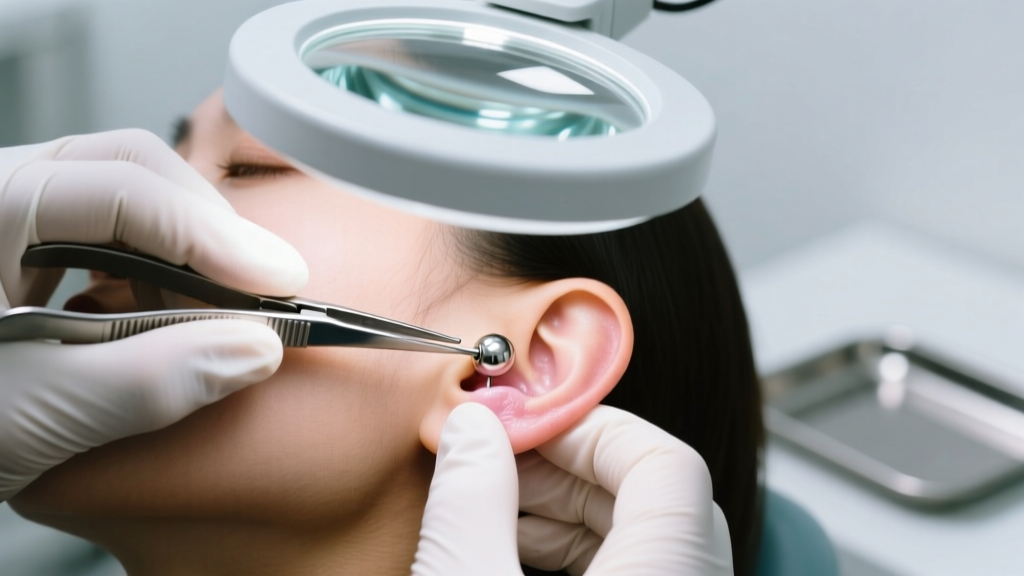
Preventing an earring back stuck scenario is vastly preferable to troubleshooting one. Your maintenance routine should be dictated by your jewelry's gauge and placement.
The Gauge Factor
Standard 20-gauge (0.81mm) posts are thin and flexible. When you sleep on them, the post bends microscopically. When you try to remove the butterfly back, it binds against this slight curve. Upgrading your basic lobe piercings to 18-gauge (1.02mm) or 16-gauge (1.29mm) provides the structural rigidity needed to keep friction backs sliding smoothly.
Weekly Ultrasonic Protocols
For fine jewelry worn 24/7, a weekly 3-minute bath in a 40kHz ultrasonic cleaner using a specialized jewelry solution will completely atomize the sebum and dead skin cells before they can oxidize and harden inside the clutch mechanism. The American Academy of Dermatology (AAD) frequently notes that accumulated debris around piercings can lead to contact dermatitis and localized infections, making mechanical cleaning a health necessity, not just a cosmetic one.
Nighttime Best Practices
Never sleep in standard butterfly backs. The pressure drives the metal into the tissue, causing the edema-swelling vacuum effect mentioned earlier. If you must sleep in your jewelry, transition to flat-back labret studs with internally threaded ends, which sit flush against the skin and distribute pressure evenly across the cartilage or lobe.
When to Escalate to Professional Intervention
There is a distinct line between a stubborn earring back and a medical emergency. You must cease all DIY removal attempts and seek professional help under the following conditions:
- The Post is Embedded: If the tissue has swollen over the back or the front of the earring, you are dealing with an embedding. A professional piercer can use a sterile taper and specialized hemostats to relieve the pressure. If the tissue is necrotic or highly infected, a dermatologist or urgent care physician must surgically remove it.
- Severe Cross-Threading: If an internally threaded titanium back has been cross-threaded and torqued tightly, the threads are mechanically destroyed. A piercer will need to use a sterile jeweler's saw or specialized cutting pliers to sever the post without pulling the jewelry through the fistula.
- Signs of Infection: If the earlobe is hot to the touch, weeping purulent discharge (yellow/green), or accompanied by a fever, do not attempt to remove the jewelry yourself. Removing the jewelry can trap the infection inside the tissue, forming an abscess. See a medical professional immediately.
By understanding the mechanical tolerances, material properties, and biological factors at play, you can safely navigate the stress of a stuck earring back. Treat your fine jewelry with the technical respect it demands, maintain strict ultrasonic hygiene, and always prioritize the health of your fistula over the preservation of a seized metal clutch.


