How to Style 3 Hoop Earrings: Beginner Ear Stack Guide
Learn how to style 3 hoop earrings with our beginner-friendly guide. Discover sizing rules, safe metals, gauge sizes, and stacking tips for a curated ear.

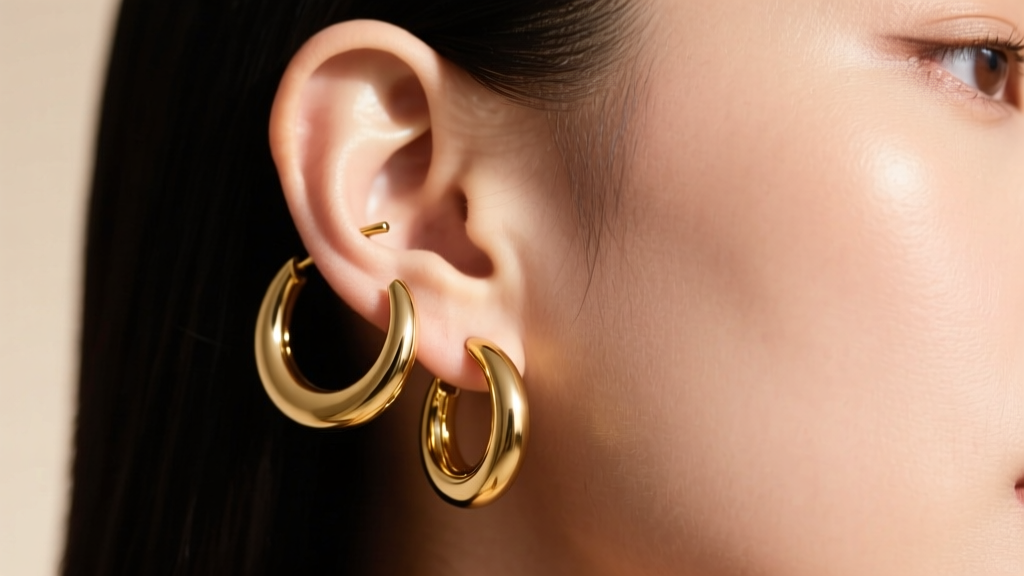
The 'Rule of Three' in Ear Stacking Explained
When it comes to curating a piercing stack, the human eye is naturally drawn to odd numbers. In jewelry design and visual styling, the 'Rule of Three' dictates that elements grouped in threes are inherently more satisfying, balanced, and memorable than even-numbered groupings. For beginners looking to elevate their everyday look, mastering how to style 3 hoop earrings is the ultimate entry point into advanced ear curation. A three-hoop stack provides enough visual weight to make a statement without crossing the line into clutter or overwhelming your facial features.
Unlike a single statement piece, a trio of hoops allows you to play with geometry, texture, and negative space. Whether you are working with three standard lobe piercings, or a combination of lobe, flat, and helix placements, the secret to a cohesive look lies in deliberate proportion and material consistency. In this 2026 beginner's guide, we will break down the exact sizing frameworks, metallurgical safety standards, and closure mechanics you need to build a flawless three-hoop stack.
Sizing Framework: The Descending Diameter Rule
The most common mistake beginners make when stacking hoops is choosing identical sizes for adjacent piercings. This creates a 'blocky' visual effect that obscures the natural anatomy of the ear. Instead, professional piercers and jewelry stylists recommend the Descending Diameter Rule. This principle involves anchoring your stack with the largest hoop at the lowest placement (usually the primary earlobe) and progressively decreasing the inner diameter as you move up the ear's cartilage ridge.
This technique mimics the natural tapering shape of the ear and ensures that each hoop has enough negative space to be appreciated individually. Below is a structural blueprint for the most universally flattering 3-hoop configuration.
| Piercing Placement | Ideal Inner Diameter | Standard Gauge Thickness | Visual Role in Stack |
|---|---|---|---|
| Primary Lobe (Anchor) | 15mm - 20mm | 18g (1.0mm) or 20g (0.8mm) | The focal point; frames the jawline. |
| Second Lobe / Flat (Bridge) | 10mm - 12mm | 18g (1.0mm) or 16g (1.2mm) | Connects the lobe to the upper ear. |
| Helix / Cartilage (Accent) | 8mm - 10mm | 16g (1.2mm) | The subtle finishing touch at the apex. |
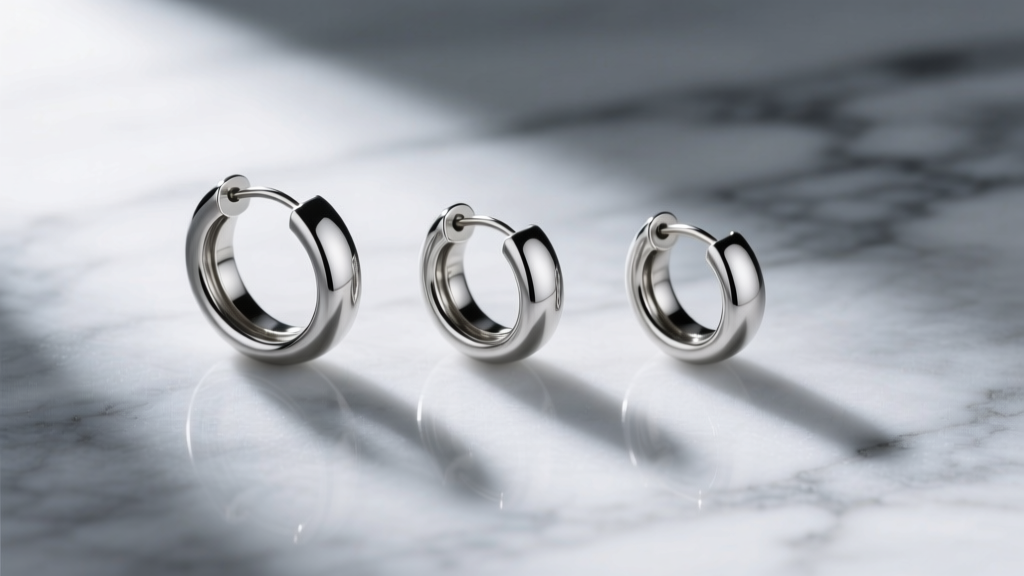
Decoding Gauges: Why Thickness Matters
Gauge refers to the thickness of the wire that passes through your piercing. Understanding gauge sizes is critical because forcing a wire that is too thick can cause micro-tears in the fistula (the piercing channel), while a wire that is too thin can lead to the 'cheese-cutter effect,' where thin jewelry slowly migrates and cuts through the tissue over time.
Standard Gauge Conversions for Hoops
- 20 Gauge (0.81mm): The standard for traditional earlobe piercings done with a needle or gun. Extremely delicate, best for lightweight, small-diameter hoops.
- 18 Gauge (1.02mm): The 'sweet spot' for most lobe and some cartilage piercings. Offers excellent structural integrity for 12mm to 20mm hoops without feeling heavy.
- 16 Gauge (1.29mm): The industry standard for cartilage, helix, and tragus piercings. If you are placing your third hoop in the upper ear, 16g is highly recommended to prevent migration and ensure the hoop sits flush against the anatomy.
Always verify the gauge of your existing jewelry using a digital caliper before purchasing new hoops. Guessing your gauge is the fastest way to end up with a jewelry box full of unwearable pieces.
Material Safety: What to Actually Buy
When wearing multiple hoops, especially in cartilage piercings that are prone to irritation bumps, material biocompatibility is non-negotiable. The market is flooded with misleading terms like 'hypoallergenic' or 'surgical steel,' which offer little actual protection for sensitive skin.
'Surgical stainless steel (often 316L) contains up to 10-14% nickel. For individuals with a nickel allergy, prolonged contact with surgical steel in a cartilage piercing will almost certainly result in contact dermatitis and irritation bumps.' - American Academy of Dermatology
To ensure your 3-hoop stack remains safe and comfortable, restrict your purchases to the following Association of Professional Piercers (APP) approved materials:
The Safe Metals Tier List
- Implant-Grade Titanium (ASTM F-136): The gold standard for sensitive ears and healing piercings. It is entirely nickel-free, lightweight, and highly polished. Look for brands that explicitly state 'ASTM F-136' rather than just 'titanium.'
- Niobium (ASTM B392): A highly reactive metal that is naturally nickel-free. It can be anodized into vibrant colors without using toxic dyes or plating. Slightly heavier than titanium but exceptionally safe.
- Solid 14k or 18k Gold (Nickel-Free Alloy): Ensure the gold is alloyed with silver, copper, or palladium—not nickel. Avoid gold-plated or gold-filled hoops for cartilage stacks, as the friction of the hoop moving through the piercing channel will eventually wear away the plating, exposing the base metal underneath.
Choosing the Right Closure Mechanism
The way a hoop closes dictates both its security and its aesthetic seamlessness. For a beginner building a 3-hoop stack, understanding closure types will save you from lost jewelry and snagged hair.
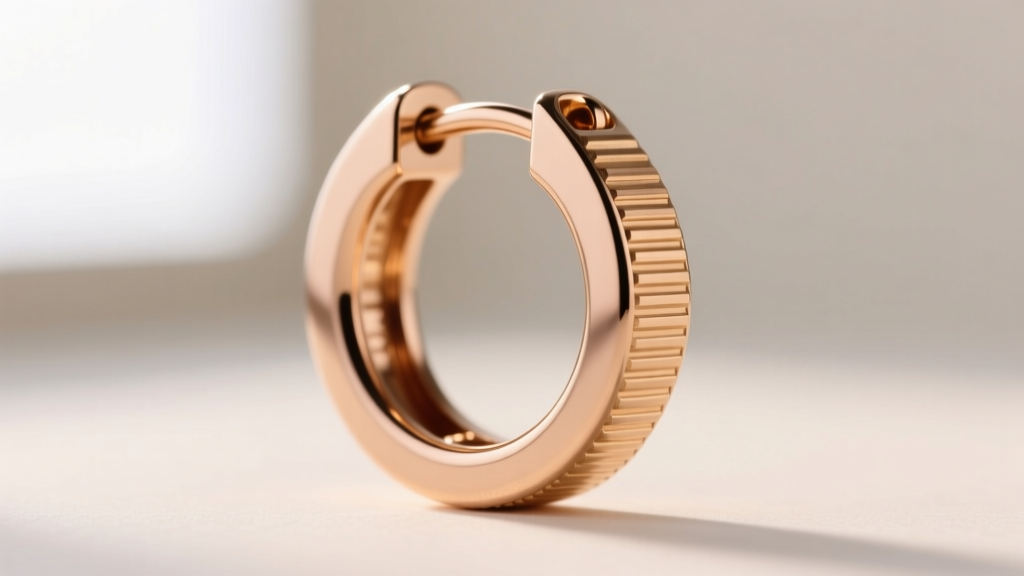
Clickers (Hinged Segment Rings)
Clickers feature a hinged segment that snaps into place with an audible 'click.' They are the most beginner-friendly option because they require no tools to open or close. The seam is usually virtually invisible, creating the illusion of a continuous ring. They are ideal for the helix and second lobe placements where maneuverability is limited.
Seamless / Continuous Hoops
These hoops feature a thin wire that tucks snugly into a hollow tube on the opposite end. While they offer the most flawless, uninterrupted circle, they can be notoriously difficult to open and close without slightly warping the metal. If you choose seamless hoops for your stack, invest in a pair of ring-opening pliers to prevent damaging the tension of the metal.
Captive Bead Rings (CBRs)
CBRs rely on the natural tension of the ring to hold a small bead in place. While highly secure, the visible bead interrupts the clean line of the hoop, which can make a 3-hoop stack look visually 'busy' or mismatched. CBRs are generally better suited for single, statement piercings rather than curated minimalist stacks.
Step-by-Step Styling: Achieving Visual Harmony
Now that you understand the technical specifications, here is how to execute the styling of your 3 hoop earrings in practice.
Step 1: Establish the Metal Tone. Stick to a single metal color across all three hoops. Mixing yellow gold, white gold, and titanium in a tight three-piece stack usually looks accidental rather than intentional. If you want contrast, mix textures (e.g., a hammered primary hoop with two high-polish accent hoops) rather than colors.
Step 2: Mind the Snag Zones. If you are an active sleeper or frequently wear over-ear headphones, avoid placing a large, loose 20mm hoop in your upper cartilage. Keep the larger, looser hoops confined to the lobes, and use tight-fitting 8mm clickers for the helix to prevent traumatic snags that can tear the tissue.
Step 3: Balance the Visual Weight. If your primary lobe hoop is exceptionally thick (e.g., a 3mm chunky tube hoop), your secondary and tertiary hoops should be slightly thicker as well (e.g., 1.5mm to 2mm) to maintain proportional harmony. Pairing a massive chunky lobe hoop with a razor-thin 0.8mm helix hoop will make the stack look unbalanced.
Budgeting for Your Stack in 2026
Building a high-quality, safe 3-hoop stack requires a strategic approach to budgeting. Because cartilage piercings are highly sensitive to poor metallurgy, it is not advisable to buy cheap, mystery-metal hoops from fast-fashion retailers.
- The Entry-Level Safe Tier ($45 - $90 per hoop): Brands like BVLA (basic lines), Maria Tash, and premium Etsy sellers specializing in ASTM F-136 titanium offer excellent, safe clickers and seamless rings. A full 3-hoop stack in this tier will cost between $135 and $270.
- The Fine Jewelry Tier ($150 - $400+ per hoop): For solid 14k or 18k gold, diamond-accented clickers, or custom-anodized niobium from high-end studios, expect to invest significantly more. This tier is recommended for fully healed piercings where long-term wear and heirloom quality are the priority.
By prioritizing implant-grade materials, adhering to the descending diameter rule, and selecting the correct gauge for your specific anatomy, you can master the art of the 3-hoop stack. This beginner-friendly framework ensures your ear curation will not only look professionally styled but will also maintain the long-term health and integrity of your piercings.


