How to Style, Clean, and Verify 14k Gold Shrimp Earrings
Learn how to authenticate, style, and clean 14k gold shrimp earrings. Our step-by-step guide covers gauge sizes, ear stacking, and textured gold care.

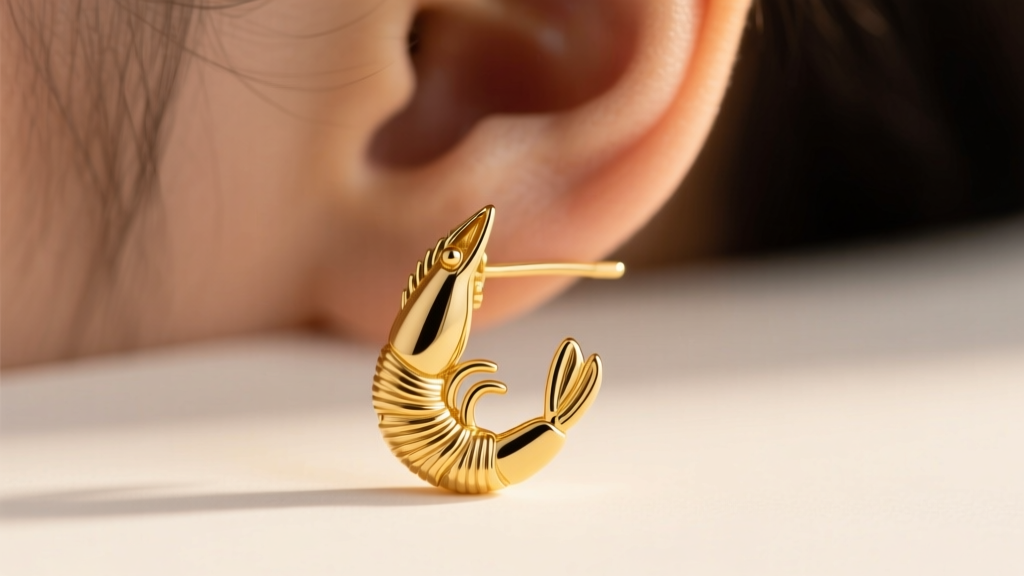
Nature-inspired jewelry has taken the accessory world by storm, and among the most sought-after niche designs are 14k gold shrimp earrings. Characterized by their intricate, ribbed, and segmented textures that mimic the shell of a crustacean, these earrings offer a tactile, organic alternative to traditional smooth hoops or studs. However, the very crevices that give shrimp earrings their unique visual appeal also present specific challenges regarding maintenance, authentication, and styling.
Whether you are investing in a pair of textured huggies for your everyday ear stack or a set of dramatic shrimp drop earrings for evening wear, understanding the metallurgy and care requirements of 14k gold is essential. This step-by-step guide will walk you through verifying authenticity, selecting the correct gauge, curating a balanced ear stack, and deep-cleaning textured gold without damaging the delicate ridges.
Step 1: Authenticating Your 14k Gold Shrimp Earrings
Because shrimp earrings feature complex, labor-intensive texturing, they are prime targets for counterfeiters who use gold-plated brass or copper to mimic the weight and color of solid gold. According to the Gemological Institute of America (GIA), 14k gold consists of 58.3% to 58.5% pure gold, with the remainder composed of alloy metals like copper, silver, and zinc. This specific alloy matrix is crucial for shrimp earrings; pure 24k gold is too soft and would cause the intricate shell ridges to flatten out against the skin over time.
The Hallmark and Magnet Verification Method
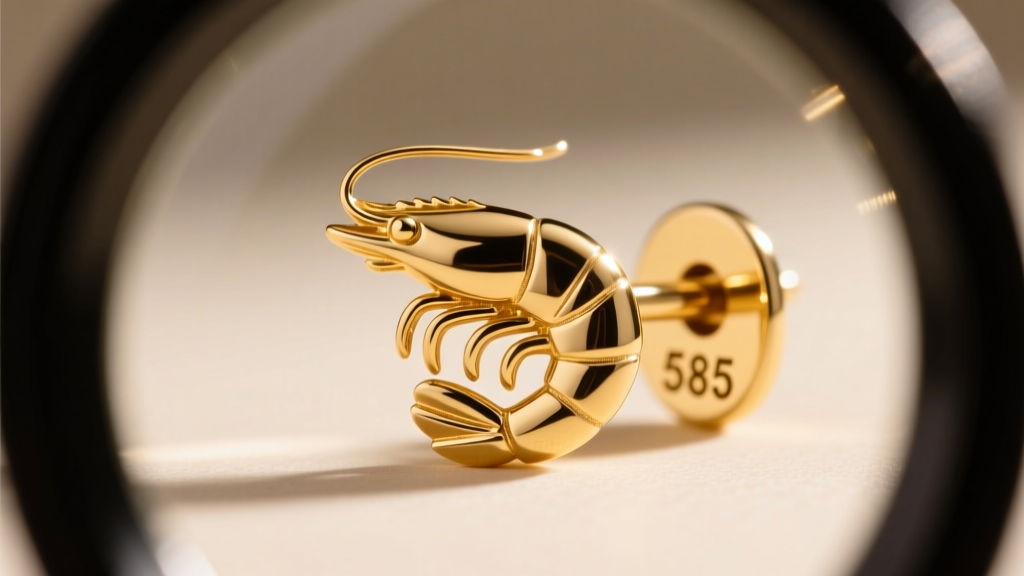
- Locate the Stamp: Use a 10x jeweler's loupe to inspect the earring post, the inside of the huggie hinge, or the base of the butterfly clutch. You are looking for "14K", "14KT", or the European standard "585".
- The Magnet Test: Gold is diamagnetic. Hold a strong neodymium magnet near the earring. If the shrimp earring is pulled toward the magnet, it contains a ferromagnetic core (like iron or steel) and is merely gold-plated.
- The Ceramic Streak Test: Gently drag an inconspicuous part of the earring across an unglazed ceramic tile. Real 14k gold will leave a golden-yellow streak, while pyrite or plated brass will leave a dark, blackish-green streak.
Step 2: Sizing and Gauge Selection for Lobe vs. Cartilage
The visual weight of the ribbed shrimp texture means that sizing is critical. A huggie that is too thick will overwhelm a delicate earlobe, while one that is too thin may lose the intricate detailing that defines the crustacean aesthetic. Furthermore, cartilage piercings require different gauges to prevent the "cheese-cutter effect," where a heavy, textured earring migrates through the tissue.
| Piercing Placement | Recommended Gauge | Ideal Inner Diameter (Huggies) | Style Notes |
|---|---|---|---|
| Standard Lower Lobe | 20G (0.8mm) or 18G (1.0mm) | 8mm - 10mm | Best for classic shrimp huggies; allows the textured segment to wrap snugly. |
| Upper Lobe / Second Hole | 18G (1.0mm) | 6mm - 8mm | Opt for mini shrimp studs or tightly coiled shell crawlers to avoid tangling with hair. |
| Helix / Cartilage | 16G (1.2mm) | 10mm - 12mm | Requires a thicker post for structural integrity; ensure the clasp doesn't press into the cartilage ridge. |
| Tragus | 16G (1.2mm) | 6mm (Flat Back) | Shrimp texture flat-backs are ideal; avoid hinged hoops which can catch on phone receivers. |
Step 3: Step-by-Step Ear Stack Integration
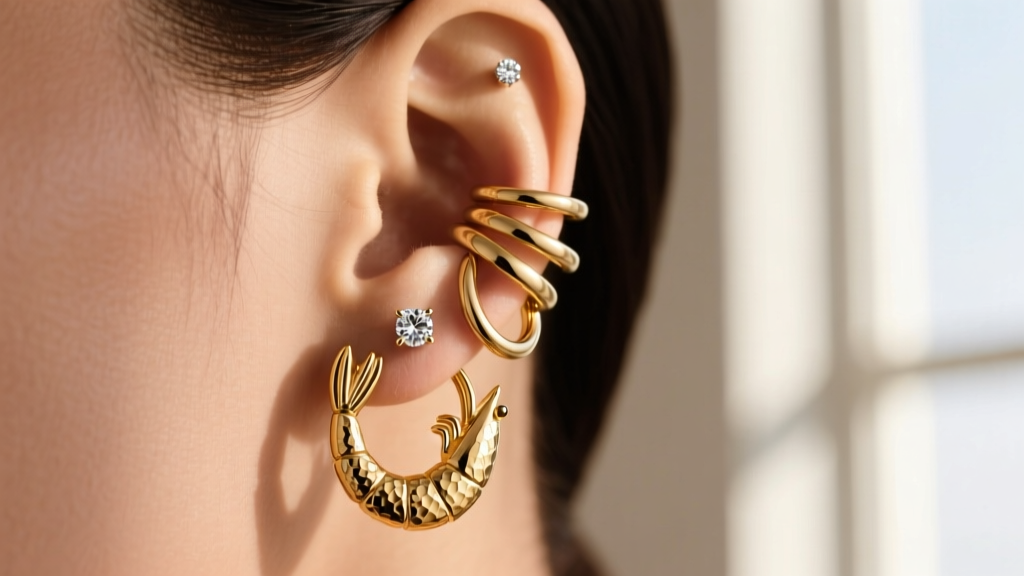
Shrimp earrings are inherently "loud" due to their light-catching ridges and shadows. The golden rule of ear stacking in 2026 is textural contrast. If your primary lobe piercing features a heavily ribbed 14k gold shrimp huggie, your secondary and tertiary piercings should feature smooth, minimalist, or gemstone-accented pieces to create a balanced visual hierarchy.
The Rule of Thirds Stacking Formula
- Piercing 1 (The Anchor): 14k Gold Shrimp Huggie (10mm inner diameter). This provides the organic, statement base.
- Piercing 2 (The Bridge): A seamless, untextured 14k gold mini-hoop or a simple gold bead. This gives the eye a place to rest.
- Piercing 3 (The Accent): A micro-pavé diamond stud or a tiny bezel-set opal. The brilliance of the stone contrasts beautifully with the matte or semi-polished finish of the shrimp shell texture.
Step 4: The Ultrasonic vs. Chemical Cleaning Debate
The most significant challenge of owning textured jewelry is the accumulation of sebum, dead skin cells, and environmental pollutants in the microscopic valleys of the shrimp shell design. Over time, this buildup creates a dull, grayish film that masks the warm luster of the 14k gold.
While Jewelers of America often recommends ultrasonic cleaners for plain gold, you must avoid ultrasonic machines if your shrimp earrings feature any gemstone accents. The 40kHz high-frequency vibrations can easily fracture micro-pavé settings or loosen the prongs holding small diamonds within the textured ridges. Instead, use this manual, step-by-step deep-cleaning method:
- Prep the Solution: Fill a small glass bowl with warm (not hot) distilled water and add three drops of phosphate-free, mild dish soap (like Dawn). Avoid harsh chemical dips, which can strip the alloyed copper from the surface of rose or yellow gold, leading to a splotchy appearance.
- The Soak: Submerge the earrings for exactly 5 to 7 minutes. This softens the keratin and sebum buildup trapped in the ribbed segments.
- Agitate Gently: Using an extra-soft baby toothbrush (never a standard adult toothbrush, as the bristles can cause micro-scratches on high-polish gold accents), gently brush along the grain of the shrimp texture. Use short, flicking motions to dislodge debris from the crevices.
- Rinse and Dry: Rinse under a gentle stream of lukewarm distilled water. Pat dry with a lint-free microfiber cloth. Do not air dry, as hard water spots will cling to the textured ridges.
Pro Tip: Never use toothpaste or baking soda pastes to clean your 14k gold shrimp earrings. These substances contain silica and calcium carbonate, which are harder than gold alloys and will permanently sand down the crisp edges of the crustacean shell detailing.
Pricing Expectations and Long-Term Storage
When shopping for solid 14k gold shrimp earrings, pricing is heavily dictated by the gram weight and the complexity of the casting or CNC milling used to create the texture. Below is a current market breakdown for authentic, solid 14k pieces:
| Earring Style | Average Gold Weight (Per Pair) | Estimated Price Range |
|---|---|---|
| Shrimp Huggies (Small) | 1.2g - 1.8g | $140 - $260 |
| Shrimp Huggies (Chunky) | 2.5g - 3.5g | $280 - $450 |
| Textured Shrimp Drops | 3.0g - 5.0g | $350 - $650 |
| Shrimp Ear Cuffs (No Pierce) | 0.8g - 1.2g | $90 - $160 |
To preserve the structural integrity of the hinges and the crispness of the texture, always store your shrimp earrings in individual anti-tarnish flannel pouches. The ribbed edges can easily scratch smoother, softer jewelry pieces if tossed into a communal jewelry box. By following these authentication, styling, and cleaning protocols, your 14k gold shrimp earrings will retain their organic brilliance and structural detail for decades.


