How to Style, Clean, and Wear Chain Diamond Earrings
Master the art of wearing chain diamond earrings. Learn step-by-step styling, precise cleaning methods, and chain link durability for everyday wear.

The Anatomy of Chain Diamond Earrings
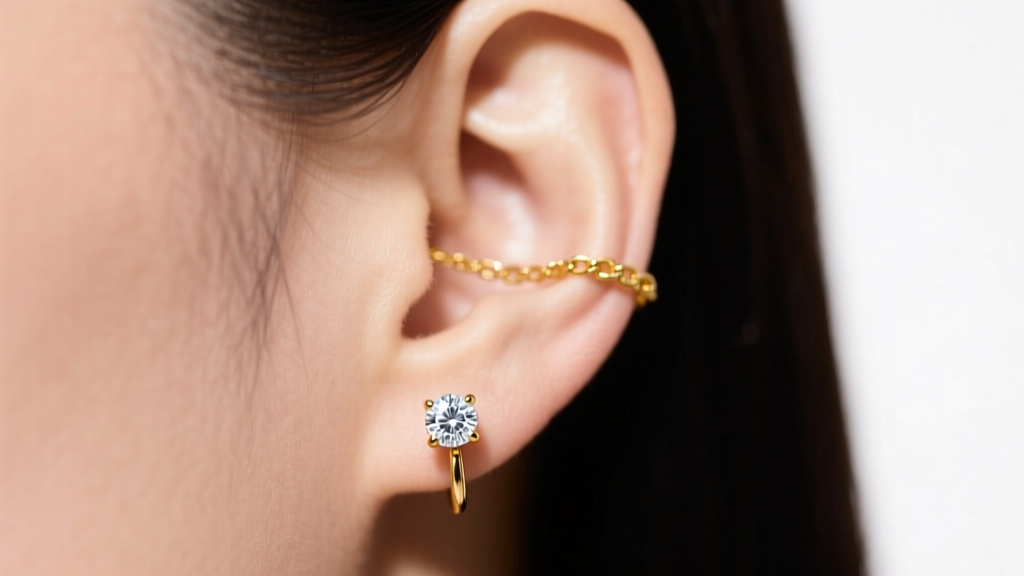
Chain diamond earrings represent a masterclass in kinetic jewelry design. Unlike static studs or rigid hoops, chain earrings introduce movement, catching the light with every turn of the head. In 2026, the trend has shifted heavily toward modular threaders and asymmetrical drop chains, moving away from the rigid, heavy designs of the early 2020s. However, the very feature that makes them captivating—the delicate, articulated chain—also makes them uniquely vulnerable to tangling, stretching, and snagging.
Whether you are navigating the complexities of threading a 22-gauge wire through a fresh lobe piercing or trying to restore the brilliance of melee diamonds clouded by daily oils, mastering the mechanics of chain earrings is essential. This comprehensive, step-by-step guide will walk you through selecting the right metallurgical grades, threading them safely, styling them for your specific anatomy, and executing a professional-grade cleaning protocol at home.
Step 1: Selecting the Optimal Chain Link and Diamond Grade
The longevity of your chain diamond earrings depends entirely on the intersection of chain link geometry and metal hardness. A common mistake is prioritizing the diamond carat weight while ignoring the structural integrity of the chain itself. When dealing with precious metals, the alloy composition dictates how the chain will behave under the micro-tensions of daily wear.
Metal Hardness and Gauge Sizing
Most high-end threader earrings utilize either 14k or 18k gold, or platinum. While 18k gold (75% pure gold) offers a richer, warmer hue, it is inherently softer than 14k gold (58.3% pure gold). If you are purchasing a chain earring with a heavy diamond pendant at the terminus, 14k gold or platinum is mandatory to prevent the chain from stretching over time. Furthermore, the wire gauge matters immensely. Standard threaders are crafted in 20-gauge (0.81mm) or 22-gauge (0.64mm). While 22-gauge offers a more delicate, invisible look, 20-gauge provides the necessary rigidity to push through the piercing without bending.
Chain Link Durability Matrix
| Link Type | Durability | Snag Risk | Best Use Case |
|---|---|---|---|
| Box Chain | High | Low | Everyday wear, heavy diamond drops |
| Wheat Chain | Very High | Very Low | Heirloom pieces, high-tension threaders |
| Cable Chain | Medium | High | Occasional wear, lightweight melee accents |
| Rope Chain | Medium-High | Medium | Textured looks, vintage-inspired drops |
Decoding Melee Diamond Specifications
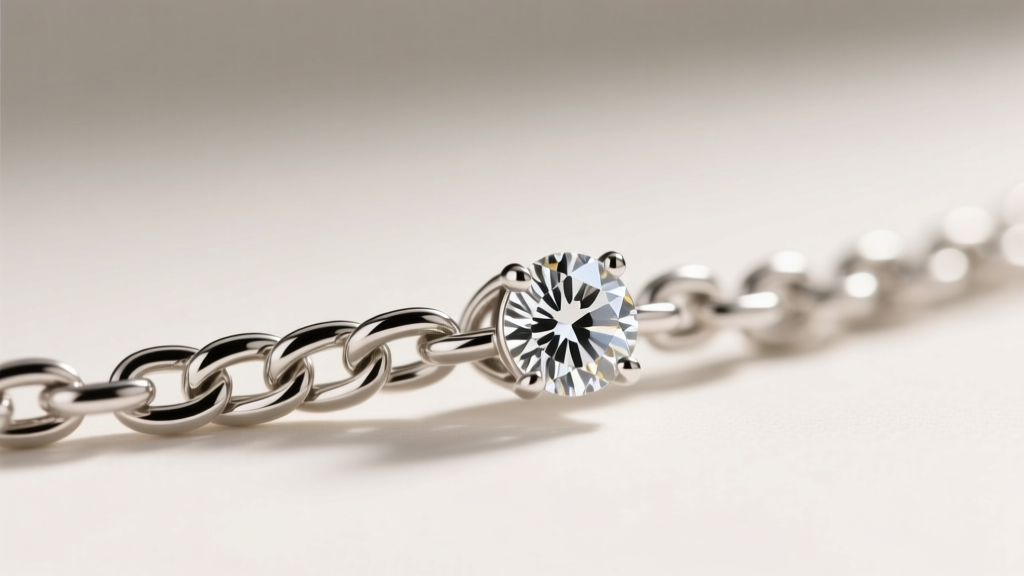
Chain earrings rarely feature large center stones; instead, they rely on 'melee' diamonds (typically ranging from 0.01 to 0.15 carats). When evaluating these, insist on full-cut melee (57-58 facets) rather than single-cut (17-18 facets). Full-cut melee reflects light in a way that mimics larger stones, creating a continuous ribbon of brilliance as the chain moves. According to the Gemological Institute of America (GIA), even small melee diamonds should ideally fall in the G-H color range and VS clarity to ensure they do not appear milky or dead when viewed in motion.
Step 2: How to Thread and Secure Your Earrings Safely
Threading a chain earring requires a different technique than inserting a standard post. Forcing a delicate chain through a piercing can result in micro-tears in the metal links or trauma to the earlobe. Follow this precise methodology to ensure a smooth, painless insertion.
- Prep the Piercing: Ensure your hands are washed with antibacterial soap. If the piercing is tight or newly healed, apply a microscopic drop of sterile saline solution to the lobe to act as a lubricant.
- Align the Needle/Post: Most threaders feature a rigid, tapered metal 'needle' at the leading edge. Hold this needle between your thumb and forefinger, keeping the chain trailing behind it completely straight to prevent micro-kinks.
- The Insertion Angle: Insert the needle perpendicular to the earlobe. Do not angle it upward or downward, as this can cause the trailing chain links to catch on the inside of the fistula (the piercing hole).
- Pull-Through Technique: Once the needle clears the back of the lobe, gently pinch the needle and pull the chain through until you reach your desired length. Never pull by the diamond bezel; always pull by the metal chain or the needle itself.
- Securing the Drop: For threaders that rely on friction, ensure the silicone stopper (if provided) is pushed flush against the back of the lobe. For drop chains with a fixed backing, ensure the jump ring connecting the chain to the backing is soldered shut, not merely pressed together, to prevent the chain from slipping out.
Step 3: Styling Frameworks for Face Shapes and Necklines
The kinetic nature of chain diamond earrings makes them an incredible tool for balancing facial proportions. Because they draw the eye vertically, they can be manipulated to alter the perceived shape of the face and neck.
Face Shape Guidelines
- Round Faces: Opt for long, linear chain drops (2.5 to 3.5 inches) that terminate in a single, sharp geometric diamond shape (like a pear or marquise cut). This creates an elongating optical illusion.
- Square Faces: Choose threaders with soft, undulating curves or multiple small, round brilliant melee diamonds scattered along the chain. The movement softens strong jawlines.
- Heart-Shaped Faces: Utilize asymmetrical chain styling. Wear a shorter, choker-length chain earring on one side and a longer, shoulder-grazing drop on the other to balance a narrower chin.
'Chain earrings are the ultimate editorial tool. In 2026, we are moving away from symmetrical perfection. Mismatching the chain lengths—leaving one threader long and sweeping, while keeping the other tucked closely behind the earlobe—creates an effortless, dynamic tension that photographs beautifully.' — Elara Vance, Senior Jewelry Stylist
Step 4: The Precision Cleaning Protocol
Because chain earrings sit close to the neck and hair, they are magnets for sebum, hairspray, and dead skin cells. This buildup not only dulls the melee diamonds but also acts as an abrasive paste between the chain links, accelerating metal wear. The Jewelers of America recommends regular, gentle cleaning over harsh chemical baths.
The DIY Soak and Brush Method
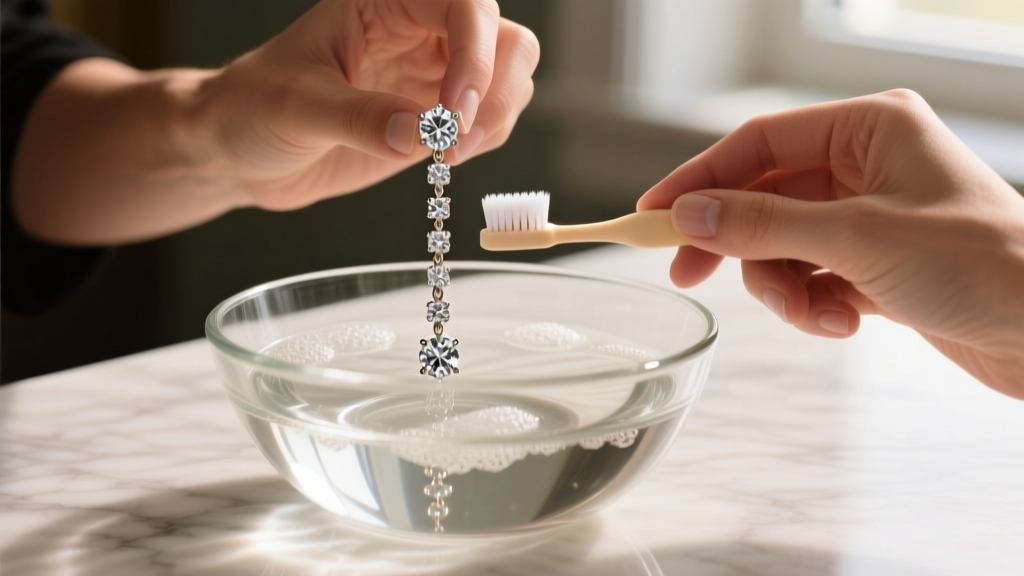
- Mix the Solution: In a small glass bowl, combine 1 cup of warm (not hot) distilled water, 3 drops of mild, ammonia-free dish detergent (like Dawn), and 1/2 teaspoon of household ammonia. Note: Skip the ammonia if your earrings feature secondary porous stones like pearls or opals.
- The Soak: Submerge the chain diamond earrings for exactly 15 minutes. This loosens the lipid bonds of skin oils trapped under the diamond girdles.
- The Agitation: Using a brand-new, extra-soft baby toothbrush, gently brush the underside of the diamond settings (the pavilion). Do not scrub the chain links aggressively; instead, let the bristles glide over them to dislodge debris.
- The Rinse and Dry: Rinse under a gentle stream of lukewarm water. Critical Step: Place the earrings on a microfiber cloth and use a hairdryer on the 'cool' setting to blow water out of the microscopic chain crevices. Air-drying leaves hard water spots that mimic diamond cloudiness.
What to Avoid: The Ultrasonic Danger
While ultrasonic cleaners are fantastic for solid diamond studs, they are highly dangerous for delicate chain earrings. The high-frequency vibrations can easily snap 22-gauge wire links, tangle the chain into an unbreakable micro-knot, or shake loose the melee diamonds if the prongs are even slightly worn. Always stick to the manual soak-and-brush method for articulated jewelry.
Troubleshooting: Tangles and Snags
If your box or cable chain develops a knot, never pull it tight. Lay the earring flat on a hard, well-lit surface. Apply a single drop of baby oil or olive oil directly to the center of the knot to lubricate the metal. Take two fine sewing needles and gently work them into the center of the knot, wiggling them in opposite directions to loosen the links. Once the knot yields, wipe the chain clean with a jewelry polishing cloth to remove the oil residue. With proper threading, mindful styling, and meticulous cleaning, your chain diamond earrings will remain a fluid, brilliant staple in your collection for decades.