How to Style and Maintain Emerald Huggie Earrings
Learn how to style, clean, and maintain emerald huggie earrings. Discover expert tips on gold pairings, hinge care, and protecting treated stones.


As we move through 2026, the trend of the 'curated ear' has evolved from maximalist clutter to intentional, heritage-focused minimalism. Sitting perfectly at this intersection are emerald huggie earrings—a sophisticated blend of everyday wearability and high-end gemstone luxury. Unlike traditional drop earrings, huggies are designed to 'hug' the earlobe, providing a secure, comfortable fit that rarely snags on clothing or hair. However, combining a delicate natural gemstone with a mechanical hinge system requires specific knowledge to ensure longevity. This comprehensive guide will walk you through the anatomy, styling, and meticulous care routines required to keep your emerald huggies looking pristine for decades.
The Anatomy of High-Quality Emerald Huggie Earrings
Before diving into styling and maintenance, it is crucial to understand the structural components that dictate the quality and comfort of your earrings. A premium huggie relies on three main factors: the wire gauge, the inner diameter (ID), and the hinge mechanism.
- Wire Gauge: Most high-quality huggies are crafted in 16-gauge (1.2mm) or 18-gauge (1.0mm) wire. A 16-gauge thickness is ideal for standard lobe piercings, providing enough structural integrity to support the weight of genuine emeralds without bending. If you are wearing them in a healed helix or flat piercing, an 18-gauge wire is often preferred to accommodate tighter cartilage fistulas.
- Inner Diameter (ID): The ID determines how closely the earring hugs the ear. A 10mm to 12mm ID is standard for earlobes, ensuring the earring rests flush against the skin without pinching. For upper ear cartilage piercings, a smaller 8mm to 9mm ID is typically required.
- Hinge Mechanisms: The hallmark of a luxury huggie is the barrel hinge or click-snap closure. Unlike cheap friction-backed hoops, a precision-machined click hinge produces a satisfying 'snap' when closed, securing the post into a recessed catch. This prevents the earring from accidentally opening during sleep or physical activity.
Step-by-Step: Styling Your Huggies for Maximum Impact
Emeralds possess a unique, deeply saturated green hue that behaves differently depending on the metal alloy it is set in. Styling emerald huggie earrings is an exercise in color theory and spatial balance.
Choosing the Right Metal Alloy
The metal you choose dramatically alters the visual temperature of the emerald. 18k Yellow Gold is the traditional pairing; its warm, rich undertones amplify the verdant, organic nature of the emerald's 'jardin' (internal inclusions). Conversely, 14k White Gold or Platinum provides a stark, icy contrast that makes the green appear more vivid and modern. For 2026, two-tone settings—featuring a yellow gold hoop with a white gold bezel around the emerald—are dominating high-jewelry trends, offering the best of both worlds.
The Intentional Ear Stack
When building an ear stack around an emerald huggie, treat the huggie as the anchor piece in your primary lobe piercing. Follow these steps for a balanced stack:
- Primary Lobe: Emerald huggie (11mm ID).
- Secondary Lobe: A simple, bezel-set diamond or white sapphire stud (4mm - 5mm) to provide sparkle without competing with the emerald's color.
- Upper Lobe / Helix: A minimalist gold threader or a small, unadorned gold clicker hoop to draw the eye upward without adding visual clutter.
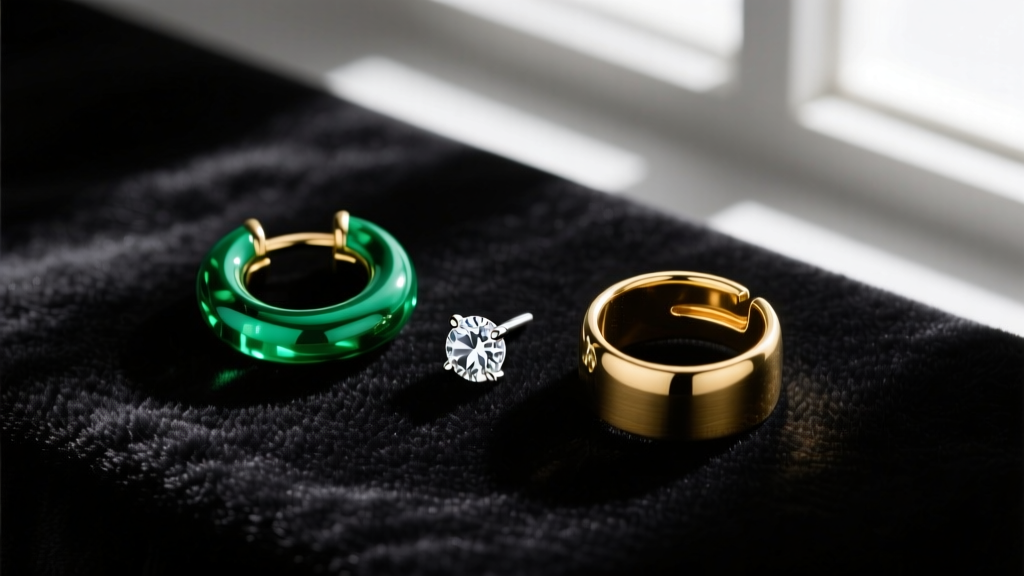
"The secret to a timeless ear stack is negative space. Let the emerald huggie do the heavy lifting; surround it with quiet, textural gold pieces rather than competing colored gemstones." — Master Jeweler & Appraiser, 2026
The Science of Emeralds: Treatments and Vulnerabilities
To properly care for emerald huggie earrings, you must understand the gemological realities of the stone. According to the Gemological Institute of America (GIA), the vast majority of emeralds on the market are fracture-filled with oils, waxes, or synthetic resins (like Opticon) to improve their apparent clarity and stability.
Because emeralds rank between 7.5 and 8 on the Mohs scale of hardness, they are relatively hard but possess poor toughness. They are inherently brittle due to their natural inclusions. This means that while they resist scratching better than quartz, they are highly susceptible to chipping from hard knocks and thermal shock.
Durability Comparison: Emerald vs. Alternatives
| Gemstone | Mohs Hardness | Toughness | Common Treatments | Ultrasonic Safe? |
|---|---|---|---|---|
| Emerald | 7.5 - 8 | Poor (Brittle) | Oils, Resins (Opticon) | NO |
| Sapphire | 9 | Excellent | Heat Treatment | YES |
| Diamond | 10 | Good | Laser Drilling, Fracture Filling | CAUTION |
Step-by-Step Cleaning and Maintenance Routine
The most common mistake jewelry owners make is treating emeralds like diamonds. As warned by the International Gem Society (IGS), exposing treated emeralds to ultrasonic cleaners, steamers, or harsh chemicals will strip the oil from the fractures, leaving the stone looking cloudy, fractured, and dull. Furthermore, the high-frequency vibrations of an ultrasonic bath can literally shatter a heavily included emerald.
Follow this meticulous, step-by-step cleaning routine every 3 to 4 weeks to maintain the brilliance of your emerald huggies and the mechanical integrity of the hinge.
Step 1: Preparation
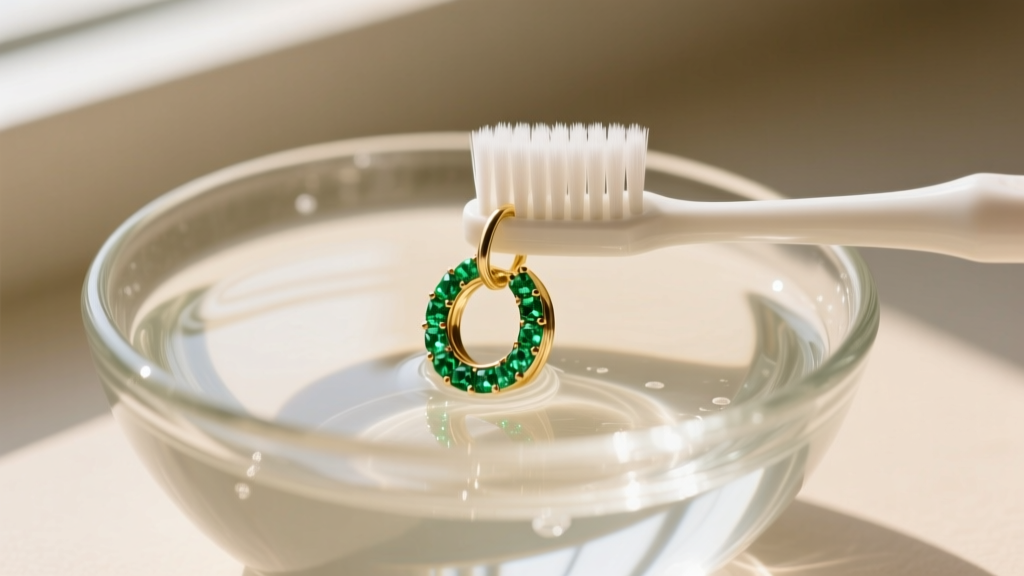
Fill a small glass bowl with lukewarm distilled water. Avoid tap water, as hard water minerals can leave microscopic deposits on the gold and gemstone. Add two drops of a mild, phosphate-free dish soap (such as original blue Dawn). Do not use hot water, as extreme heat can melt or alter the resin fillers inside the emerald.
Step 2: The Soak and Agitation
Submerge the huggies in the solution for no more than three to five minutes. Prolonged soaking can degrade certain types of oil treatments over time. After soaking, take a brand-new, ultra-soft baby toothbrush and gently agitate the area behind the emerald and around the hinge. Never scrub the face of the emerald aggressively; instead, use light, circular motions to dislodge sebum and lotion buildup.
Step 3: Rinsing and Drying
Rinse the earrings under a gentle stream of lukewarm distilled water. Pat them dry with a clean, lint-free microfiber cloth. Ensure the hinge mechanism is completely dry before storing; you can use a can of compressed air (held at a distance) to blow moisture out of the barrel hinge crevices.
Troubleshooting Common Huggie Hinge Issues
Because huggies are worn close to the skin, the click-hinge mechanism is prone to accumulating dead skin cells, lotions, and dust. If your emerald huggie earring stops 'clicking' shut or feels loose, do not attempt to bend the post with pliers, as this will warp the metal and ruin the alignment.
- The Hinge is Stiff: Use a wooden toothpick or a soft interdental brush to gently pick out debris from the hinge joint. Apply a microscopic drop of synthetic watch oil to the hinge pin using a needle-nosed oiler, then open and close the earring several times to work it in.
- The Post Won't Catch: This usually means the catch (the small divot on the opposite end of the hoop) is clogged with soap residue. Clean the catch thoroughly with the soft toothbrush and soapy water. If it still fails to catch, the post may be slightly bent; take it to a professional jeweler for a 5-second realignment.
Final Thoughts
Emerald huggie earrings represent a perfect marriage of mechanical jewelry design and natural gemstone beauty. By understanding the specific vulnerabilities of treated emeralds and respecting the precision of the huggie hinge, you can confidently wear these pieces daily. Treat them with the gentle care outlined above, and your emerald huggies will remain a vibrant, secure, and timeless staple in your jewelry collection for years to come.


