How to Make Seed Beaded Earrings: An Expert Technical Guide
Learn how to make seed beaded earrings with expert technical insights on bead calibration, thread tension, and structural hardware integration.

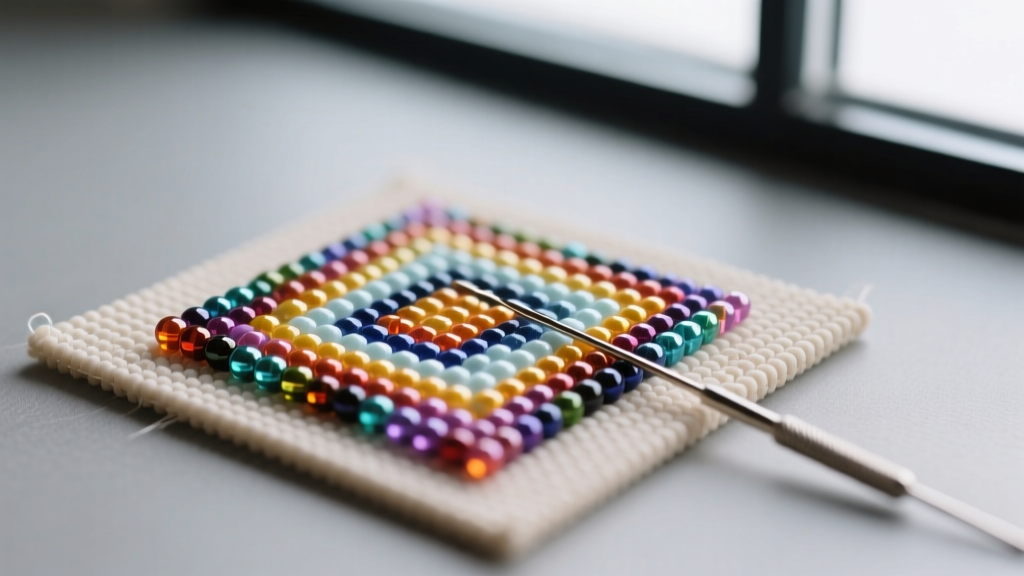
The Material Science of Seed Bead Earrings
Understanding how to make seed beaded earrings at a master level requires moving beyond basic pattern reading and into the material science of beadwork. The structural integrity of a beaded dangle or drop earring relies entirely on the precise calibration of your beads and the tensile strength of your thread. In 2026, the market is dominated by high-precision Japanese cylinder beads, specifically Miyuki Delicas and Toho Treasures, which offer a dimensional tolerance of less than 0.05mm.
For structural beadwork, the 11/0 size is the industry standard. A standard 11/0 Miyuki Delica measures exactly 1.6mm in length and 1.3mm in diameter, with a hole size of 0.8mm. This specific geometry is critical. Unlike round Czech seed beads, which have irregular shapes and sharp internal glass edges that can fray and snap threads over time, cylinder beads have smooth, rounded internal channels. This allows for multiple thread passes without compromising the structural matrix of the earring.
Thread Selection and Tensile Limits
Amateur beaders often default to nylon threads like Nymo D. While excellent for loom work or fringe, Nymo stretches under the gravitational load of a 5-gram beaded earring, leading to sagging and warped tension over time. For rigid, architectural seed beaded earrings, gel-spun polyethylene (GSPE) threads are mandatory. Berkley Fireline in 6lb test (0.006 inches or 0.15mm diameter) is the gold standard. It possesses zero stretch, is impervious to UV degradation, and fits through an 11/0 Delica hole up to four times without causing micro-fractures in the glass.
Essential Hardware and Gauge Specifications
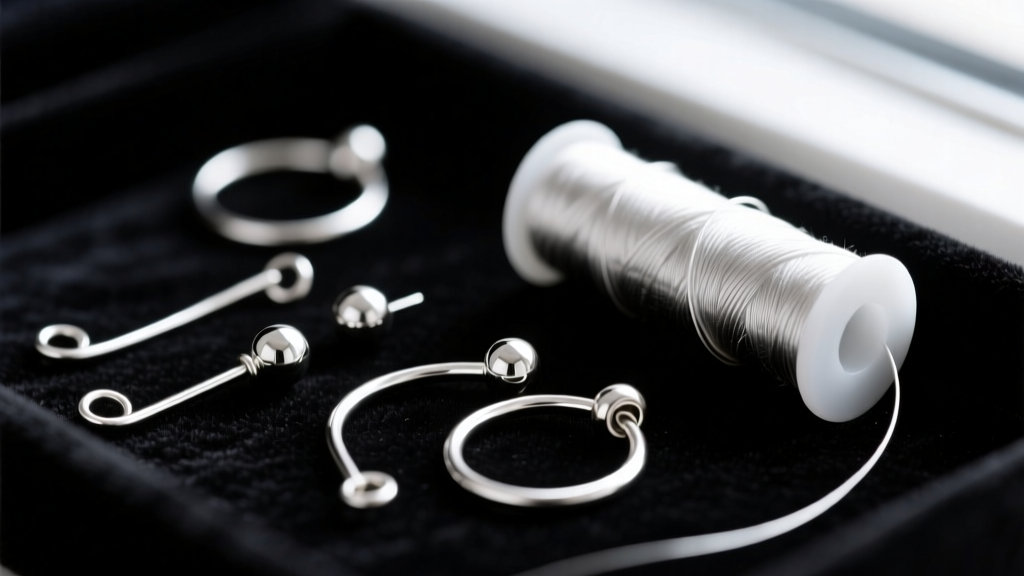
The most common failure point in handmade beaded earrings is not the beadwork itself, but the integration with the metal findings. When learning how to make seed beaded earrings, you must select findings that can support the specific weight and kinetic movement of the piece.
| Component | Standard Specification | Expert Upgrade (For Dangles > 4g) | Failure Mode if Ignored |
|---|---|---|---|
| Ear Wire | 22-gauge dead-soft | 20-gauge half-hard sterling or niobium | Wire bends under weight, earring falls off |
| Jump Ring | 22-gauge split ring | 18-gauge soldered closed jump ring (4mm) | Beadwork pulls the split, ring opens and drops |
| Head Pin | 24-gauge standard | 21-gauge ball-end for woven loops | Pull-through at the base of the beadwork |
Sourcing high-quality findings is easier than ever. According to industry leaders like Fire Mountain Gems, the shift toward 20-gauge half-hard ear wires has become a baseline requirement for professional jewelry artisans selling in boutique markets, as it provides the necessary rigidity to hold the earring forward on the earlobe without drooping.
Step-by-Step Structural Brick Stitch Technique
Brick stitch is the premier technique for creating geometric, rigid seed beaded earrings. Unlike peyote stitch, which creates a flexible fabric, brick stitch locks each bead into a rigid, interlocking matrix that resists warping.
The Foundation Row: Ladder Stitch vs. Peyote Base
The traditional method for starting brick stitch is the ladder stitch. However, ladder stitch inherently suffers from tension disparities between the top and bottom thread paths, causing the foundation row to curl. To engineer a perfectly flat foundation, experts use a modified tubular peyote base or employ the "pull-tight" ladder method. When executing a ladder stitch, you must pass the needle back through the previous bead in the opposite direction to equalize the thread tension on both sides of the bead column. If your foundation row does not lie perfectly flat on your beading mat, your entire earring will warp.
Executing the Brick Stitch Decrease
To create the classic diamond or teardrop shapes required for dangle earrings, you must master the brick stitch decrease. When you reach the end of a row and need to step down, do not simply skip a bead. Instead, pass your needle down through the previous row's thread bridge, pick up one bead, and pass back up through the same thread bridge. This creates a secure anchor point that prevents the edge beads from flaring outward, maintaining the crisp, architectural lines of the design.
Integrating the Beadwork with Earring Findings
Never use cyanoacrylate (super glue) or epoxy to attach seed beadwork to metal findings. Adhesives degrade, become brittle, and will inevitably fail when subjected to the micro-impacts of daily wear. Instead, you must weave a structural attachment loop directly into the beadwork.
To attach a soldered jump ring to the top of a brick stitch earring, create a reinforced picot loop. At the apex of your final row, pick up three 15/0 seed beads, pass back down into the main body of the beadwork, and repeat this path at least three times. The 15/0 beads (which measure 1.3mm x 0.8mm) create a small, reinforced arch. Because you are using 6lb Fireline, passing through this arch multiple times creates a localized matrix of thread that is virtually unbreakable. Slide your 4mm soldered jump ring through this woven loop before closing it. For comprehensive tutorials on advanced finishing techniques, Interweave Beading remains an authoritative resource for structural beadwork integration.
Troubleshooting Common Structural Failures
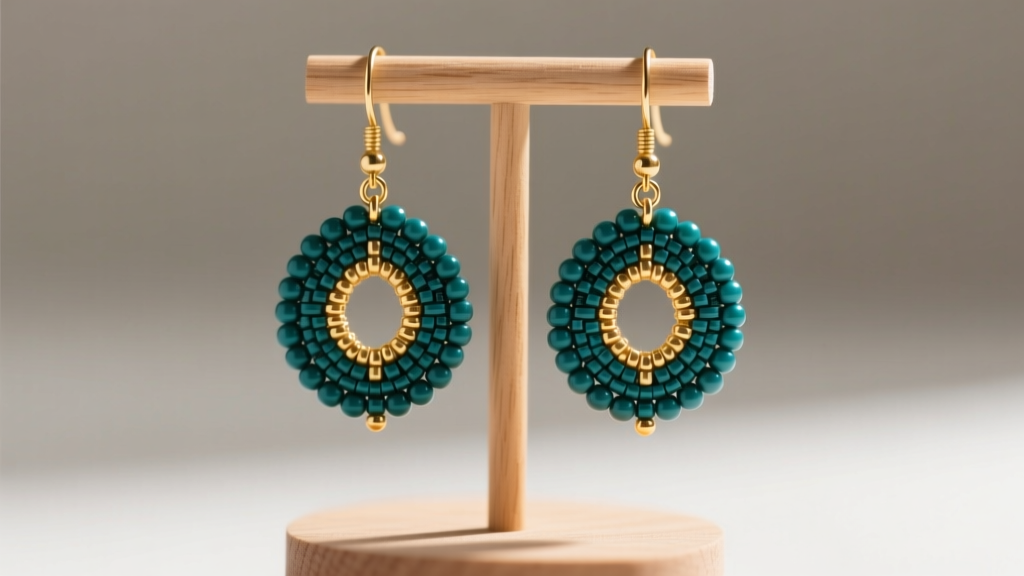
Even experienced artisans encounter structural anomalies when engineering seed beaded earrings. Here is a technical troubleshooting framework for the most common issues:
- Edge Curling: If the lateral edges of your brick stitch earring are curling inward, your thread tension is too tight on the return passes. Relax your grip and allow the thread to seat naturally into the bead channel.
- Thread Fraying at the Turn: If your GSPE thread is snapping at the outer edge beads, you are likely using cheap, irregular glass beads with sharp internal seams. Switch immediately to Japanese cylinder beads and use a Tulip size 12 beading needle, which has a polished eye that won't abrade the thread.
- Sagging Base: If the bottom point of a teardrop earring lacks rigidity, weave a stabilizing "cross-thread" internally through the bottom three rows to lock the beads into a fixed triangular geometry.
"The difference between a craft project and a piece of heirloom beadwork lies entirely in the unseen architecture. Tension is your mortar; if it is inconsistent, the structure will eventually collapse under its own weight."
Cost Analysis and Sourcing for 2026
As of 2026, the global supply chain for premium Japanese seed beads has fully stabilized, making high-end materials more accessible to independent designers. A standard 7.2-gram tube of Miyuki 11/0 Delicas retails between $4.50 and $6.00, depending on the finish (galvanized and 24k gold-plated finishes command a 30% premium). While this represents a higher upfront cost compared to bulk Czech glass (which averages $1.50 per hank), the reduction in material failure, thread replacement, and structural warping makes Japanese cylinder beads the only economically viable choice for professional earring production. Investing in 20-gauge niobium ear wires (averaging $1.20 per pair) also drastically reduces customer returns related to metal sensitivities and bent findings, ensuring your technical beadwork is presented exactly as engineered.


