How to Tighten Earring Backs: A Budget & Value Guide
Learn how to tighten earring backs to prevent loss. Compare DIY fixes, upgrade costs, and the long-term value of secure earring backings.

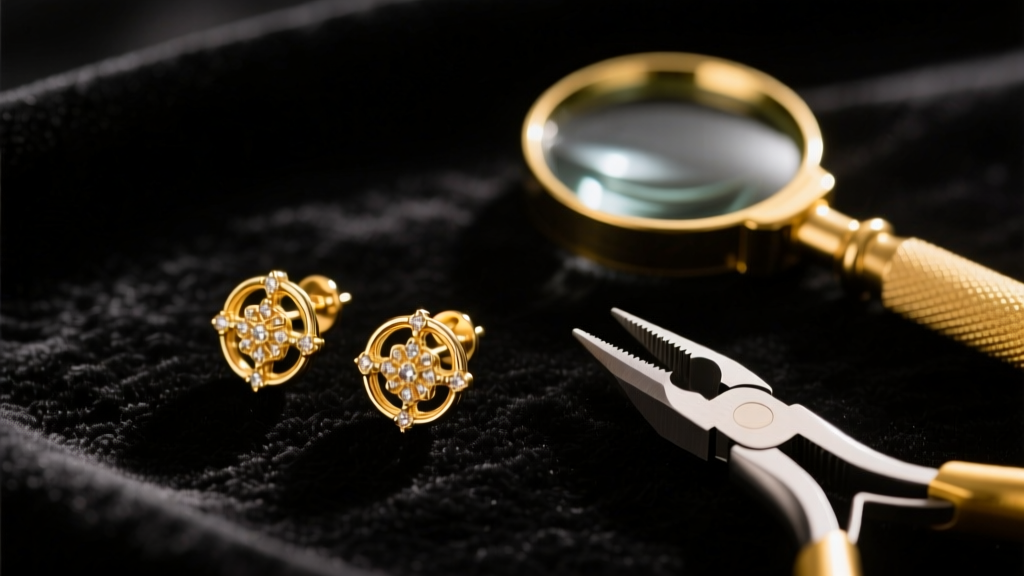
Losing a fine jewelry earring is a uniquely frustrating experience, often resulting from a mechanical failure as simple as a loosened friction back. When dealing with precious metals and gemstones, understanding how to tighten earring backs is not just a matter of convenience; it is a critical component of asset protection and jewelry maintenance. From a budget and value assessment perspective, the cost of replacing a lost 1-carat diamond stud vastly outweighs the minimal time and tools required to maintain the tension of your earring backings.
In this comprehensive guide, we will evaluate the economics of earring security, provide a metallurgist-approved method for tightening standard backs, and assess the long-term value of upgrading to specialized locking mechanisms.
The True Cost of Loose Earring Backs (And Why It Matters)
The financial impact of a loose earring back scales exponentially with the value of the jewelry. According to industry loss data, the majority of single-stud insurance claims are triggered by friction back failures during clothing changes or sleep. If you own a pair of 14k gold diamond studs valued at $4,000, losing one earring does not simply result in a $2,000 loss. The remaining single stud often suffers a 30% to 50% depreciation in resale value due to the difficulty of matching a replacement stone in cut, color, and clarity.
Preventative maintenance is the highest-yielding investment in jewelry ownership. A $15 pair of nylon-jaw pliers can protect a $10,000 asset portfolio.
Standard butterfly (friction) backs rely on the inward tension of two stamped metal loops gripping the earring post. Over time, the repetitive action of pushing and pulling the back onto a standard 20-gauge (0.81mm) or 18-gauge (1.02mm) post causes these loops to splay outward, reducing the clamping force to near zero.
Step-by-Step: How to Tighten Earring Backs Safely
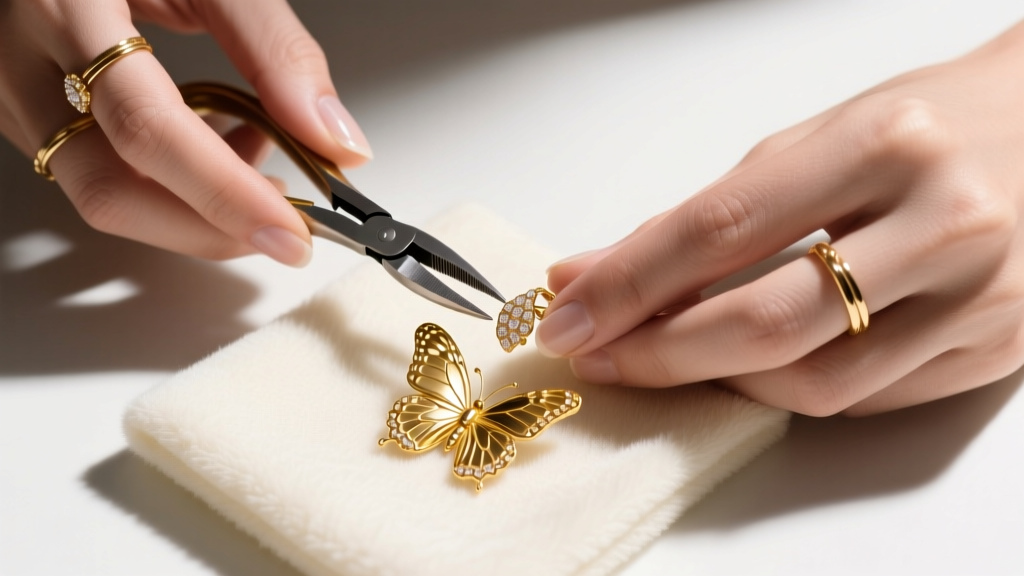
Tightening a friction back requires precision. Using standard steel hardware pliers will crush the soft precious metal, gouge the finish, and destroy the structural integrity of the back. Here is the professional protocol for restoring tension.
1. Tool Selection and Preparation
You must use nylon-jaw pliers or wrap the tips of your precision pliers in several layers of painters tape. Precious metals like 18k gold and pure silver are highly malleable. Steel tools will leave permanent, jagged tool marks that devalue the piece.
2. Pre-Tightening Protocol: Degreasing the Post
Before adjusting the metal, clean the earring post. Sebum, lotions, and cosmetic residues create a lubricating layer that reduces the coefficient of friction between the post and the back. Wipe the post with an isopropyl alcohol prep pad. Often, a thorough degreasing restores adequate grip without requiring metal manipulation.
3. The Compression Technique
Grip the earring back by its outer side loops, not the central barrel. Apply gentle, even inward pressure. You are attempting to bend the loops back to their original 90-degree angle relative to the base plate. Test the fit on the post; it should require a firm, deliberate push to slide past the post's safety notch (the small indentation near the tip of the post designed to catch the back).
Budget Breakdown: DIY Tightening vs. Upgrading to Secure Backs
While learning how to tighten earring backs is a valuable zero-cost skill, friction backs have an inherent mechanical ceiling. Eventually, metal fatigue sets in. Below is a value assessment of your security options, ranging from DIY maintenance to premium upgrades.
| Security Method | Upfront Cost | Longevity | Best Value For |
|---|---|---|---|
| DIY Tightening (Nylon Pliers) | $10 - $15 (Tool cost) | 3-6 months per adjustment | Everyday lightweight studs |
| Silicone O-Ring / Disc Backs | $5 - $8 per pack | 1-2 months (degrades) | Temporary security / Travel |
| Replacement 14k Friction Backs | $25 - $45 per pair | 2-4 years | Standard gold jewelry |
| La Pousette Locking Backs | $60 - $120 per pair | 10+ years | High-carat diamond studs |
| Screw Backs (Threaded Posts) | $40 - $80 (Custom solder) | Lifetime (if maintained) | Heirloom / Vintage pieces |
For high-value items, the Gemological Institute of America (GIA) strongly recommends upgrading to mechanical locking backs, such as the La Pousette system, which utilizes a spring-loaded clutch that snaps securely into the post's groove, entirely eliminating the risk of friction failure.
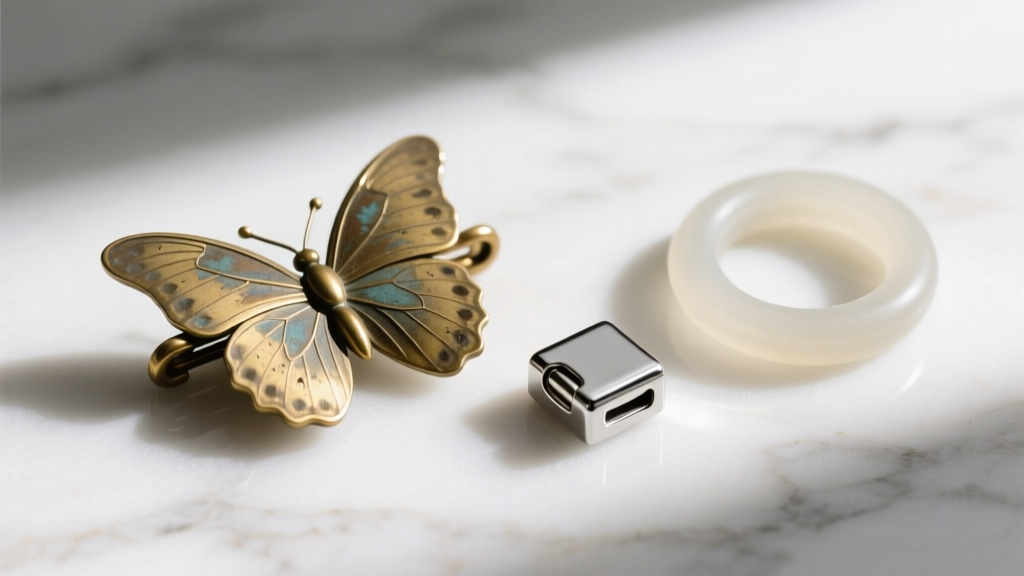
Material Value Assessment: Which Backs Hold Up Over Time?
The material composition of your earring back dictates how quickly it will loosen and how effectively it can be tightened. Not all metals respond equally to tension adjustments.
- 14k and 18k Gold: 18k gold contains 75% pure gold, making it softer and more prone to splaying than 14k gold (58.3% pure). While 18k gold is easier to tighten with pliers, it suffers from metal fatigue much faster. Expect to tighten 18k backs every few months, whereas 14k may hold tension for a year.
- Platinum: Platinum is incredibly dense and possesses high tensile strength. A platinum friction back will rarely splay outward on its own. However, if it does loosen, it requires significant force and specialized steel tools to bend back into shape, making DIY tightening risky. The high initial cost of platinum backs ($80-$150+) is offset by their near-indestructible nature.
- Surgical Steel & Titanium: Common in body jewelry and budget-friendly studs, these metals have high memory and stiffness. They rarely loosen, but if forced, they will snap rather than bend. Do not attempt to tighten cheap steel butterfly backs; simply replace them.
- Silicone / Rubber: While cheap and highly grippy, silicone backs are a poor long-term value. Skin oils, UV exposure, and cosmetics cause the polymer chains to break down, turning the silicone brittle or gummy within 60 to 90 days. They are a consumable good, not a permanent fixture.
When to Stop Tightening and Start Replacing
Knowing how to tighten earring backs is useful, but over-manipulation leads to catastrophic failure. Metals have a fatigue limit. Every time you bend the loops of a butterfly back inward, you introduce microscopic stress fractures into the crystalline structure of the alloy.
According to maintenance guidelines from Jewelers of America, you should cease DIY tightening and replace the back entirely if you observe any of the following failure modes:
- Visible Stress Cracks: Inspect the base plate where the loops meet the flat backing. If you see dark, hairline fractures under a jeweler's loupe, the back is hours away from snapping.
- Barrel Deformation: If the central tube (barrel) of the back is oval-shaped rather than perfectly round, it will wobble on the post, causing uneven wear on your earring's threading or notch.
- Stripped Screw Threads: If you use screw backs and the earring spins endlessly without tightening, the internal threads of the back or the external threads of the post are stripped. A jeweler can re-tap the threads for roughly $25 to $40, which is vastly cheaper than replacing a lost diamond.
Expert Verdict: Maximizing Your Jewelry Investment
From a strict budget and value assessment perspective, mastering how to tighten earring backs is a foundational skill for any jewelry collector. It costs virtually nothing and prevents the most common cause of stud loss. However, it is a reactive measure, not a proactive one.
If your earrings hold significant financial or sentimental value—typically anything exceeding $1,000 per carat—relying on friction and periodic tightening is a calculated risk. The smartest financial move is to allocate 2% to 5% of the jewelry's total value toward upgrading to a La Pousette or custom screw-back system. By shifting from friction-based security to mechanical locking security, you eliminate the need for constant maintenance, protect your asset's appraisal value, and ensure your jewelry remains exactly where it belongs.


