How to Treat Earring Infection at Home: A Safe Triage Guide
Learn how to treat earring infection at home safely. Discover saline recipes, material swaps like implant-grade titanium, and when to see a doctor.

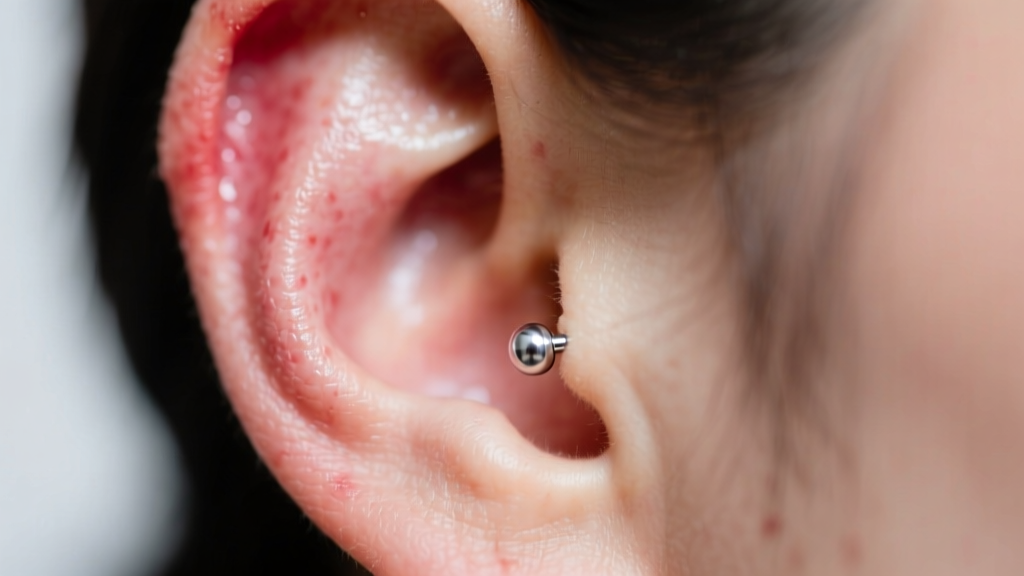
Identifying the Culprit: Infection vs. Allergic Contact Dermatitis
Before you attempt to figure out how to treat earring infection at home, you must accurately diagnose the issue. According to the American Academy of Dermatology, a vast majority of suspected piercing infections are actually allergic contact dermatitis triggered by nickel or other base metals. If your earlobe is itchy, flaky, and weeping clear fluid, you are likely experiencing an allergic reaction. If the area is hot to the touch, throbbing, and producing thick yellow or green pus, you are dealing with a bacterial infection, typically caused by Staphylococcus or Streptococcus bacteria.
Misdiagnosing an allergy as an infection leads to improper treatment. Swapping a nickel-heavy fashion earring for an implant-grade titanium piece often resolves "infection" symptoms within 48 hours if the root cause is contact dermatitis. However, if a true bacterial infection is present, a strict home-care triage protocol is required to prevent the bacteria from entering the bloodstream or causing localized tissue necrosis.
Step-by-Step: How to Treat Earring Infection at Home
The Association of Professional Piercers (APP) strongly advises against aggressive cleaning methods. The goal of home treatment is to support your body's immune response, not to sterilize the wound with harsh chemicals that destroy healing fibroblasts.
The 0.9% Sterile Saline Protocol
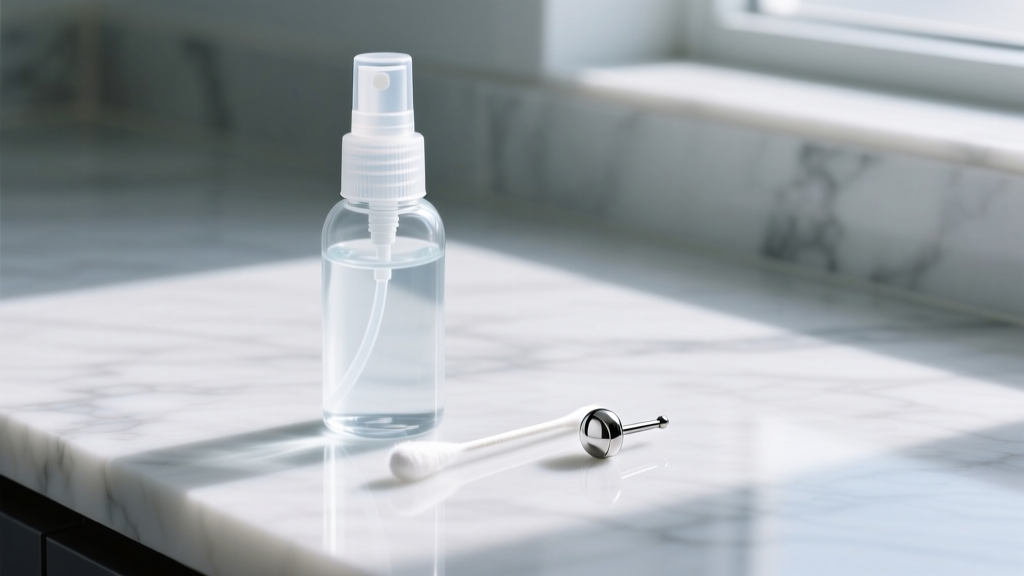
Your primary tool for treating an infected ear piercing at home is a sterile saline solution. You can purchase a pre-mixed 0.9% sodium chloride wound wash (ensure it is labeled "sterile" and contains no additives), or you can mix your own using exact measurements: dissolve 1/4 teaspoon of non-iodized fine-grain sea salt into 8 ounces of distilled water. Do not use tap water, as it can harbor Acanthamoeba and other waterborne pathogens.
- Frequency: Spray or apply the saline using a sterile non-woven gauze pad twice daily (morning and night).
- Warm Compress: After applying saline, hold a clean, warm (not hot) compress against the ear for 3 to 5 minutes. This increases local blood flow, encouraging white blood cells to fight the infection and helping to draw out trapped lymph and pus.
- Drying: Gently pat the area dry with a disposable paper product. Avoid cloth towels, which harbor bacteria and can snag on the jewelry backing.
The "Never Do This" List
When learning how to treat earring infection at home, avoiding common mistakes is just as critical as the treatment itself. Never use the following products on an infected piercing:
- Rubbing Alcohol & Hydrogen Peroxide: These are highly cytotoxic. They kill healthy, newly formed skin cells and delay the healing process significantly.
- Antibiotic Ointments (e.g., Neosporin): The petroleum base creates an occlusive seal over the puncture wound, cutting off oxygen and trapping anaerobic bacteria inside the fistula.
- Tea Tree Oil: While naturally antimicrobial, undiluted tea tree oil causes severe chemical burns and contact dermatitis on broken skin.
- Removing the Jewelry: This is the most dangerous mistake. If you remove the earring from an infected piercing, the surface of the skin can heal over within hours, trapping the infection inside and forming a painful abscess that requires surgical lancing.
Jewelry Material Audit: Preventing Recurrence
If you are constantly battling irritation and minor infections, your jewelry material is likely the culprit. The Cleveland Clinic notes that cheap metal alloys leach ions into the skin, triggering chronic inflammation that mimics and invites bacterial infections. When treating an infection, you should ideally have a professional piercer swap your current jewelry for an inert, biocompatible material.
| Material | Standard | Nickel Content | Price Range (Per Piece) |
|---|---|---|---|
| Implant-Grade Titanium (Ti6Al4V ELI) | ASTM F136 | 0% | $35 - $85 |
| Niobium | Unalloyed | 0% | $25 - $60 |
| 14k/18k Solid Gold | N/A | Trace (if alloyed poorly) | $80 - $250+ |
| Surgical Steel (316L) | ASTM F138 | 8-10% | $10 - $25 |
Notice that "Surgical Steel" (316L) contains up to 10% nickel. While perfectly safe for fully healed piercings in many people, it is entirely inappropriate for an active infection or a fresh piercing. Always opt for ASTM F136 implant-grade titanium during the healing and recovery phases.
Cartilage vs. Lobe: Why Location Dictates Urgency
The anatomy of your ear determines how aggressively you must treat an infection. Earlobes are highly vascular, meaning they have a robust blood supply that delivers immune cells rapidly. Infections here usually respond well to home saline treatments within 3 to 5 days. Standard lobe piercings are typically done at 20G (0.8mm) or 18G (1.0mm). If your lobe jewelry is too thin, it can cause the "cheese-cutter effect," where the wire slices through the swollen tissue, creating an open wound prone to infection.
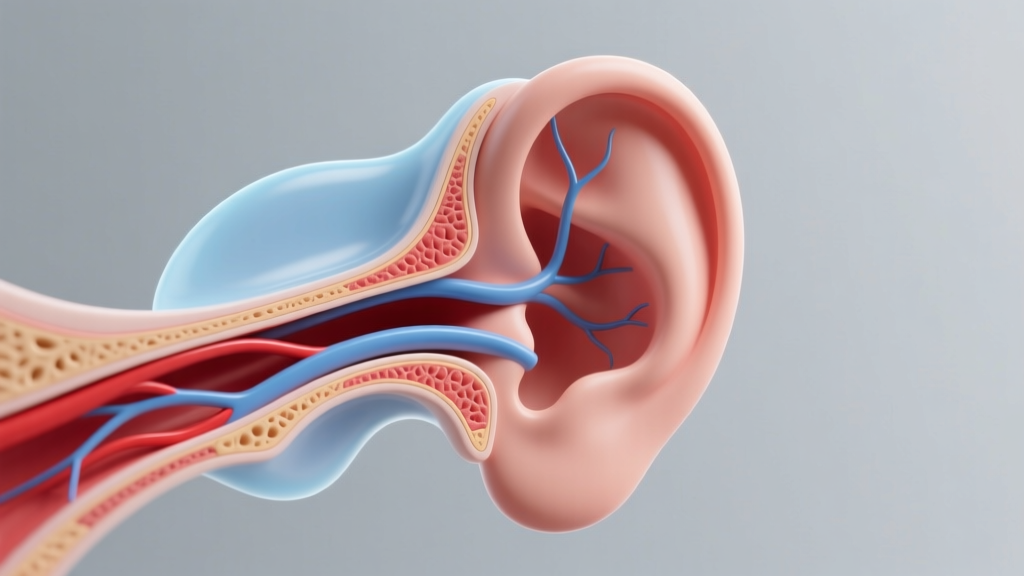
Cartilage piercings (helix, tragus, conch, daith) are entirely different. Cartilage is avascular; it receives nutrients and immune cells via diffusion from the surrounding perichondrium tissue. Healing takes 6 to 12 months, and infections here can rapidly escalate into perichondritis—a severe infection of the tissue envelope that can lead to permanent cartilage necrosis and "cauliflower ear." Cartilage jewelry should be thicker, typically 16G (1.2mm) or 14G (1.6mm), to provide stability and reduce pressure necrosis. If a cartilage piercing becomes swollen, hot, and painful, home treatment is only a temporary stopgap; professional medical evaluation is highly recommended.
When to Abandon Home Care and See a Professional
While knowing how to treat earring infection at home is valuable, you must recognize the clinical red flags that require a doctor's intervention. Seek immediate medical care if you experience any of the following:
- Systemic Symptoms: A fever, chills, or swollen lymph nodes in your neck indicate the infection has become systemic.
- Spreading Erythema: Red streaks radiating outward from the piercing site are a hallmark of lymphangitis, a medical emergency.
- Embedded Jewelry: If the swelling is so severe that the earring post is swallowed by the tissue, or the decorative end is sinking into the skin, a piercer or doctor must intervene to prevent tissue death.
- Cartilage Swelling: Any signs of infection in the upper ear cartilage warrant a visit to urgent care for prescription oral antibiotics.
Post-Recovery: Reintroducing Jewelry Safely
Once the infection has cleared and the tissue is no longer tender, swollen, or weeping, your focus must shift to long-term maintenance. Often, infections occur because the initial jewelry post was too long, allowing the earring to move excessively and introduce bacteria into the fistula. Once swelling subsides, visit a professional piercer to "downsize" the post. For example, a standard lobe stud might be downsized from an 8mm post to a 5mm or 6mm post, ensuring the backing sits flush against the skin without applying pressure. This simple mechanical adjustment, combined with strict adherence to ASTM F136 titanium standards, is the ultimate defense against future infections.


