How Long Until You Can Change Earrings: Lobe & Cartilage Guide
Discover exactly how long until you can change earrings after a new piercing. Expert healing timelines, aftercare tips, and material guides for lobes.

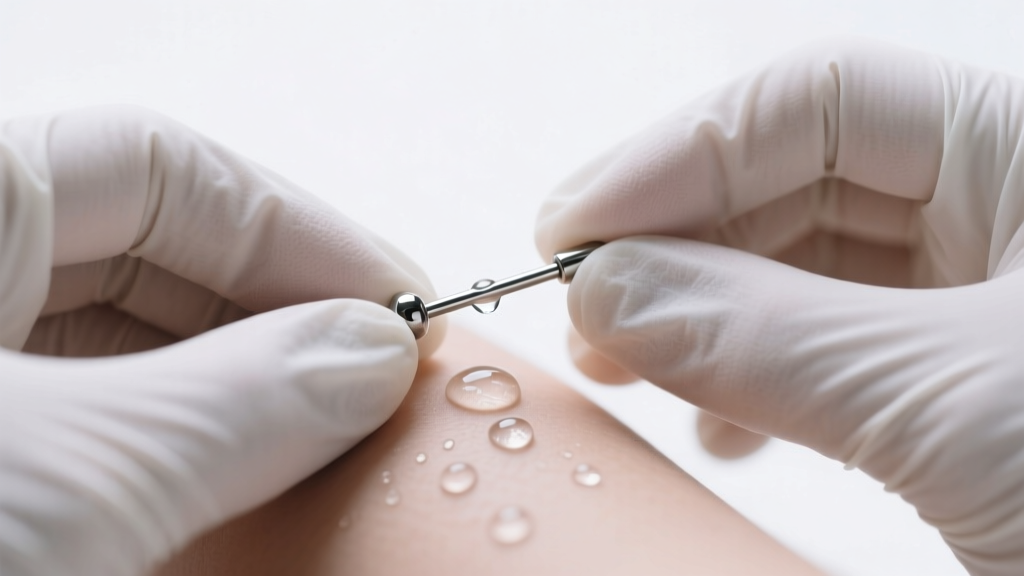
Getting a new ear piercing is an exciting step in your personal style journey, but the immediate aftermath requires strict patience and disciplined aftercare. One of the most common questions new piercees ask their professionals is: how long until you can change earrings? The answer is not a simple one-size-fits-all number. It depends heavily on the anatomical placement of the piercing, the gauge of the jewelry, your body’s unique immune response, and the distinction between an “initial jewelry change” and “full fistula maturation.”
Changing your jewelry prematurely is the leading cause of irritation bumps, prolonged swelling, and severe infections. In this comprehensive guide, we break down the exact biological timelines for lobe and cartilage piercings, the science of tissue healing, and the precise steps you must take when making your very first jewelry swap.
The Biology of the Fistula: Why Patience is Non-Negotiable
When a hollow piercing needle removes a tiny core of tissue, it creates a wound channel. Over the following weeks, your body works to line this channel with a delicate tube of new skin cells known as a fistula. During the first few weeks, this tissue is incredibly fragile, highly vascular, and prone to micro-tearing.
According to the Association of Professional Piercers (APP), the fistula goes through several distinct phases of healing. The initial inflammatory phase lasts up to two weeks, followed by a proliferative phase where the tissue tube forms. However, the maturation phase—where the fistula becomes tough, resilient, and fully capable of withstanding the friction of daily jewelry changes—can take anywhere from three months to over a year. Forcing blunt jewelry through a maturing fistula acts like a cheese wire, slicing the delicate new skin and resetting your healing clock to day one.
How Long Until You Can Change Earrings? The Master Timeline
To answer the question accurately, we must separate the timeline into two categories: the Initial Downsizing/Change (when you can swap the long post used for swelling to a shorter, more comfortable post) and the Full Healing Mark (when the fistula is mature enough for frequent jewelry swapping and heavier styles like dangles or hoops).
| Piercing Placement | Initial Jewelry Change | Full Fistula Maturation | Standard Gauge Size |
|---|---|---|---|
| Standard Earlobe | 6 – 8 Weeks | 3 – 6 Months | 20g – 18g (0.8 - 1.0mm) |
| Upper Lobe | 8 – 10 Weeks | 4 – 8 Months | 18g – 16g (1.0 - 1.2mm) |
| Helix / Forward Helix | 8 – 12 Weeks | 6 – 12 Months | 16g (1.2mm) |
| Conch | 10 – 14 Weeks | 9 – 18 Months | 16g – 14g (1.2 - 1.6mm) |
| Tragus | 8 – 12 Weeks | 8 – 16 Months | 16g (1.2mm) |
| Daith / Rook | 10 – 14 Weeks | 9 – 18 Months | 16g (1.2mm) |
Lobe vs. Cartilage: Understanding Tissue Differences
The reason cartilage piercings take significantly longer to heal than earlobes comes down to blood supply. Earlobes are composed of soft, vascular tissue that receives a robust flow of oxygen and nutrients, accelerating the immune system’s healing response. Cartilage, on the other hand, is avascular. It relies on the surrounding perichondrium (the membrane covering the cartilage) to diffuse nutrients into the wound site.
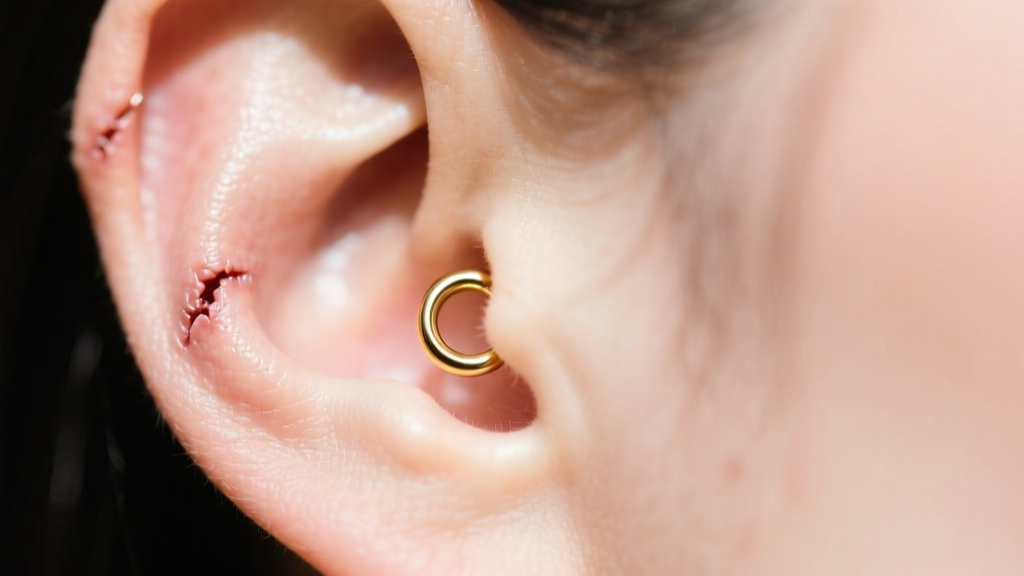
The Danger of the "False Heal"
A common trap for new piercees is the "false heal." Around week four or five, a lobe piercing may stop hurting, cease secreting lymph fluid (crusties), and look completely normal on the outside. Many assume this means they can change their earrings. However, the interior of the fistula is still raw and unfinished. The Cleveland Clinic warns that introducing unsterile or improperly sized jewelry at this stage frequently leads to trapped bacteria, resulting in localized infections or the formation of hypertrophic scarring (irritation bumps).
Step-by-Step: How to Safely Change Your First Earrings
Once you have reached the appropriate initial change milestone, follow this strict protocol to avoid traumatizing the tissue. If you are nervous, booking a quick 10-minute appointment with your professional piercer for your first change is always the safest route.
- Prepare Your Environment: Clean your bathroom sink and mirror. Lay out a clean paper towel to place your tools and new jewelry on.
- Sanitize Hands and Jewelry: Wash your hands thoroughly with antibacterial soap. Ensure your new jewelry is sterilized or, at minimum, soaked in a 70% isopropyl alcohol solution for 5 minutes, then rinsed with distilled water.
- Softening the Tissue: Take a warm shower or apply a warm, sterile saline compress to the ear for 3 minutes. This softens any dried lymph and relaxes the tissue.
- Removal: Gently unscrew the front or back of your current jewelry. If it resists, do not force it. Put on a pair of clean nitrile gloves for better grip and try again. If it still won't budge, see a professional.
- Insertion: Coat the post of your new jewelry in a tiny drop of sterile saline or a water-based lubricant. Gently guide it through the fistula from the front. Never push blindly from the back, as this can catch the edge of the fistula tube.
- Secure and Clean: Attach the backing securely (but do not overtighten, which can restrict blood flow). Spray once with sterile saline and gently pat dry with non-woven gauze.
Best Materials for Freshly Healed Piercings
When asking how long until you can change earrings, the material of the new earrings is just as critical as the timeline. A maturing fistula is highly reactive to porous metals and allergens. Upgrading to cheap alloys will cause immediate contact dermatitis and swelling.
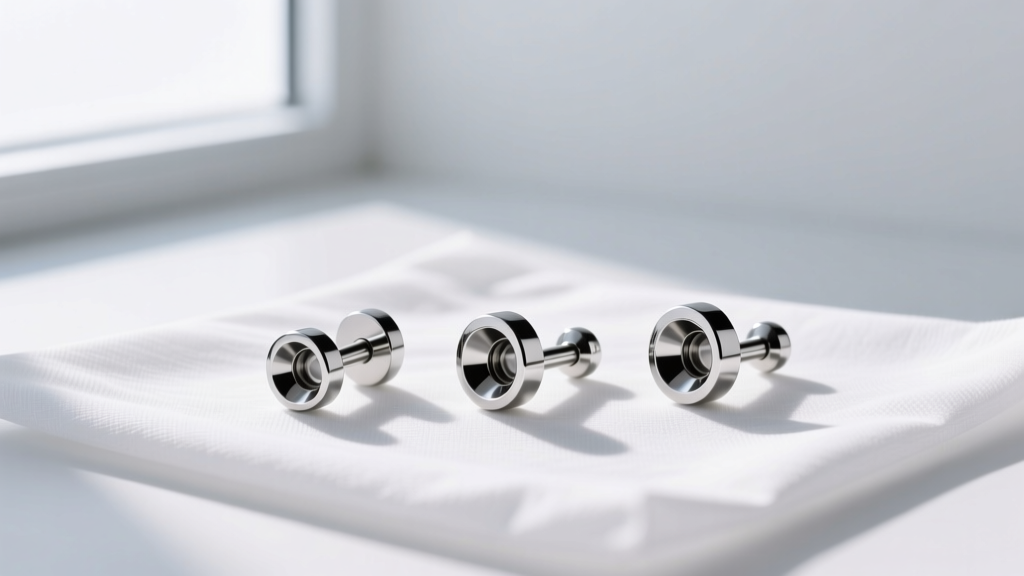
- Implant-Grade Titanium (ASTM F-136): The absolute gold standard for healing piercings. It is entirely nickel-free, highly polished, and biocompatible. Brands like NeoMetal and BVLA machine their titanium to a mirror finish that prevents bacteria from harboring in microscopic scratches.
- Solid 14k or 18k Gold: Must be nickel-free and alloyed for body safety (often with palladium or silver). Avoid gold-plated or gold-filled jewelry, as the thin outer layer can wear off inside the fistula, exposing reactive base metals.
- Niobium: A highly reactive metal that is safely anodized to create colors. It is an excellent, budget-friendly alternative to titanium for those wanting colored jewelry during the healing process.
- Materials to Avoid: "Surgical Steel" (a marketing term usually masking 316L stainless steel, which contains 8-10% nickel), sterling silver (tarnishes and causes argyria, a permanent grey staining of the skin), and bioplast/PTFE (porous and degrades over time).
Troubleshooting: What If It Gets Stuck or Bleeds?
If you attempt to change your earrings and experience sharp pain, resistance, or bleeding, stop immediately. Bleeding indicates you have torn the fragile capillary network inside the fistula. Re-insert your original, well-fitting jewelry, apply a sterile saline compress, and leave it alone for at least another 4 to 6 weeks.
If the jewelry is stuck due to swelling, do not use pliers, which can crush the threading or the metal post. Visit a professional piercer. They possess specialized tools like insertion tapers—smooth, graduated steel rods that gently stretch the tissue and guide new jewelry in without catching on the internal wound edge.
Expert Aftercare Routine for Long-Term Health
Even after you have successfully changed your earrings and passed the full maturation mark, your piercings require ongoing maintenance to remain healthy. The ear is a high-friction, high-bacteria environment. Adopt a weekly cleaning routine: remove your earrings, wash the posts with mild, fragrance-free soap, and gently wipe the inside of the fistula with a damp cotton swab. By respecting the biological timeline of tissue healing and investing in high-quality, body-safe metals, your piercings will remain a comfortable and stunning part of your personal aesthetic for a lifetime.


