What to Do for Earring Infection: Expert Lobe & Cartilage Care Guide
Discover exactly what to do for earring infection in lobes and cartilage. Learn expert cleaning routines, safe metal grades, and healing timelines.

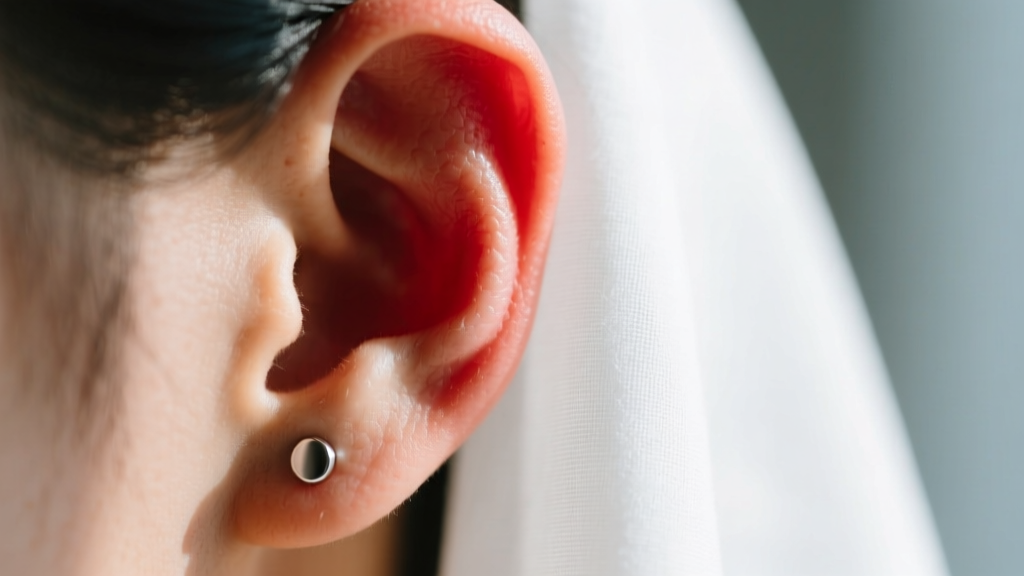
Discovering a tender, swollen, or weeping piercing can immediately trigger panic. Whether you are dealing with a fresh lobe piercing or a year-old cartilage placement that suddenly flared up, knowing the exact steps to mitigate tissue damage is critical. When people search for what to do for earring infection, they are often met with outdated home remedies that can actually worsen the inflammatory response and delay healing. In this comprehensive 2026 guide, we break down the clinical differences between lobe and cartilage complications, provide a precise triage protocol, and audit the metallurgy of your jewelry to ensure your ears heal safely and efficiently.
The Anatomy of an Earring Infection: Lobe vs. Cartilage
Not all ear infections are created equal, and treating them requires an understanding of ear anatomy. The earlobe is highly vascular, meaning it has a robust blood supply that delivers white blood cells to fight off bacteria and promote rapid healing. Lobe infections are typically caused by Staphylococcus aureus and respond well to localized warm compresses and topical care.
Cartilage, on the other hand, is avascular. It relies on the overlying skin (the perichondrium) for its blood supply. When cartilage piercings—such as helixes, tragi, or conches—become infected, the risk escalates to perichondritis. This is a severe infection of the tissue covering the cartilage, often caused by Pseudomonas aeruginosa. If left untreated, perichondritis can lead to cartilage necrosis and permanent cosmetic deformity, commonly known as cauliflower ear. Therefore, identifying the location of your infection is the first critical step in your triage protocol.
Immediate Triage: What to Do for Earring Infection Right Now
The most common mistake people make when dealing with a suspected infection is removing the jewelry. Do not take the earring out. If you remove the jewelry from an infected piercing, the surface holes can close rapidly, trapping the abscess inside the tissue and requiring surgical drainage.
Step-by-Step Saline Soak Protocol
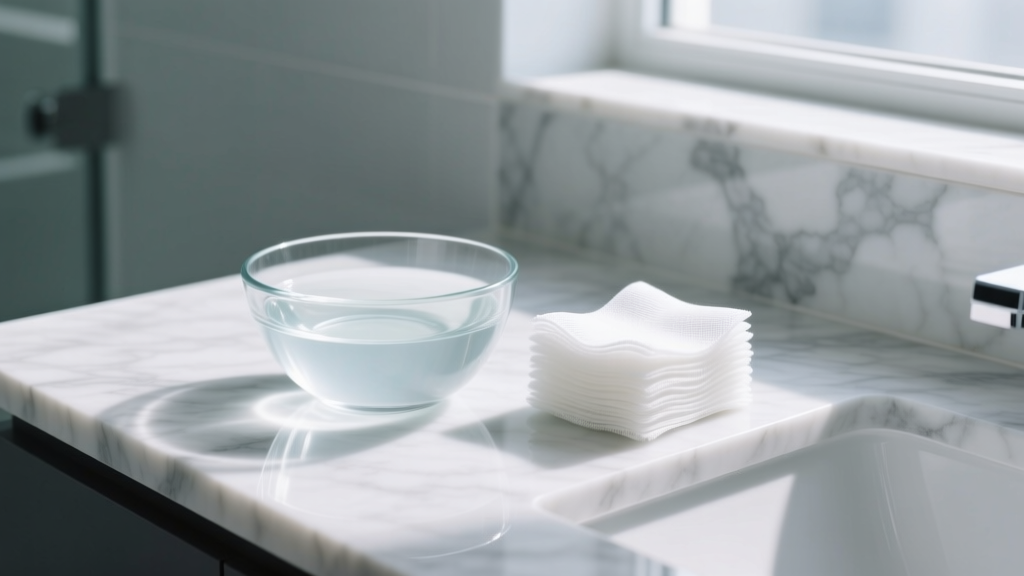
- Source Sterile Saline: Purchase a canister of sterile wound wash containing exactly 0.9% sodium chloride and purified water. Avoid homemade sea salt mixtures; the incorrect osmolarity can dry out the tissue and trigger hypertrophic scarring (irritation bumps).
- Apply via Non-Woven Gauze: Spray the saline onto a sterile, non-woven gauze pad. Avoid cotton balls or swabs, as they can leave microscopic fibers tangled in the jewelry, introducing new bacteria.
- Warm Compress: For lobe infections, soak the gauze in warm (not hot) sterile saline and hold it against the ear for 5 to 10 minutes. The heat increases localized blood flow, encouraging the immune system to clear the bacterial load.
- Dry Thoroughly: Moisture breeds bacteria. After your compress, gently pat the area dry with a fresh paper towel or use a hair dryer on the lowest, coolest setting.
Material Audit: Is Your Jewelry the Culprit?
Frequently, what appears to be a bacterial infection is actually severe allergic contact dermatitis. If your earring contains nickel, your immune system will mount an inflammatory response that mimics infection: redness, swelling, weeping clear fluid, and intense itching. According to the Association of Professional Piercers (APP), only specific, verifiable metal grades should be worn in healing or irritated piercings.
Furthermore, consider the gauge (thickness) of your jewelry. Standard fashion earrings often use 20-gauge (0.8mm) or 22-gauge (0.6mm) wires. In an irritated or infected ear, thin wires create a 'cheese-cutter' effect, migrating through the swollen tissue and creating micro-tears that invite staph bacteria. Upgrading to a 16-gauge (1.2mm) or 14-gauge (1.6mm) implant-grade titanium labret or barbell provides stability and reduces tissue stress.
| Metal Grade | ASTM Standard | Nickel Content | Infection / Irritation Risk |
|---|---|---|---|
| Implant-Grade Titanium | ASTM F-136 | Zero | Lowest (Highly Recommended) |
| Niobium | ASTM B392 | Zero | Very Low |
| 14k / 18k Solid Gold | N/A (Must be alloyed for hardness) | Varies (Avoid white gold) | Low (If nickel-free alloy) |
| 'Surgical' Steel (316L) | ASTM F-138 | 8% - 12% | High (Triggers dermatitis) |
| Sterling Silver (925) | N/A | Usually Zero, but contains Copper | High (Tarnishes, causes argyria) |
When to See a Doctor: Red Flags Beyond Normal Irritation
While mild localized swelling and clear/white lymph fluid are normal parts of the healing process, certain symptoms require immediate medical intervention. The Mayo Clinic advises seeking emergency or urgent care if you experience any of the following systemic or advanced localized symptoms:
- Red Streaks: Red lines radiating from the piercing site indicate lymphangitis, a sign that the infection has entered the lymphatic system and could lead to sepsis.
- Fever and Chills: A systemic temperature elevation means your body is fighting a widespread bacterial invasion.
- Cartilage Swelling: If the actual cartilage of the ear feels hot, swollen, and exquisitely tender (not just the entry/exit holes), you likely have perichondritis. This requires prescription oral antibiotics, typically fluoroquinolones like Ciprofloxacin, to target Pseudomonas bacteria.
- Foul-Smelling Green Pus: While clear or pale yellow lymph is normal, thick, opaque green or brown discharge accompanied by a foul odor is a definitive sign of a bacterial abscess.
Long-Term Prevention: Building a Bulletproof Cleaning Routine
Once the acute infection has subsided, maintaining a pristine environment is essential to prevent recurrence. Many people mistakenly use harsh chemicals like rubbing alcohol, hydrogen peroxide, or tea tree oil to 'disinfect' their piercings. Stop using these immediately. These substances are highly cytotoxic; they destroy the delicate fibroblast cells your body needs to rebuild tissue, effectively chemical-burning the fistula (the piercing tunnel) and resetting your healing progress to zero.
'The best approach to piercing aftercare is benign neglect. Keep your hands off, avoid harsh chemicals, and let the body's natural immune response do the heavy lifting with the aid of sterile saline.' — Association of Professional Piercers Aftercare Guidelines
Advanced Jewelry Sanitization
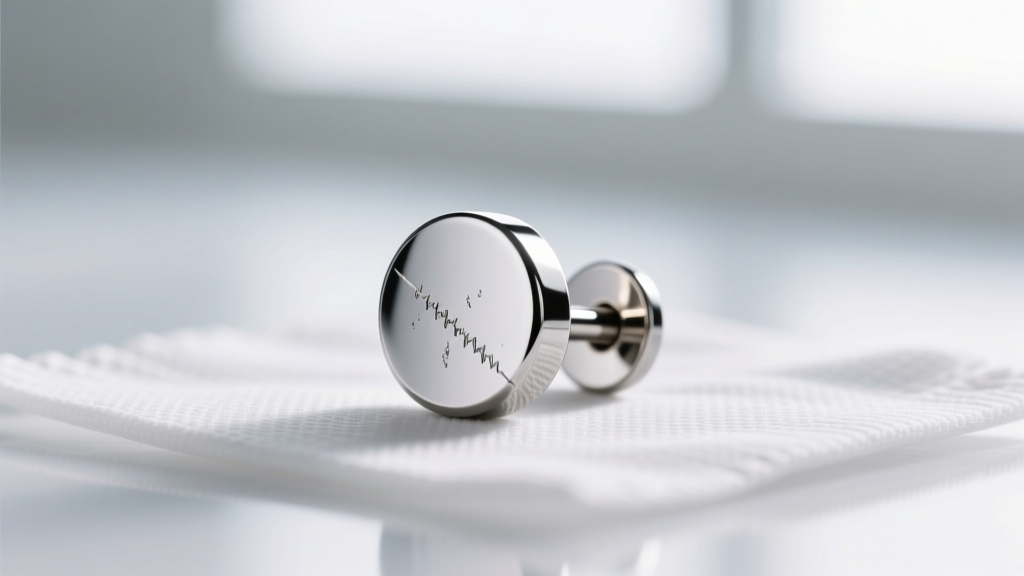
If you are swapping out jewelry, simply wiping it with an alcohol pad is insufficient for porous or textured designs. Invest in a small, consumer-grade ultrasonic cleaner. Fill it with distilled water and a drop of mild, fragrance-free dish soap. The cavitation bubbles generated by the ultrasonic waves will dislodge microscopic dead skin cells, sebum, and bacteria from the crevices of your earrings that a cloth simply cannot reach. After a 3-minute cycle, rinse the jewelry in distilled water and dry it completely before insertion.
Sleeping and Mechanical Stress
Mechanical irritation is the leading cause of delayed healing and secondary infections. Sleeping on a fresh or irritated piercing cuts off circulation and introduces friction. If you are a side sleeper, utilize a specialized travel pillow or a 'piercing pillow' with a hollow center to cradle your ear, ensuring zero pressure is applied to the jewelry while you sleep. By combining proper metallurgy, sterile triage protocols, and mechanical protection, you can navigate an earring infection safely and preserve the integrity of your piercing.


