Troubleshoot Piercing Fit With This Gauge Earring Size Chart
Solve piercing fit issues, avoid the cheese-cutter effect, and find your perfect jewelry match with our comprehensive gauge earring size chart.

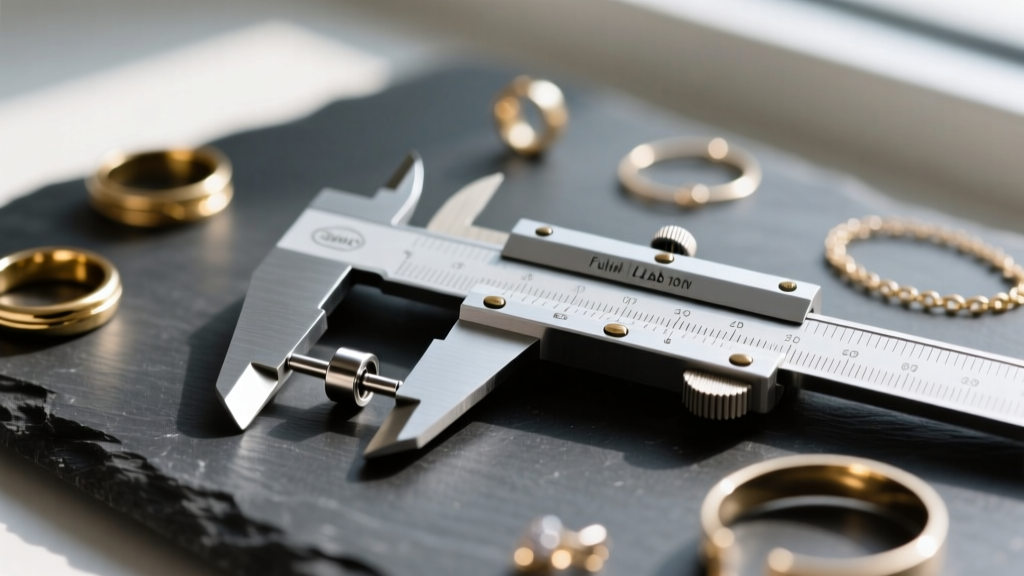
Ordering fine body jewelry online should be an exciting experience, but it frequently ends in frustration when the earring post refuses to slide through your piercing channel. You are not alone in this struggle. The vast majority of earring fit issues, insertion trauma, and long-term migration problems stem from a fundamental misunderstanding of jewelry thickness. Unlike standard ring sizes, wire thickness operates on an archaic, inverse scale that confuses even seasoned jewelry collectors. To solve these fit issues permanently, you must understand how to read and apply a gauge earring size chart to your specific anatomy and piercing history.
Whether you are dealing with a stubborn tragus piercing, upgrading your earlobe stack, or trying to salvage an irritated helix, troubleshooting your jewelry gauge is the critical first step. Forcing the wrong size into a fistula (the healed tube of skin inside your piercing) causes micro-tears, invites bacterial infections, and triggers hypertrophic scarring. Below, we break down the exact science of gauge sizing, provide a definitive troubleshooting chart, and offer expert solutions for the most common earring fit failures.
The Inverse Logic of Gauge Sizing
The most common point of confusion in body jewelry is the gauge system itself. Originating from the wire manufacturing industry in the 19th century, the gauge system is inverse: the higher the gauge number, the thinner the wire. A 20-gauge earring is significantly thinner than a 14-gauge earring. This counterintuitive system is why guessing your size based on visual estimates almost always results in purchasing jewelry that is either too thick to insert or too thin to support the weight of the piece safely.
Furthermore, the environment where you were pierced dictates your baseline gauge. Standard mall kiosks and retail jewelry stores typically use piercing guns that accommodate only 20-gauge (0.81mm) or 18-gauge (1.02mm) studs. In contrast, professional piercing studios use hollow beveled needles that generally create 16-gauge (1.29mm) or 14-gauge (1.63mm) holes for cartilage and structural support. If you were pierced at a mall ten years ago and are now trying to buy a high-end 16-gauge gold seamless hoop for your helix, it simply will not fit without professional stretching.
The Ultimate Gauge Earring Size Chart
Use the data table below as your primary reference when troubleshooting fit issues or purchasing new jewelry. This chart bridges the gap between gauge numbers, exact millimeter measurements, and standard anatomical placements.
| Gauge Size | Millimeters (mm) | Inches (Decimal) | Common Piercing Placements | Troubleshooting Note |
|---|---|---|---|---|
| 22G | 0.64mm | 0.025" | Nose screws, ultra-thin earlobes | Too thin for structural support; high risk of tearing. |
| 20G | 0.81mm | 0.032" | Standard mall lobes, some nostrils | Standard for commercial fashion earrings; avoid for heavy hoops. |
| 18G | 1.02mm | 0.040" | Professional lobes, some cartilage | Excellent balance for delicate lobe stacks and lightweight hoops. |
| 16G | 1.29mm | 0.051" | Helix, tragus, conch, forward helix | The gold standard for modern cartilage piercings; highly stable. |
| 14G | 1.63mm | 0.064" | Industrial, daith, rook, navel | Required for structural integrity in high-movement areas. |
| 12G | 2.00mm | 0.079" | Stretched lobes, specific conch | Usually requires intentional stretching; rarely a default size. |
According to the Association of Professional Piercers (APP), initial cartilage piercings should never be performed at a gauge thinner than 18G, with 16G being the preferred standard to prevent migration and the dreaded "cheese-cutter" effect.
Troubleshooting Scenario A: The Jewelry Won't Insert (Too Thick)
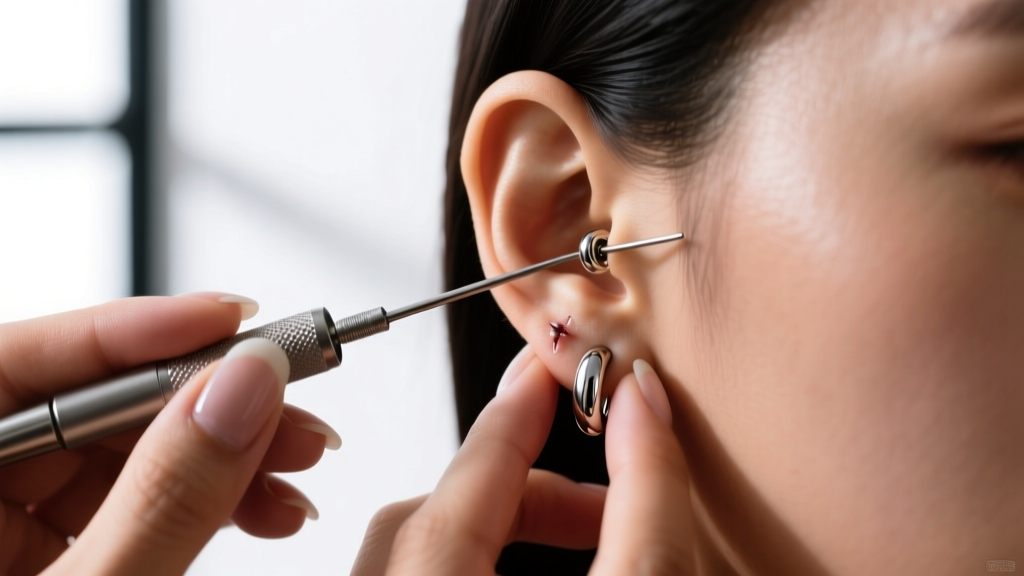
You have a beautiful new titanium labret post, but it stops halfway through your piercing channel. Do not push it. Forcing a thicker piece of jewelry through a narrower fistula causes blunt force trauma to the tissue, leading to immediate swelling, bleeding, and potential blowout.
Why This Happens
This usually occurs when transitioning from commercial 18-gauge jewelry to professional 16-gauge body jewelry, or when attempting to wear a 14-gauge daith clicker in a piercing that was originally done at 16-gauge. The fistula has healed tightly around the smaller diameter.
The Expert Solution
- Use an Insertion Taper: Purchase a surgical steel or titanium insertion taper that matches your target gauge. Lubricate the taper with sterile saline or a water-based lubricant, gently slide it through the piercing to stretch the tissue incrementally, and then immediately follow it with your new jewelry.
- The Warm Shower Method: If you are only one size up (e.g., moving from 18G to 16G), take a warm shower to increase tissue elasticity and blood flow. Attempt the insertion immediately after drying off.
- Professional Stretching: If you are jumping from 18G to 14G, do not attempt this at home. Visit a professional piercer who can use a tapered needle to safely guide the thicker jewelry through without tearing the fistula.
Troubleshooting Scenario B: The Earring Slides Around or Irritates (Too Thin)
Conversely, inserting a thinner earring into a larger piercing hole seems harmless, but it introduces severe long-term risks. If your piercing was done at 16G and you are wearing a delicate 20G gold hoop, you are setting yourself up for structural failure.
The Cheese-Cutter Effect
As detailed in Healthline's comprehensive piercing guides, wearing jewelry that is too thin for the piercing channel creates a phenomenon known in the body modification industry as the "cheese-cutter effect." The thin wire acts like a blade against the tissue. Over time, gravity, sleeping pressure, and the weight of the earring will cause the thin wire to slowly slice through the skin, leading to rejection, migration, and permanent scarring.
The Expert Solution
- Size Up Immediately: Never wear heavy hoops or dangling earrings on a gauge thinner than 18G, and preferably stick to 16G or 14G for any jewelry with significant weight.
- Use O-Rings for Temporary Stabilization: If you must wear a slightly thinner piece temporarily, use sterile silicone or EPDM o-rings on the back of the post to prevent the jewelry from sliding back and forth, which causes friction irritation.
Material and Threading Troubleshooting
Sometimes, the gauge size is perfectly correct according to your gauge earring size chart, but the jewelry still feels like it is tearing your piercing upon insertion. The culprit is rarely the thickness; it is the threading and material grade.
Externally Threaded vs. Internally Threaded
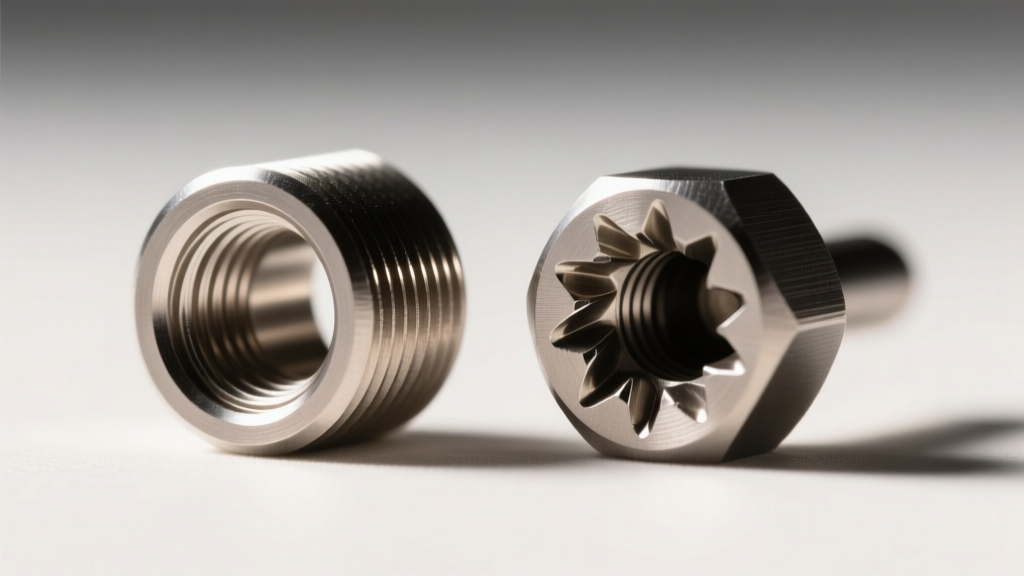
Externally threaded jewelry (where the screw pattern is on the post itself) is a relic of low-quality manufacturing. When you push an externally threaded post through a piercing, the jagged metal ridges scrape and micro-tear the delicate fistula lining. This causes immediate irritation bumps, even if the gauge is correct.
Expert Rule: If you can feel the threads with your fingernail when running it along the post, the jewelry is externally threaded and should never be worn in a healed or healing piercing.
Always opt for internally threaded jewelry (where the post is smooth and the screw is on the decorative end) or threadless (push-pin) jewelry, which relies on tension and features a completely seamless, smooth post.
Material Grade Verification
If your correctly sized earring is causing chronic itching, weeping, or contact dermatitis, you are likely reacting to nickel alloys found in "surgical steel." True biocompatible jewelry must be crafted from ASTM F-136 implant-grade titanium, niobium, or 14k/18k palladium-based white gold. Avoid anything labeled simply as "hypoallergenic" or "surgical steel" without an ASTM certification, as these terms are largely unregulated marketing buzzwords in the 2026 jewelry market.
How to Measure Your Current Jewelry Accurately
If you have lost the packaging for your favorite earrings and do not know their gauge, do not rely on visual comparisons. Invest in a digital caliper (available for under $15 online).
When measuring labret posts or straight barbells, you must measure the wearable area, not the total length. The wearable area is the distance from the inside of the base plate to the start of the threading or the pinhole. Measuring the total length will result in purchasing jewelry that is too long, leading to snagging and delayed healing. For hoops and captive bead rings, measure the inner diameter (ID) to ensure the hoop will clear your anatomy without putting pressure on the piercing channel.
By mastering your personal measurements and consulting a reliable gauge earring size chart, you eliminate the guesswork from online jewelry shopping. You will protect your piercings from unnecessary trauma, ensure your fine jewelry sits perfectly on your anatomy, and build a curated ear stack that is as structurally sound as it is visually stunning.


