Troubleshooting Resin Earrings Pressed Flower Yellowing & Decay
Learn how to troubleshoot resin earrings pressed flower designs. Fix cloudiness, prevent botanical yellowing, and master earring post adhesion.

Botanical jewelry has surged in popularity, but creating and maintaining these delicate pieces requires a deep understanding of polymer chemistry and organic preservation. When crafting or repairing resin earrings pressed flower designs, artisans and consumers frequently encounter a triad of frustrating issues: internal botanical browning, surface cloudiness, and hardware adhesion failure. Unlike traditional metal jewelry, resin is a reactive material that interacts with both the organic matter trapped inside it and the UV light it is exposed to. This comprehensive troubleshooting guide will diagnose the root causes of these failures and provide actionable, expert-level solutions to salvage or prevent them.
The Chemistry of Botanical Decay in Resin
The most devastating issue in botanical jewelry is the internal rotting or browning of the suspended flora. This is not a resin failure; it is a moisture failure. When a flower is sealed inside an impermeable epoxy or UV resin shell, any residual moisture trapped within the plant's cellular structure has nowhere to go. Over time, this moisture breeds anaerobic bacteria and causes the organic pigments to oxidize and turn brown or black.
Many hobbyists attempt to dry flowers by pressing them inside heavy books. While this flattens the flower, it does not adequately desiccate the cellular moisture. According to preservation experts at Resin Obsession, true desiccation requires a chemical desiccant. Silica gel crystals draw out moisture at a molecular level without crushing the delicate petals. If your resin earrings pressed flower designs are turning brown from the inside out, the flowers were not adequately dried before casting. Unfortunately, once internal browning occurs, the damage is irreversible, and the piece must be discarded.
Diagnostic Matrix: Identifying Your Resin Issues
Before attempting any repairs, you must accurately diagnose the visual defect. Use the troubleshooting table below to identify the exact cause of your resin degradation.
| Symptom | Root Cause | Actionable Solution |
|---|---|---|
| Internal Brown/Black Spots | Trapped moisture causing organic rot. | Irreversible. Prevent by using silica gel desiccation for 5-7 days prior to casting. |
| Overall Yellow Tint | UV photodegradation of the polymer chains. | Sand off the top layer and apply a UV-blocking topcoat, or use HALS-stabilized epoxy. |
| Surface Cloudiness/Scratches | Mechanical abrasion or premature demolding. | Wet sand progressively from 400 to 3000 grit, then polish with a plastic compound. |
| Flower Looks 'Wet' or Translucent | Resin penetrated the porous petal fibers. | Seal flowers with clear acrylic spray before casting to maintain their matte, natural color. |
| Earring Post Falling Off | Flexible glue failing on rigid resin. | Scuff the metal pad and use a rigid two-part epoxy instead of E6000. |
Step-by-Step Fixes for Surface Cloudiness and Scratches
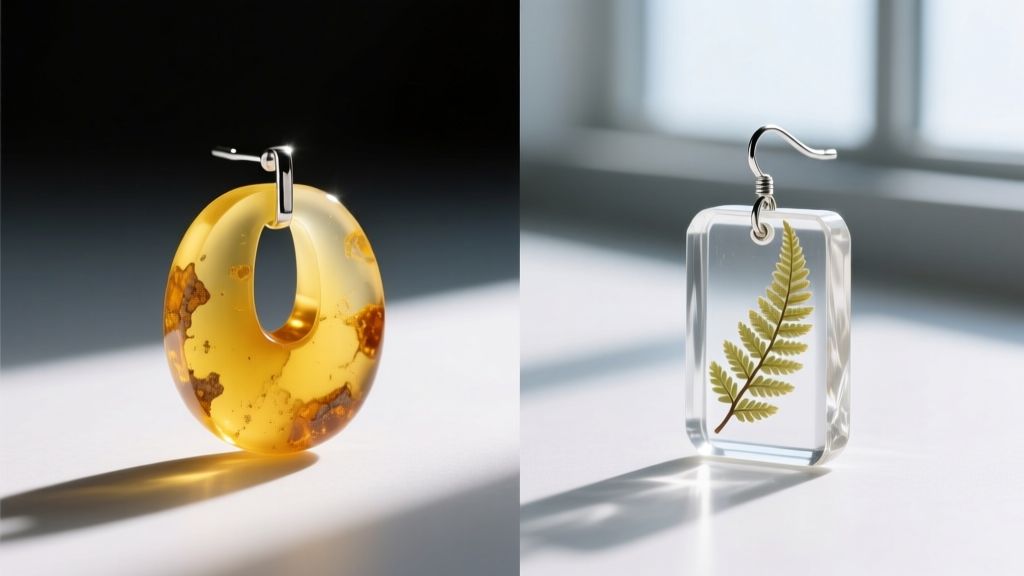
While internal rot cannot be fixed, surface cloudiness and micro-scratches on your resin earrings pressed flower pieces can be completely eradicated through meticulous wet sanding and polishing. Resin cures to a hardness similar to acrylic, meaning it requires a progressive abrasion strategy to restore optical clarity.
The Wet Sanding Protocol
Never dry sand jewelry resin; the friction will generate heat, causing the resin to melt and gum up your sandpaper. Instead, submerge your sandpaper in water and use the following progression:
- 400 Grit: Removes deep scratches and heavy cloudiness.
- 800 Grit: Smooths out the gouges left by the 400 grit.
- 1500 Grit: Begins the pre-polishing phase, turning the surface frosted but smooth.
- 3000 Grit: Creates a near-glass finish, preparing the surface for compound polishing.
After sanding, apply a specialized plastic polish like Novus Plastic Polish #2 (Fine Scratch Remover) using a microfiber cloth. Buff in tight, circular motions for 3 to 5 minutes per earring. Finish with Novus #1 (Clean & Shine) to restore the high-gloss, glass-like finish.
Addressing and Preventing UV Yellowing
All epoxy resins will eventually yellow when exposed to ultraviolet light. This is a chemical inevitability caused by the breakdown of the polymer bonds. However, the rate of yellowing depends heavily on the resin formulation. When purchasing or mixing resin for botanical jewelry, you must look for formulas that include HALS (Hindered Amine Light Stabilizers) and advanced UV absorbers. As detailed in the material science guides by ArtResin, premium epoxies contain these stabilizers to delay yellowing for years rather than months.
If an older pair of resin earrings has developed a superficial yellow tint, you can sometimes salvage them by sanding off the top 1mm of degraded resin and applying a fresh, UV-resistant clear coat. However, if the yellowing has penetrated the entire cast, the piece is structurally compromised aesthetically and cannot be chemically bleached without destroying the botanical pigments inside.
Prevention: The Crucial Sealing Step
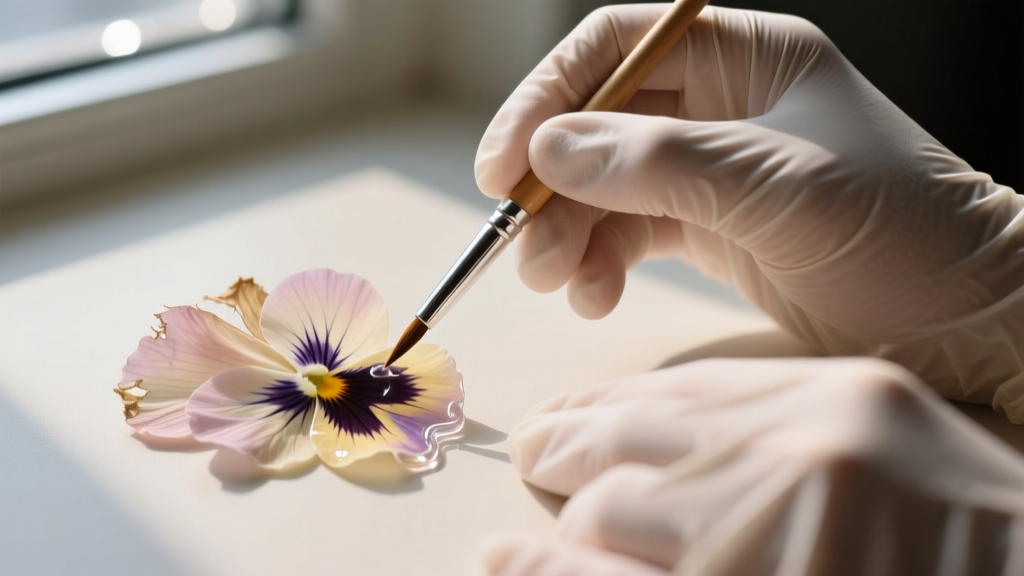
One of the most common complaints from beginners is that vibrant, dry flowers turn dark and translucent the moment the liquid resin touches them. This happens because the liquid epoxy acts as a solvent, penetrating the microscopic air pockets in the dried petals and altering their refractive index. To prevent this 'wet look' and preserve the bright, opaque colors of your pressed flowers, you must seal them before casting.
Expert Tip: Use a clear, non-yellowing acrylic spray sealant or a microcrystalline wax. Apply three ultra-light coats of acrylic spray to the dried flowers, allowing 20 minutes of drying time between each coat. This creates an impermeable barrier that stops the liquid resin from invading the petal cells.
Hardware Troubleshooting: Earring Post Adhesion
The final point of failure in resin jewelry is the hardware. Because resin is completely non-porous and rigid, many standard jewelry adhesives will fail over time, causing the earring post to snap off while being worn.
Selecting the Right Gauge and Pad Size
For standard lobe piercings, use 20-gauge (0.8mm) or 22-gauge (0.6mm) stainless steel or titanium earring posts. Titanium is highly recommended for botanical jewelry as it eliminates the risk of nickel allergies, which are common with cheap metal findings. Ensure the flat pad on the earring post is at least 6mm to 8mm in diameter to provide adequate surface area for the glue.
The Adhesion Protocol
Never use E6000 or super glue (cyanoacrylate) for resin-to-metal adhesion. E6000 remains slightly flexible, which causes it to peel away from rigid resin under the torque of daily wear. Super glue becomes brittle and shatters upon impact. Instead, follow this protocol:
- Scuff the Metal: Use 220-grit sandpaper to heavily scratch the flat pad of the earring post and the back of the resin earring. This creates a mechanical tooth for the glue to grip.
- Clean: Wipe both surfaces with isopropyl alcohol to remove oils and resin dust.
- Glue: Mix a high-quality, two-part clear epoxy adhesive (such as Loctite Epoxy). Apply a thin, even layer to both the metal pad and the resin.
- Cure: Press the pieces together, wipe away any squeeze-out immediately with an alcohol-dampened cotton swab, and let it cure undisturbed on a flat surface for a full 24 hours.
Conclusion
Mastering the art of botanical jewelry requires looking beyond the aesthetic and understanding the material science at play. By rigorously desiccating your flora, sealing the petals, utilizing UV-stabilized epoxies, and employing proper mechanical adhesion techniques for your hardware, you can ensure your resin earrings pressed flower designs remain crystal clear and structurally sound for years to come.


