Troubleshooting a Stuck Earring with Screw Back: Expert Fixes
Learn how to safely remove a stuck earring with screw back, prevent cross-threading, and maintain fine jewelry with expert troubleshooting tips.

The Anatomy of an Earring with Screw Back
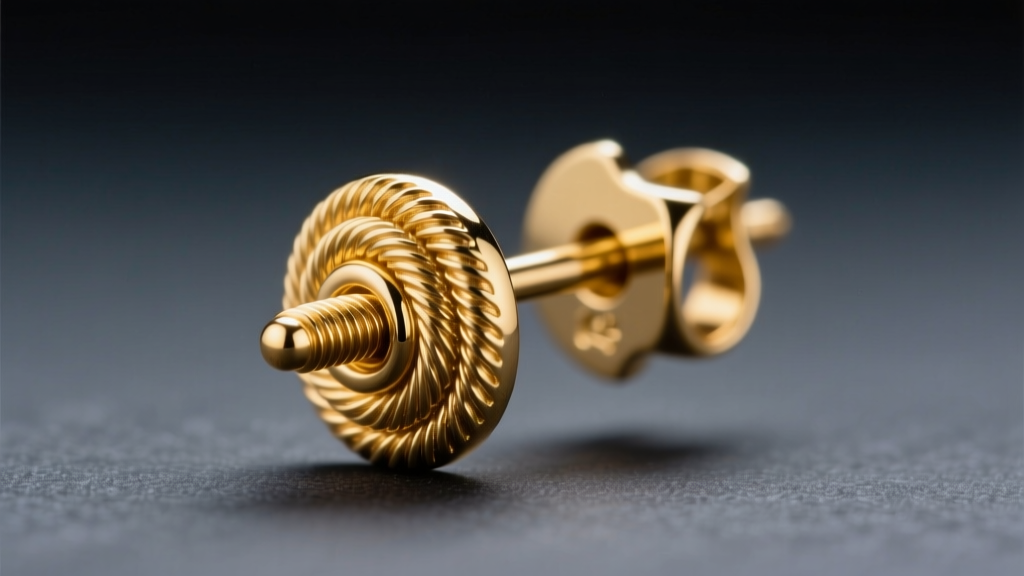
When investing in fine jewelry or high-end body modifications, security is paramount. An earring with screw back mechanisms offers unparalleled retention compared to standard friction backs. However, the very micro-engineering that keeps your diamond studs or 14k gold cartilage hoops secure can also lead to frustrating lockups. To troubleshoot effectively, you must first understand the threading mechanics.
Most fine jewelry screw backs utilize external threading, where the grooves are cut directly into the earring post (typically 18-gauge/1.0mm or 20-gauge/0.81mm). The backing nut features corresponding internal threads. Conversely, premium body jewelry brands (like BVLA or Maria Tash) often use internal threading, where the post is smooth and the threaded component is on the decorative end or the backing itself, protecting the piercing fistula from micro-tears during insertion.
Understanding whether your jewelry is externally or internally threaded dictates the exact troubleshooting method required when it refuses to budge.
Top 4 Reasons Your Threaded Earring Gets Stuck
Before applying force, identify the root cause of the lockup. Applying brute strength to a stuck earring with screw back components will almost always result in a stripped post or a ruined backing.
- Cross-Threading: The most common culprit. If the backing was forced on at a slight angle, the metal threads bind against each other, creating a mechanical jam.
- Sebum and Cosmetic Buildup: Dead skin cells, sebum, and lotions can accumulate in the micro-threads. Over time, this organic matter acts like a biological adhesive, effectively cementing the backing to the post.
- Metal Galling (Cold Welding): Precious metals like platinum, 18k gold, and implant-grade titanium (ASTM F136) are highly susceptible to galling. When overtightened, the friction causes microscopic metal transfers, essentially welding the nut to the post.
- Lobe Swelling: While not a threading issue, localized edema (swelling) from sleeping on the earring or minor trauma can bury the backing in the earlobe, making it impossible to achieve the necessary grip for removal.
Step-by-Step Troubleshooting: Safe Removal Guide
If your earring with screw back is stuck, abandon the use of steel pliers. Pliers will permanently mar the polish of precious metals and can crush hollow-cast backings. Follow this professional jeweler protocol:
Step 1: Degrease and Soften
Prepare a small bowl of warm water with a few drops of mild, lotion-free dish soap. Submerge the earlobe and earring for 5 to 10 minutes. The warm water serves two purposes: it melts and dissolves sebum and cosmetic buildup trapped in the threads, and it gently expands the metal backing via thermal expansion, breaking the microscopic bond of galling.
Step 2: Maximize Your Grip
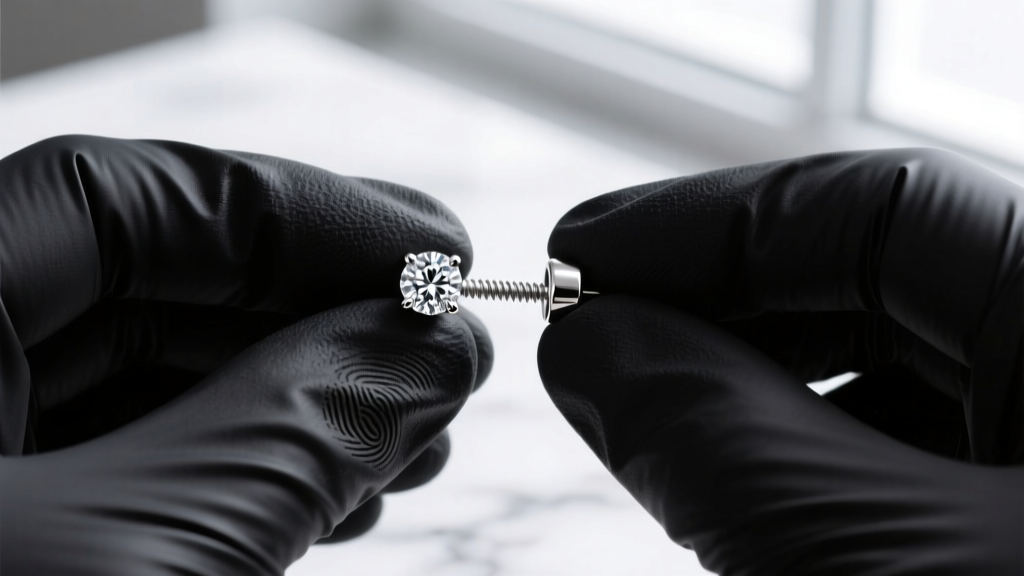
Human skin naturally produces oils that cause slipping on small metal components. Dry the ear thoroughly, then don a pair of textured nitrile gloves or use rubber finger cots. The latex-free rubber provides immense rotational torque without requiring painful squeezing pressure on the earlobe.
Step 3: The Alignment Trick (For Cross-Threading)
Do not immediately turn counter-clockwise. Instead, apply gentle forward pressure and turn the backing clockwise (the tightening direction). Listen and feel for a faint "click" or drop. This indicates the threads have re-aligned. Once aligned, immediately reverse direction and unscrew counter-clockwise.
Step 4: Lubrication for Galling
If the backing remains frozen, apply a microscopic drop of sterile saline or pure jojoba oil directly to the seam where the post meets the nut. Avoid chemical lubricants like WD-40, which can degrade porous gemstones (such as pearls, opals, or turquoise) often set in fine jewelry studs.
Security Comparison: Screw Backs vs. Alternatives
Is the maintenance of threaded jewelry worth the security? Review the data below to understand how screw backs compare to other market standards in 2026.
| Backing Type | Security Level | Common Gauges | Best Application | Primary Failure Mode |
|---|---|---|---|---|
| Screw Back | Extremely High | 20g, 18g, 16g | High-value diamond studs, cartilage | Cross-threading, galling |
| Friction (Butterfly) | Low to Medium | 22g, 20g, 18g | Everyday lightweight studs | Loss of tension, slipping off |
| La Pousette (Locking) | High | 18g, 16g | Heavy drops, active lifestyles | Spring mechanism failure |
| Flat Back (Threaded) | Extremely High | 16g, 14g, 12g | Helix, tragus, conch piercings | Debris buildup in internal threads |
According to the Association of Professional Piercers, internally threaded flat backs and screw mechanisms remain the gold standard for long-term wearability and tissue health, provided they are maintained correctly.
Preventative Maintenance for Threaded Earrings
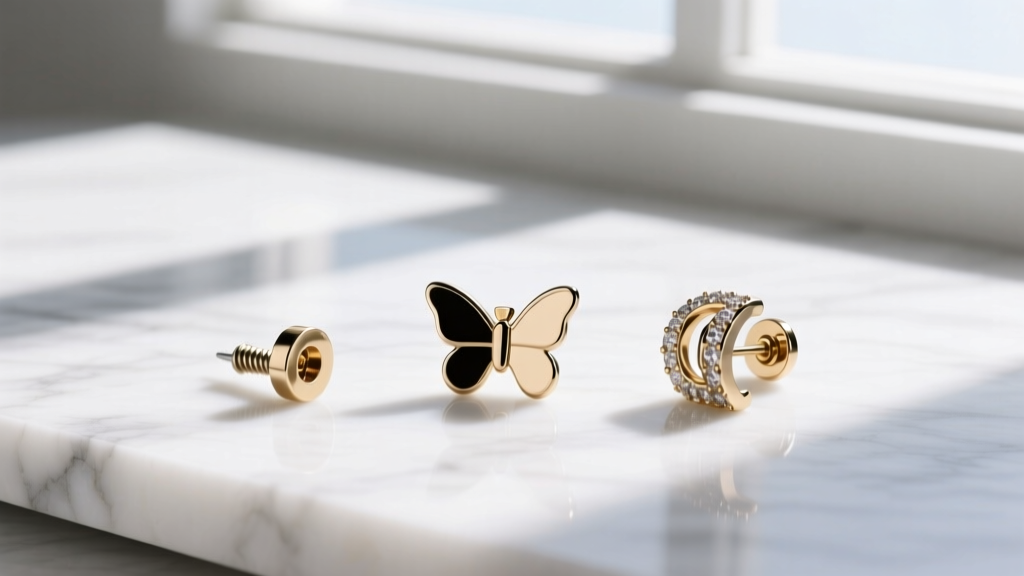
Troubleshooting is reactive; maintenance is proactive. To ensure your earring with screw back mechanisms glide smoothly for decades, implement the following care routines:
The "Two-Turn" Rule
Never force a backing onto a post. When putting on your earrings, start turning the backing counter-clockwise (lefty-loosey) until you feel the threads drop into alignment, then turn clockwise to tighten. Stop tightening the moment you feel resistance. Overtightening is the primary cause of metal galling.
Ultrasonic Cleaning
Once a month, clean the posts and backings in an ultrasonic jewelry cleaner using a mild ammonia-based solution (safe for diamonds and gold/platinum, but never for emeralds or pearls). The high-frequency sound waves will dislodge microscopic debris from the threads that a brush cannot reach. The Gemological Institute of America (GIA) recommends regular ultrasonic cleaning for maintaining the structural integrity of fine jewelry settings and mechanisms.
When to See a Professional Jeweler
There is a fine line between a stubborn backing and a permanently damaged one. Cease DIY troubleshooting and visit a bench jeweler or professional piercer if:
- The post bends: If the post bows under the pressure of your grip, stop immediately. A bent post will never thread correctly again and requires professional straightening or laser soldering.
- The backing spins freely: If the backing turns endlessly in both directions without moving along the post, the threads are completely stripped. The backing must be cut off with specialized flush cutters.
- Skin encapsulation: If swelling has caused the earlobe tissue to grow over or tightly encapsulate the backing, do not attempt to dig it out. Visit a professional piercer or urgent care to avoid severe lacerations.
Expert Insight: Keep a pair of plastic-tipped tweezers and rubber finger cots in your jewelry box. They cost less than $5 and will save you from hundreds of dollars in jewelry repair bills caused by slipped pliers and stripped threads.
By understanding the metallurgy and mechanics of your jewelry, you can ensure that your favorite pieces remain secure, comfortable, and easy to remove whenever necessary.


