How to Remove a Stuck Flat Back Earring Without Pain
Struggling with a stuck flat back earring? Learn expert troubleshooting steps for safe removal, threadless vs threaded fixes, and irritation prevention.

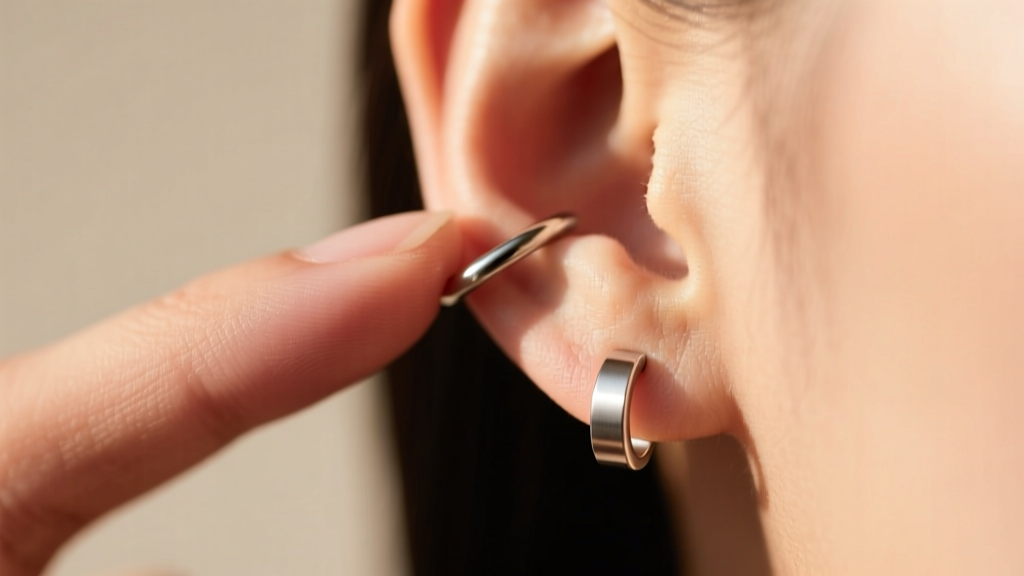
Flat back earrings have completely revolutionized the body modification and fine jewelry industries. By replacing the traditional butterfly clutch or threaded ball with a smooth, flat disc that rests flush against the skin, these earrings eliminate the dreaded 'poke' behind the ear and drastically reduce irritation. However, their sleek, low-profile design introduces a unique set of mechanical challenges. When a flat back earring gets stuck, refuses to unscrew, or becomes cemented by healing fluids, panic often sets in. As of 2026, implant-grade titanium (ASTM F-136) remains the undisputed standard for these pieces, but even the highest quality metals can jam if mishandled. This comprehensive troubleshooting guide will walk you through the exact mechanics of your jewelry and provide professional-grade solutions to safely remove a stubborn flat back earring without damaging your piercing or your investment.
The Anatomy of a Stubborn Flat Back Earring
Before applying force, you must identify the locking mechanism of your flat back earring. Forcing the wrong removal method is the primary cause of bent posts, stripped threads, and torn tissue. Flat backs generally fall into two categories:
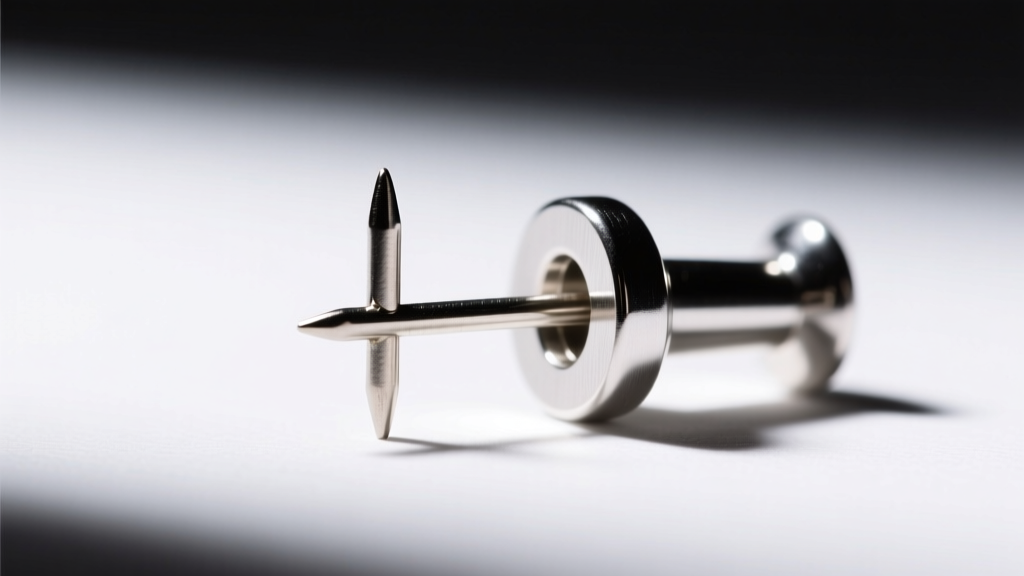
- Threadless (Push-Pin): The decorative top features a slightly bent metal pin that inserts into the hollow post. Tension holds the two pieces together.
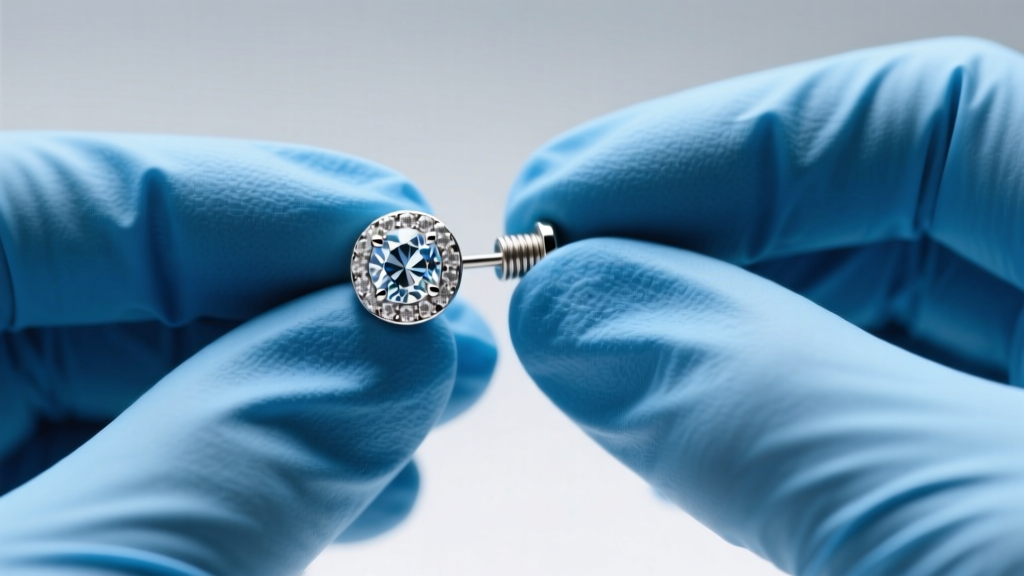
- Internally Threaded: The decorative top has a small external screw that threads into the hollow, internally threaded post. This is the premium standard recommended by the Association of Professional Piercers (APP) for its smooth insertion and secure hold.
Understanding which mechanism you are dealing with is the critical first step in troubleshooting a stuck flat back earring. Never use pliers directly on the jewelry without protective padding, and never twist a threadless top as if it were threaded.
Troubleshooting Threadless (Push-Pin) Flat Backs
Threadless jewelry is beloved for its security, but that same security is what makes it so difficult to remove when you are not prepared. The pin on the decorative top is intentionally bent to create friction against the inside wall of the post. If your threadless flat back earring is stuck, it usually means the tension is too high, or the joint is glued shut by dried lymph fluid.
The Dental Floss Pop Method
When your fingers cannot get enough grip on a small gemstone or bezel top, dental floss is your best ally. Take a piece of unwaxed dental floss and slide it behind the decorative top, right where the pin meets the post. Wrap the floss around the base of the gem in a U-shape. Instead of pulling straight out, use a gentle sawing motion while pulling the floss away from the ear. The floss acts as a wedge, evenly distributing the leverage and popping the tension pin out of the hollow post without bending the metal.
Adjusting the Pin Tension for Future Use
If you successfully remove the earring but find it was painfully tight, the pin was likely bent at too severe of an angle. To fix this, use a pair of nylon-jaw jewelry pliers to gently straighten the pin by just a fraction of a millimeter. Test the tension by inserting it into the post; it should require a firm push but should not require brute force to remove.
Solving Internally Threaded Flat Back Jams
Internally threaded flat back earrings are engineered for longevity, but they are highly susceptible to cross-threading and biological 'cementing.' If your threaded earring will not budge, stop twisting immediately. Continuing to force a cross-threaded screw will strip the internal threads, permanently ruining the post.
The Nitrile Glove Grip Technique
The most common reason a threaded flat back won't unscrew is simply a lack of friction. Skin and natural oils cannot grip a smooth, polished titanium or 14k gold bezel. Put on a pair of tight-fitting, powder-free nitrile medical gloves. The textured rubber provides immense grip. Hold the flat back disc firmly behind the ear with one gloved hand, and grip the decorative top with the other. Twist the top counter-clockwise (lefty-loosey). The rubber will catch the micro-texture of the metal, allowing you to break the initial torque seal.
Dissolving Lymph Crust Cement
If the earring still will not turn, the threads are likely bound by dried lymph, blood, or hard water deposits from showering. Do not use harsh chemicals or alcohol, as these will irritate the piercing channel. Instead, soak a sterile cotton swab in warm, sterile saline solution (0.9% sodium chloride). Hold the saturated swab against the front and back joints of the earring for five to ten minutes. The warm saline will rehydrate and dissolve the biological crust. Once softened, try the nitrile glove method again. For persistent mineral deposits, a drop of white vinegar on a cotton swab applied strictly to the metal joint (avoiding the skin) can break down the calcium buildup.
Post Length and Gauge Mismatches: The Hidden Irritants
Sometimes the problem is not that the earring is stuck, but that it is causing chronic irritation bumps (hypertrophic scarring) or embedding into the tissue. This is almost always a failure of post length or gauge selection. According to Anatometal's jewelry specifications, precise millimeter sizing is critical for tissue health.
| Post Length | Common Use Case | Troubleshooting the Issue | Solution |
|---|---|---|---|
| 5mm (3/16") | Healed, thin earlobes | Causes embedding in cartilage; flat back sinks into swollen tissue. | Upsize to 6mm or 8mm immediately to relieve pressure. |
| 6mm (1/4") | Standard healed cartilage/helix | Ideal for most. If snagging occurs, the piercing angle may be incorrect. | Keep as is; consult a piercer if angle causes persistent snagging. |
| 8mm (5/16") | Thick lobes, conch, or fresh piercings | Too long for a healed helix; creates a gap that catches hair and masks. | Downsize to 6mm once swelling has completely subsided. |
| 10mm+ (3/8"+) | Initial fresh piercings only | Highly dangerous for healed piercings; guarantees irritation bumps. | Downsize immediately; long posts act as levers, tearing the fistula. |
Regarding gauge, ensure your post matches the piercing needle size. A 16G (1.2mm) post in an 18G (1.0mm) hole will cause micro-tears, while an 18G post in a 16G hole will allow the jewelry to slide back and forth, introducing bacteria and delaying healing.
Preventing Future Flat Back Earring Disasters
Troubleshooting is reactive; maintenance is proactive. To ensure your flat back earrings remain easy to change and comfortable to wear, implement the following protocols:
The Weekly Thread Check: For internally threaded jewelry, gently tighten the top once a week. Body heat and minor impacts can slowly loosen the screw over time. A quick twist prevents the top from falling out in your sleep or the threads from crossing when it hangs loose.
Additionally, always clean your jewelry in an ultrasonic cleaner or with warm soapy water before storing it. Microscopic debris left in the internal threads of the post will harden over time, making your next insertion a cross-threading nightmare. Always store flat backs fully assembled; leaving the post empty allows the internal threads to become damaged or clogged with environmental dust.
When to See a Professional Piercer
There is a fine line between a stubborn piece of jewelry and a medical emergency. If your flat back earring is stuck and the surrounding tissue is hot to the touch, throbbing, or secreting yellow/green pus, you may have an infection. Do not attempt to remove the jewelry yourself, as the swelling can trap the earring, and removing it can cause the piercing hole to close over an abscess. Furthermore, if the flat back disc has completely embedded into the skin and is no longer visible, you require professional intervention. A reputable piercer has specialized taper tools, hemostats, and the anatomical knowledge to safely relieve the pressure and swap the jewelry for a longer post without causing further trauma to the fistula. When in doubt, leave the tools in the drawer and visit a professional.


