Troubleshooting Lapis Earrings: Fading, Fakes, and Care Fixes
Are your lapis earrings fading or turning skin blue? Discover expert troubleshooting tips to spot fakes, prevent dye bleeding, and restore gems.

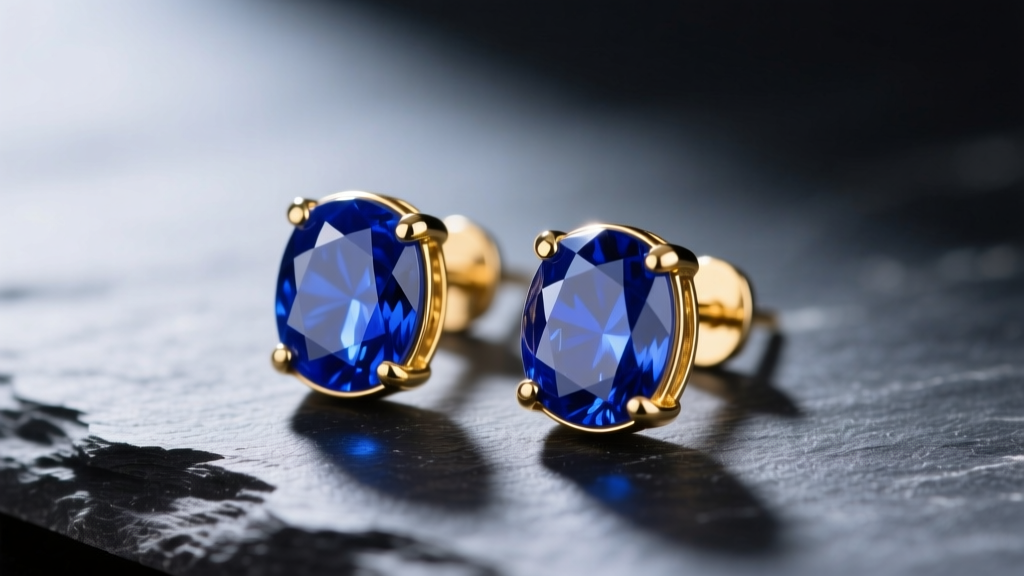
Lapis lazuli is one of the most historically significant and visually striking gemstones in the world, prized for its deep, celestial blue hue and striking gold pyrite inclusions. However, from a gemological and jewelry-making perspective, lapis is a high-maintenance material. It is not a single mineral, but a metamorphic rock composed primarily of lazurite (which provides the blue color), calcite (white streaks), and sodalite. With a Mohs hardness rating of just 5 to 5.5, and a porous structure, lapis earrings face unique threats from daily wear, cosmetics, and improper cleaning.
If your favorite lapis studs are losing their luster, leaving blue smudges on your earlobes, or suffering from loose settings, you are not alone. This comprehensive troubleshooting guide addresses the most common failure modes of lapis lazuli earrings and provides actionable, expert-level solutions to restore and protect your jewelry.
The 'Bleeding' Problem: Why Your Lapis Earrings Turn Skin Blue
One of the most frequent complaints regarding lapis earrings is the transfer of blue dye onto the skin or clothing. Natural, high-grade lapis lazuli (often referred to as 'Afghan Blue' or 'Royal Blue') does not bleed. If your earrings are leaving a blue residue, they have likely been treated with a dye, most commonly Prussian blue or Berlin blue, to enhance the color of lower-grade, pale material known as 'denim lapis.'
How to Confirm Dye Treatment
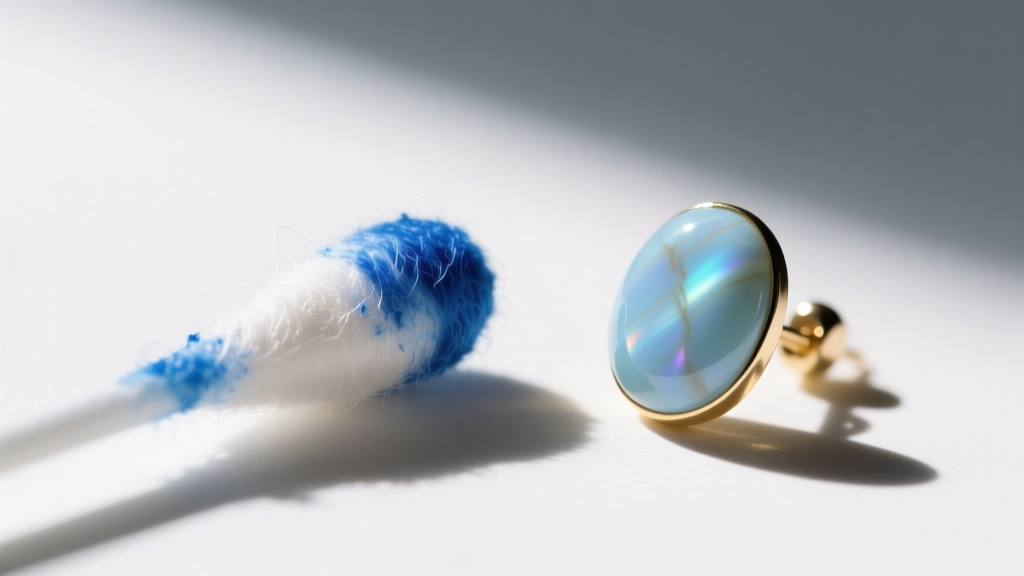
To definitively determine if your lapis earrings are dyed, perform the acetone test. Dip a cotton swab in pure acetone (standard nail polish remover works, provided it contains no added moisturizers or colors) and gently rub an inconspicuous area of the stone, such as the back of the cabochon or the edge near the setting.
- Positive Result: The swab turns blue. The stone has been dyed, and the dye is currently unstable and leaching due to contact with skin oils, sweat, or perfume.
- Negative Result: The swab remains clean. The stone is either natural, or it has been treated with a stable, permanent polymer sealant.
The Fix: Sealing Dyed Lapis
If your earrings are dyed and bleeding, you do not necessarily need to throw them away. You can stabilize the dye by applying a jewelry-safe sealant. Clean the stones gently with a dry microfiber cloth to remove any surface oils. Apply a micro-thin layer of Renaissance Wax or a specialized clear jewelry guard (like ProtectaClear) using a soft brush. Allow it to cure fully for 24 hours before wearing. This creates a microscopic barrier that locks the dye in and prevents skin contact.
Spotting Fakes: Sodalite, Howlite, and Glass Imposters
The market is flooded with lapis earrings that are actually made from cheaper alternative materials. Because genuine lapis is becoming increasingly scarce and expensive, manufacturers frequently substitute it with sodalite, dyed howlite, or even synthetic glass. Identifying these imposters requires an understanding of their physical and optical properties.
| Material | Mohs Hardness | Key Visual Identifiers | UV Light Reaction |
|---|---|---|---|
| Genuine Lapis Lazuli | 5.0 - 5.5 | Deep blue with distinct, metallic gold pyrite flecks and occasional white calcite veins. | Inert to faint greenish/white (calcite areas). |
| Sodalite | 5.5 - 6.0 | Lighter, more violet-blue. Lacks metallic pyrite. Often features prominent white veining. | Often fluoresces bright orange/peach under UV. |
| Dyed Howlite | 3.0 - 3.5 | Opaque, uniform blue. Dye concentrates heavily in the natural gray/white webbing of the stone. | Inert, but dye may appear unnatural under UV. |
| Opalite / Glass | 5.5 - 6.5 | Translucent to opaque. Contains perfectly spherical air bubbles. Lacks natural matrix. | Inert. |
Source: Mineralogical data cross-referenced with the Gemological Institute of America (GIA) and Encyclopedia Britannica.
The Magnification Test
Use a 10x jeweler's loupe to examine the gold flecks in your lapis earrings. In genuine lapis, the pyrite inclusions will have sharp, irregular, metallic edges and may show natural pitting. In glass imitations or reconstituted lapis (where lapis dust is glued together with resin), the 'pyrite' is often made of brass filings, which will appear perfectly smooth, rounded, or suspiciously uniform in size.
Structural Failures: Loose Bezels and Chipped Cabochons
Lapis lazuli has a poor to distinct cleavage, meaning it can easily split or chip along certain structural planes if subjected to impact. This makes the physical design of the earring setting critical to the stone's survival.
The Danger of Prong Settings
If your lapis earrings are set in prong settings, they are at a high risk of chipping at the girdle (the widest edge of the stone). Prongs leave the edges exposed to accidental bumps against hard surfaces. Furthermore, if a jeweler uses standard steel prong pushers on lapis, the pressure can easily fracture the calcite matrix within the rock.
Troubleshooting Loose Bezel Wire
Bezel settings are the industry standard for lapis, as the metal rim fully protects the vulnerable edges. However, over time, the bezel wire (typically 22-gauge or 20-gauge sterling silver or 14k gold) can pull away from the stone due to thermal expansion or physical snagging on hair and clothing.
- Inspect the Gap: Hold the earring under a bright LED light and look for shadows between the metal rim and the stone. If the stone rattles, the setting has failed.
- Do Not Use Glue: Never attempt to fix a loose lapis bezel with cyanoacrylate (Super Glue) or epoxy. These adhesives will seep into the porous lapis, permanently darkening the stone and ruining its value.
- Professional Burnishing: Take the earrings to a bench jeweler. They will use a specialized bezel roller or pusher to gently burnish the metal back against the stone. For lapis, a jeweler should use a brass or copper pusher, which is softer than the stone and will not scratch or chip the lazurite.
The Dullness Dilemma: Restoring Luster Without Chemicals
Because lapis is highly porous, it acts like a sponge for environmental pollutants. Hairspray, perfume, lotions, and natural sebum from your skin will quickly coat the stone, filling in its microscopic pores and resulting in a dull, matte appearance. Many well-meaning owners attempt to clean their lapis earrings using ultrasonic cleaners or harsh chemical dips, which leads to catastrophic damage.
Why Ultrasonic Cleaners Destroy Lapis
Ultrasonic cleaners use high-frequency sound waves to create microscopic cavitation bubbles in a liquid solution. When these bubbles collapse, they create intense localized shockwaves. In a composite rock like lapis lazuli, these shockwaves will literally shatter the bond between the lazurite, calcite, and pyrite. The pyrite flecks will pop out, leaving behind ugly, empty pits, and the calcite veins will fracture, causing the stone to crumble.
The Safe Cleaning Protocol
To safely restore the luster of your lapis earrings without damaging the matrix, follow this strict, chemical-free protocol:
- Step 1: Dry Dusting. Use a clean, ultra-soft makeup brush or a specialized jewelry dusting brush to gently sweep away loose particulate matter from the bezel and the stone's surface. This prevents scratching during the wet wash.
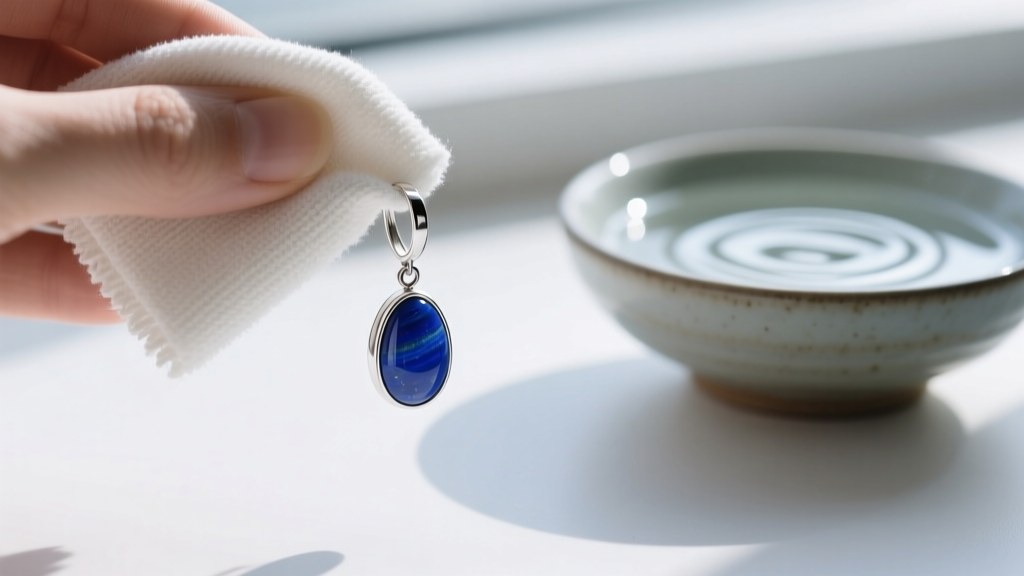
- Step 2: Distilled Water Wipe. Dampen a lint-free microfiber cloth with distilled water (never tap water, as the minerals and chlorine can react with the pyrite and cause rust spots). Gently wipe the face of the lapis cabochon.
- Step 3: Immediate Drying. Do not let the water sit on the stone. Immediately dry the lapis with a separate, dry microfiber cloth. Prolonged water exposure can degrade the polish and weaken the adhesive if the stone is backed by a stabilizing epoxy.
- Step 4: Metal Polish (Avoid the Stone). If the silver or gold setting is tarnished, apply a tiny amount of metal polish to a Q-tip and carefully clean only the metal, avoiding any contact with the lapis.
Preventative Maintenance Framework
Preserving the vibrant color and structural integrity of lapis earrings requires a disciplined approach to wearing and storing them. Adopt the 'Last On, First Off' rule: put your lapis earrings on only after your makeup, perfume, and hairspray have completely dried, and remove them immediately upon returning home.
For storage, keep your lapis earrings in a soft, anti-tarnish flannel pouch. Do not store them in a communal jewelry box where they can come into contact with harder gemstones like diamonds, sapphires, or quartz, which will easily scratch the 5.5 Mohs surface of the lapis. Furthermore, avoid storing lapis in extremely dry environments or direct sunlight for prolonged periods, as intense UV exposure and heat can cause the natural oils within the stone to evaporate, leading to a chalky, faded appearance over time. By understanding the unique geological vulnerabilities of lapis lazuli, you can ensure your earrings remain a vibrant, flawless staple in your collection for decades.


