How to Untangle, Clean, and Restore a Messy Box of Earrings
Learn how to safely untangle, clean, and restore a messy box of earrings. Expert tips on fixing bent posts, identifying metals, and replacing backs.

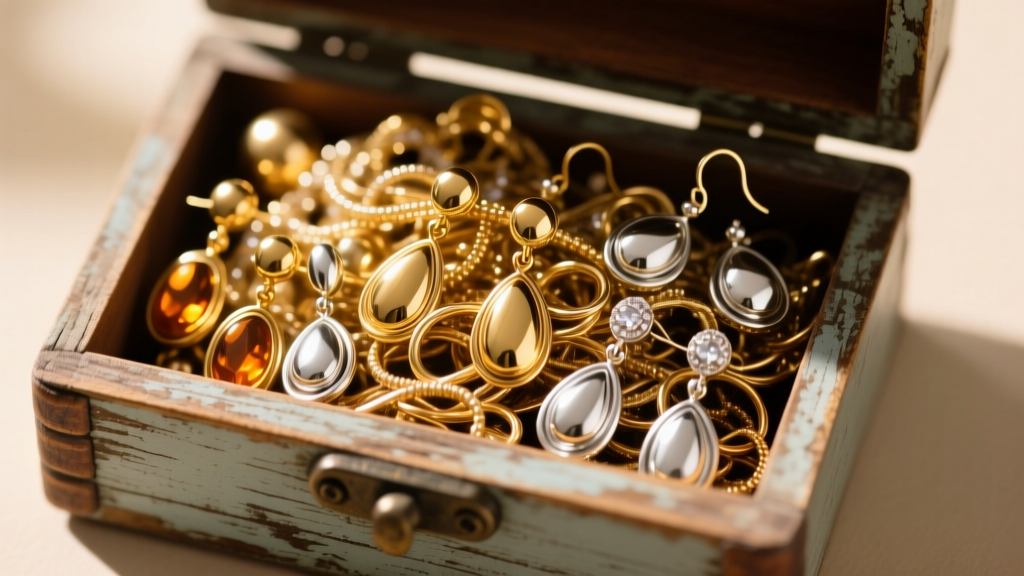
Unearthing an inherited or forgotten box of earrings often brings a wave of nostalgia, quickly followed by the dread of dealing with a tangled, tarnished rat's nest of fishhooks, chain tassels, and mystery metals. Whether you have acquired a vintage collection from a relative or simply neglected your own jewelry drawer for a decade, restoring a chaotic box of earrings requires a methodical, problem-solving approach. Pulling at delicate wires or applying harsh chemicals can permanently ruin both the structural integrity and the finish of the pieces. This comprehensive troubleshooting guide will walk you through the exact protocols for safe untangling, precise metal identification, targeted chemical cleaning, and structural repairs to bring your collection back to life.
Phase 1: Safe Untangling Protocols for Delicate Wires
The most common issue in a neglected box of earrings is the dreaded knot cluster. Standard earring posts and wires are incredibly thin, typically ranging from 20-gauge (0.81mm) to 22-gauge (0.64mm). Applying tension to these delicate wires will cause them to warp, kink, or snap entirely. To safely dismantle a knot cluster, you must eliminate friction.
Begin by laying the tangled mass on a dark, non-slip surface like a velvet mat or a piece of dark cardstock. This provides high contrast, making it easier to see the fine wire loops. Generously dust the knot with baby powder or cornstarch. The fine powder acts as a dry lubricant, coating the metal and allowing the microscopic ridges of the wires to slide past one another without catching. Using two fine-tipped sewing needles or precision tweezers, gently work from the outermost loops inward. Never pull the ends of a chain tassel or a fishhook wire; instead, manipulate the center of the knot to create slack.
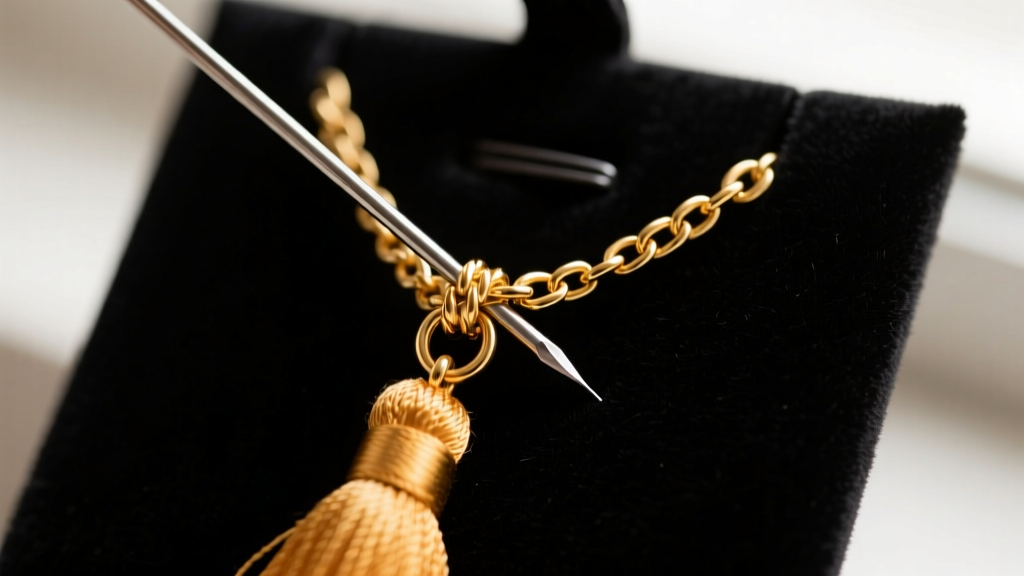
For severely jammed French wire hooks, a drop of mineral oil or baby oil applied with a cotton swab can provide the necessary slip. Once untangled, immediately wipe the oil away with a microfiber cloth to prevent dust accumulation. If a 22-gauge wire has developed a hard kink during the untangling process, do not attempt to bend it back with your fingers. Use nylon-jaw pliers, which grip the metal firmly without marring the surface, to gently coax the wire back into its original curve.
Phase 2: Metal Identification and Allergy Troubleshooting
A mixed box of earrings inevitably contains a spectrum of materials, from hypoallergenic implant-grade titanium to cheap, nickel-heavy alloys that will trigger contact dermatitis. Before cleaning or wearing any piece, you must triage the metals. According to the American Academy of Dermatology, nickel allergy is one of the most common causes of allergic contact dermatitis, making metal identification a critical health step.
Use a 10x jeweler's loupe to inspect the earring posts and clutch backs for hallmarks. Look for stamps like 925 (sterling silver), 14K or 585 (14-karat gold), or PT950 (platinum). If a piece lacks a hallmark, perform a basic magnet test. Precious metals like gold, silver, and platinum are non-magnetic. If a post snaps to a rare-earth magnet, it is likely a ferromagnetic alloy containing iron or steel, which may harbor nickel.
| Metal Type | Common Hallmarks | Magnetism | Allergy Risk and Notes |
|---|---|---|---|
| Sterling Silver | 925, Sterling | Non-magnetic | Low risk, but can tarnish heavily. Ensure post is not soldered with nickel. |
| Surgical Steel | 316L, Stainless | Slightly magnetic | Moderate risk. Contains trace nickel; avoid for fresh piercings or severe allergies. |
| Titanium | ASTM F136, Ti | Non-magnetic | Zero risk. Implant-grade is the gold standard for sensitive earlobes. |
| Costume Alloy | None | Varies | High risk. Often plated brass or zinc that degrades quickly and causes itching. |
If you suspect a piece is costume jewelry but want to wear it anyway, you can apply a micro-thin layer of clear nail polish to the post to create a temporary barrier between the alloy and your skin. However, for long-term wear, consider having a jeweler swap the base metal post for a laser-welded titanium replacement.
Phase 3: Targeted Cleaning and Tarnish Reversal
Once sorted, the earrings must be cleaned using material-specific protocols. Applying a universal jewelry cleaner to a mixed box of earrings will destroy porous gemstones and strip the plating off costume pieces. The Gemological Institute of America (GIA) emphasizes that understanding the specific material composition is vital before introducing any chemical agents.
Sterling Silver: The Electrochemical Bath
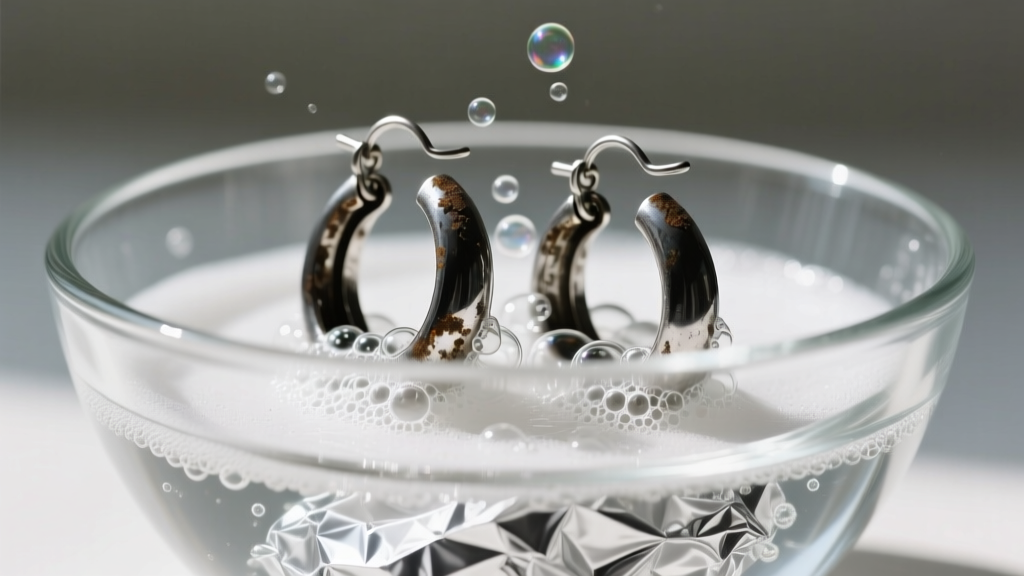
For heavily oxidized 925 sterling silver hoops and dangles, avoid abrasive polishing pastes that remove microscopic layers of silver. Instead, use an electrolytic reduction bath. Line a glass bowl with aluminum foil, shiny side up. Place the silver earrings on the foil and add a tablespoon of baking soda. Pour boiling water over the mixture. The chemical reaction between the aluminum, the baking soda, and the hot water creates an ion exchange that converts silver sulfide (the black tarnish) back into pure silver, leaving the tarnish bonded to the aluminum foil. Rinse the earrings in distilled water and dry immediately.
Gold and Platinum: The Surfactant Soak
Solid gold and platinum earrings can be safely cleaned using a mild surfactant. Mix a few drops of phosphate-free dish soap into a bowl of warm water. Let the earrings soak for 15 minutes to loosen sebum, dead skin cells, and cosmetic residue trapped behind the settings. Gently scrub the crevices with a soft-bristled baby toothbrush. Rinse thoroughly and dry with a lint-free cloth.
Costume and Plated Jewelry: Dry Methods Only
Never submerge plated or glued costume earrings in water. Moisture will seep under the foil-backed rhinestones, causing them to cloud, and will accelerate the rusting of the base metal beneath the plating. Use a dry, soft-bristled makeup brush to dust away debris, and wipe the metal surfaces with a dry, treated silver polishing cloth to restore shine without liquid exposure.
Phase 4: Structural Triage and Hardware Upgrades
A vintage box of earrings is almost guaranteed to be missing clutch backs, or feature bent and warped posts. Standard friction backs (often called butterfly backs) rely on a small metal scroll that loses its tension over time. If an earring post is bent, do not repeatedly bend it back and forth, as this will cause metal fatigue and snap the post. Instead, place the earring on a hard surface, use a nylon-jaw plier to grip the post near the base, and apply steady, even pressure to straighten it in a single motion.
Discard all old, oxidized, or loose friction backs. Upgrade the entire collection with high-quality replacements. For heavy dangle earrings, standard metal backs are insufficient and will cause the earring to droop forward. Purchase silicone O-ring backs or wide-disk silicone friction backs. These provide a larger surface area against the earlobe, distributing the weight of the earring more evenly and preventing the post from tearing through the piercing hole. For valuable or sentimental pieces, consider investing in screw-back earrings or locking clutch backs, which feature a mechanical locking mechanism that prevents accidental loss.
Archival Storage to Prevent Future Degradation
The final step in restoring your box of earrings is establishing an archival storage system to prevent the cycle of tangling and tarnishing from repeating. The Mayo Clinic notes that proper storage not only preserves the jewelry but also prevents the accumulation of environmental allergens and dust that can irritate sensitive skin upon re-wearing.
Never store silver jewelry in direct contact with rubber bands, cardboard, or newspaper, as the sulfur compounds in these materials will rapidly accelerate tarnishing.
Store each pair of earrings individually in small, acid-free polyethylene zip bags. Avoid PVC plastics, which can emit gases that degrade metal finishes over time. Place a strip of 3M anti-tarnish paper or a piece of Pacific Silvercloth inside the storage box to absorb ambient sulfur and hydrogen sulfide from the air. Keep fishhook wires fastened through a small piece of foam or a dedicated slotted card to prevent them from hooking onto neighboring chains. By implementing these specific, material-aware troubleshooting steps, you can transform a chaotic, damaged box of earrings into a pristine, wearable, and well-preserved collection.


