How to Weave Seed Bead Earrings Patterns: Step-by-Step Guide
Learn how to weave stunning seed bead earrings patterns with our step-by-step guide. Master brick stitch, tension control, and finishing techniques.

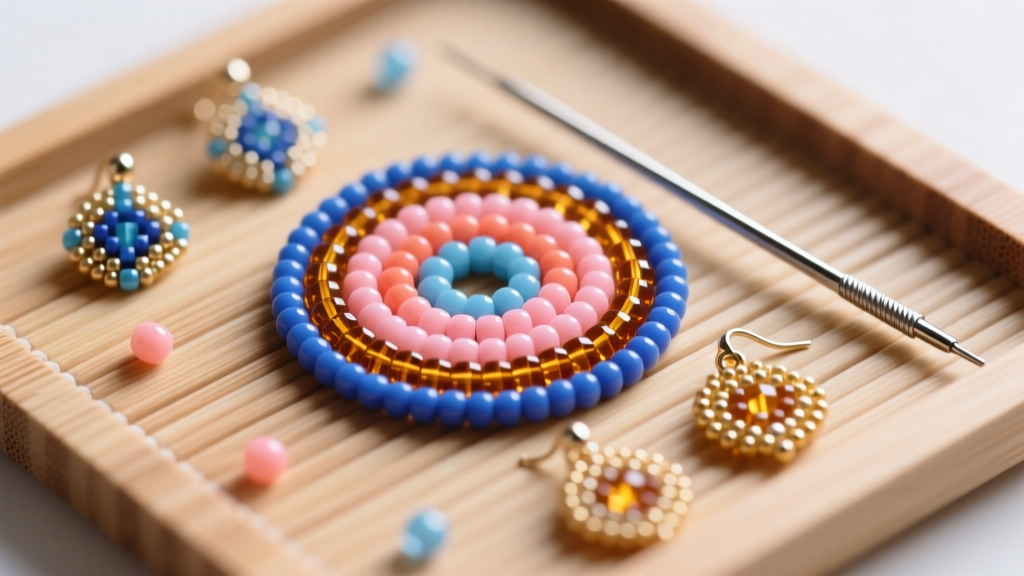
When tackling intricate seed bead earrings patterns, the difference between a craft-store trinket and a high-end, boutique-quality accessory lies entirely in structural engineering at the micro-level. As we move through 2026, the demand for artisanal, hand-woven micro-beadwork has surged, with collectors and fashion enthusiasts alike seeking out geometric, lightweight, and hypoallergenic statement pieces. However, executing flawless beadwork requires more than just following a colorful grid. It demands a deep understanding of thread tension, bead geometry, and hardware integration. This comprehensive, step-by-step guide will walk you through the exact materials, stitches, and troubleshooting techniques required to master professional-grade seed bead earrings patterns from your own workbench.
Why Material Selection Dictates Pattern Success
The foundation of any successful bead weaving project is the uniformity of your materials. For crisp, geometric seed bead earrings patterns, you must abandon standard round rocaille beads in favor of precision-cut cylinder beads. Miyuki's official specifications highlight that their 11/0 Delica beads feature a 1.3mm hole diameter and flat edges, allowing them to snap together like microscopic bricks. This uniformity ensures that your pattern graph translates perfectly into the physical piece without the warping caused by irregular round beads.
Equally critical is your thread choice. Standard nylon threads (like Nymo) stretch and fray, leading to sagging earrings over time. Instead, professional beaders rely on fused, gel-spun polyethylene threads. Berkley Fireline (6 lb test) is the industry standard for its incredible tensile strength and lack of memory. Alternatively, Beadalon WildFire offers a thermally bonded coating that is entirely waterproof and resistant to fraying, making it ideal for the tight tension required in brick stitch applications.
Essential Tools & Bead Size Compatibility
Matching your needle and thread to your bead size is a non-negotiable step. If your needle is too thick, it will split the thread or shatter the bead; if it is too thin, you will struggle with tension control. Refer to the compatibility chart below before threading your needle.
| Bead Type & Size | Needle Size | Thread Weight | Best Pattern Application |
|---|---|---|---|
| Miyuki Delica 11/0 | John James #10 | 6lb Fireline | Flat brick stitch, geometric graphs |
| Toho Treasure 11/0 | John James #10 | 6lb WildFire | Peyote stitch, tubular forms |
| Miyuki Seed 15/0 | John James #12 or #13 | 4lb Fireline | Intricate fringe, micro-edging |
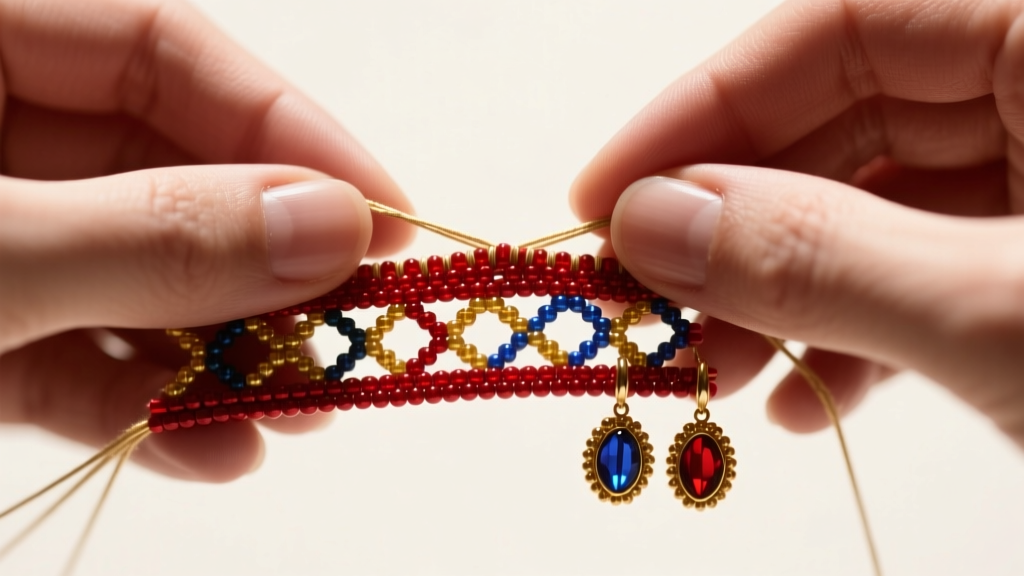
Step-by-Step: Executing Brick Stitch Seed Bead Earrings Patterns
While peyote stitch is excellent for tubular shapes, the brick stitch is the undisputed champion for flat, shaped, and fringed seed bead earrings patterns. Brick stitch naturally locks beads into a staggered formation, providing exceptional structural rigidity while remaining lightweight enough for comfortable earlobe wear.
Step 1: The Ladder Stitch Foundation
Every brick stitch pattern begins with a ladder stitch base row. This row acts as the structural spine of your earring. Pick up two 11/0 Delica beads and slide them down your thread, leaving a 6-inch tail. Pass your needle back through both beads, pulling the thread taut until the beads sit side-by-side with their holes parallel. Pick up one more bead, pass through the previous bead and the new bead, and repeat until your foundation row matches the widest point of your pattern graph. Pro Tip: If your ladder row feels loose or the beads are stacking on top of each other rather than sitting side-by-side, weave the needle back through the entire row a second time to lock them into a rigid, flat line.
Step 2: Building the Graph
Once your foundation is secure, you begin building the pattern. Pick up one bead, pass your needle under the exposed thread bridge between the first two beads of your foundation row, and then pass back up through the new bead you just picked up. This 'hook and loop' motion anchors the new bead to the thread bridge, not to another bead, which is what creates the signature staggered brick effect. Follow your pattern graph row by row, maintaining a steady, firm pull on the thread after every single stitch.
Troubleshooting Tension and Warping
The most common failure mode for beginners weaving seed bead earrings patterns is edge warping or 'curling.' This occurs when the thread tension is either aggressively tight or inconsistently loose. According to masterclasses featured in Bead&Button's tutorial archives, the secret to flat beadwork lies in the 'snap' technique.
- The Snap Technique: After passing through a bead and pulling the thread taut, give the thread a quick, sharp flick or 'snap' with your index finger. This micro-vibration seats the bead perfectly against its neighbor without over-tightening the polyethylene thread, which can cause the entire piece to pucker.
- Edge Curling Fixes: If the edges of your earring are curling inward, you are likely pulling the turnaround thread (the thread connecting the last bead of one row to the first bead of the next) too tightly. Consciously relax your grip on the turnaround pass, or add a single 15/0 seed bead as a spacer on the extreme edges to force the work to lay flat.
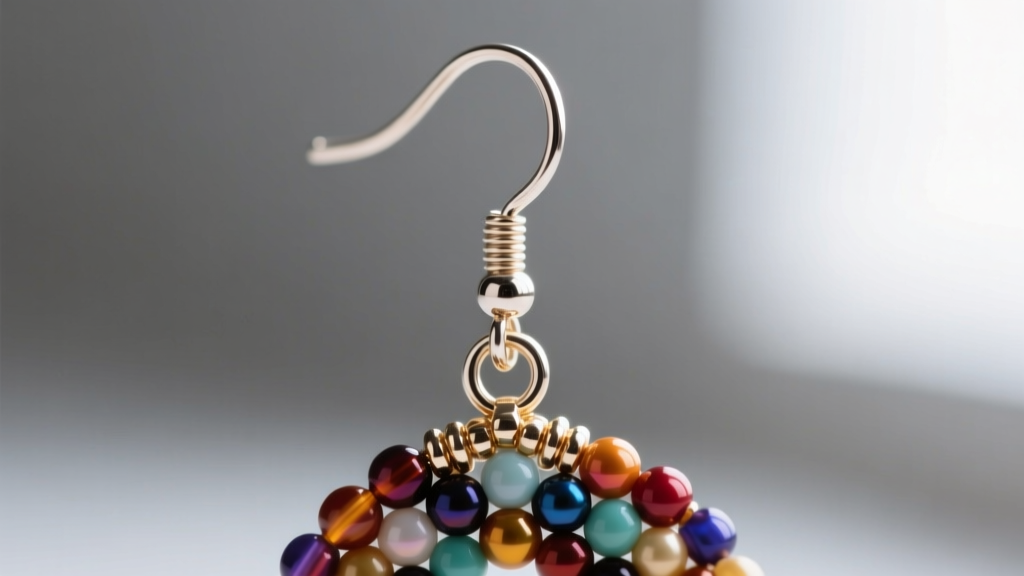
Attaching Hypoallergenic Hardware Securely
A beautifully woven earring is ruined if it is attached to cheap, irritating hardware or if the thread frays against a sharp metal edge. For high-end, sellable pieces, always opt for Niobium or Grade 23 Titanium fishhook ear wires. These metals are entirely hypoallergenic and lightweight, preventing the earlobe from stretching over time.
Never tie your beadwork thread directly to the ear wire or a jump ring. Polyethylene threads, despite their tensile strength, have low abrasion resistance and will eventually be sawed through by the friction of metal against metal. Instead, weave a dedicated 'hanging loop' using 4 to 6 Delica beads at the top center of your pattern. Secure this loop by weaving your thread back down into the body of the earring for at least three inches, changing direction twice to create a friction lock. Finally, use a pair of chain-nose pliers to attach a 22-gauge or 20-gauge titanium jump ring through your bead loop, and attach the ear wire to the jump ring. This ensures the metal friction is entirely isolated from your structural thread.
"Mastering seed bead earrings patterns is less about artistic talent and more about mechanical patience. The beadwork will always reflect the discipline of your tension and the quality of your materials."
By strictly adhering to cylinder bead geometry, utilizing fused polyethylene threads, and isolating your hardware connections, you can elevate your seed bead earrings patterns from simple crafts to durable, heirloom-quality wearable art.


