Expert Guide: When Can You Change Earrings After Piercing Safely?
Discover exactly when can you change earrings after piercing. Our expert guide covers lobe vs cartilage healing timelines and tissue biology.

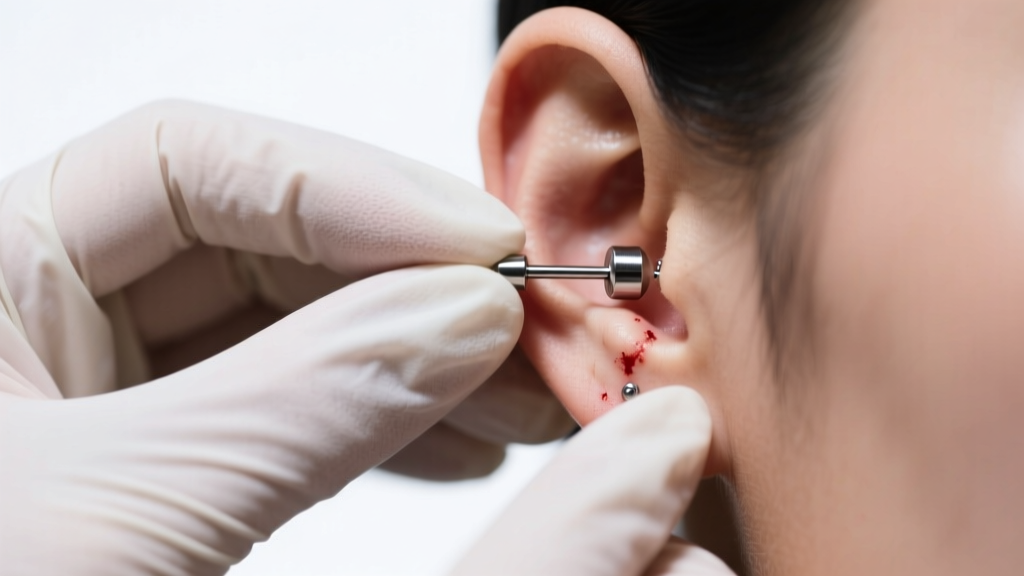
The Biology of Piercing Healing: Why Rushing Fails
Understanding when can you change earrings after piercing requires a foundational knowledge of wound healing biology. A piercing is not merely a hole; it is a controlled puncture wound that the body must repair by forming a fistula—a continuous tube of epithelial tissue. When you ask, "when can you change earrings after piercing?" you are actually asking when this fistula has achieved enough structural integrity to withstand the mechanical friction of jewelry removal and insertion without triggering an inflammatory cascade.
According to the National Center for Biotechnology Information (NCBI), wound healing occurs in overlapping phases: hemostasis, inflammation, proliferation, and remodeling. The proliferative phase, where the fistula tube begins to form, can last anywhere from three weeks to several months depending on the tissue type. Changing your jewelry before the remodeling phase has sufficiently fortified the collagen matrix will tear the fragile new epithelial cells, effectively resetting your healing clock to day one and inviting bacterial colonization.
The Three Phases of Tissue Repair
- Inflammatory Phase (Days 1-7): Characterized by swelling, redness, and the secretion of lymph (a pale fluid often mistaken for pus). The fistula does not exist yet; you are looking at raw, open tissue.
- Proliferative Phase (Weeks 2-12): The body builds a fragile, highly vascularized matrix. The fistula tube forms but is incredibly thin, akin to wet tissue paper. Changing jewelry now will cause micro-tears.
- Maturation/Remodeling Phase (Months 3-12+): Collagen fibers cross-link and strengthen. The fistula becomes resilient, pale, and capable of withstanding the friction of a jewelry change.
Lobe vs. Cartilage: Exact Timelines for Changing Jewelry
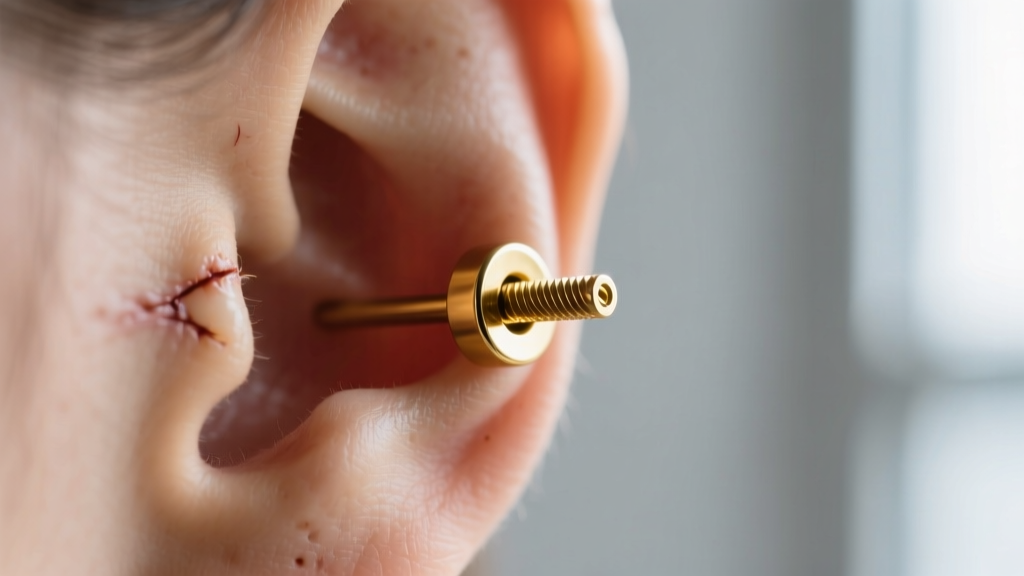
The most critical variable in determining when can you change earrings after piercing is the anatomical location. Earlobes are composed of highly vascularized adipose (fat) and soft connective tissue, which boasts a robust blood supply that accelerates cellular repair. Cartilage, such as the helix, tragus, or conch, is avascular. It receives nutrients solely through diffusion from the overlying perichondrium, making its healing process exponentially slower and more prone to complications like hypertrophic scarring.
| Piercing Location | Tissue Type | Minimum Wait Time | Optimal Wait Time |
|---|---|---|---|
| Standard Earlobe | Vascular / Adipose | 6-8 Weeks | 3-4 Months |
| Helix / Forward Helix | Avascular Cartilage | 6 Months | 9-12 Months |
| Tragus / Conch | Dense Cartilage | 6-9 Months | 12 Months |
| Industrial (Scaffold) | Cartilage (Dual) | 9-12 Months | 12-18 Months |
While many commercial mall kiosks advise changing lobe earrings at the four-week mark, professional piercers universally reject this timeline. At four weeks, the lobe fistula is still in the late proliferative phase. The Association of Professional Piercers (APP) strongly recommends leaving initial jewelry in place for a minimum of 6 to 8 weeks for lobes, and significantly longer for cartilage, to ensure the fistula is fully epithelialized.
Material Science: What to Wear During the Remodeling Phase
When you finally reach the milestone where you can change your earrings, the material of the new jewelry is just as critical as the timing. The remodeling phase can last up to a full year. During this time, the tissue remains sensitive to metallic allergens and surface imperfections.
The Implant-Grade Titanium Standard
For your first several jewelry changes, you must strictly use ASTM F-136 Implant-Grade Titanium. Unlike standard "surgical steel" (ASTM F-138), which contains up to 10% nickel and features a microscopic surface porosity that harbors bacteria, implant-grade titanium is completely nickel-free and can be polished to a mirror finish. This mirror finish allows the jewelry to glide through the healing fistula without causing microscopic abrasions.
Furthermore, the threading mechanism of the jewelry dictates tissue safety. Externally threaded jewelry (where the screw pattern is on the post) acts like a cheese grater when pushed through a healing fistula, stripping away weeks of cellular progress. You must exclusively use internally threaded (the screw is on the decorative end) or threadless (push-pin) jewelry to ensure a smooth, unbroken surface passes through the tissue.
Technical Signs Your Piercing is Ready for a Change
Relying solely on a calendar is insufficient. You must perform a clinical assessment of the piercing site to confirm the fistula has matured enough for a change. Before attempting to remove your initial jewelry, verify the following technical indicators:
- Absence of Exudate: There is zero secretion of lymph, blood, or purulent fluid. The piercing site is completely dry.
- Normal Tissue Coloration: The entry and exit holes match the surrounding skin tone. There is no erythema (redness) or hyperpigmentation.
- Zero Palpation Pain: Gently pressing the tissue surrounding the jewelry elicits no tenderness or deep-tissue aching.
- Unrestricted Rotation: The jewelry rotates 360 degrees with zero resistance or 'sticking' points. (Note: Do not force rotation if you feel resistance; this indicates the tissue is still adhering to the metal).
- Edge Formation: You can visually identify a smooth, rounded, pale ring of tissue (the mature fistula edge) at both the entry and exit points.
The Downsizing Protocol: A Critical First Change
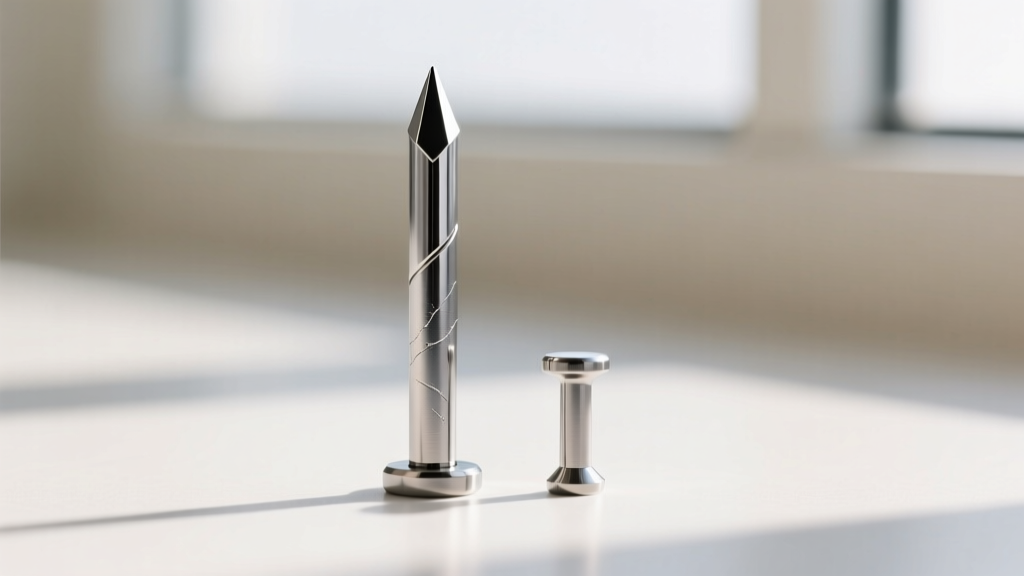
The most misunderstood aspect of learning when can you change earrings after piercing is the concept of "downsizing." Initial piercing jewelry is manufactured with extra-long posts (typically 3/8" or 11/32" for lobes, and 1/4" or 5/16" for cartilage) to accommodate the severe swelling that occurs during the inflammatory phase.
Expert Insight: Leaving a long post in after the swelling has subsided (usually around 3-4 weeks) is a primary cause of irritation bumps. The excess metal acts as a lever, causing the jewelry to sit at an angle, which forces the fistula to heal crookedly and creates friction against the exit hole.
Therefore, your first jewelry change should not be a decorative swap, but a structural downsizing. You must transition to a shorter post (e.g., 1/4" or 3/16" for lobes) so the jewelry sits flush against the tissue. This eliminates the lever effect, stabilizes the angle of the fistula, and prevents the formation of moisture-trapping irritation bumps. If you are unsure how to measure and swap to a threadless or internally threaded post, book a downsizing appointment with an APP-certified piercer rather than attempting it blindly at home.
Troubleshooting: What If You Change Too Early?
If you misjudged the timeline and changed your earrings before the fistula was fully matured, you will likely trigger an acute inflammatory response within 24 to 48 hours. Symptoms include localized heat, throbbing pain, sudden swelling, and the return of lymphatic crusties.
If this occurs, do not panic, but do not remove the new jewelry. Taking the jewelry out of an infected or traumatized piercing can cause the entry and exit holes to swell shut, trapping the infection inside the tissue and forming an abscess. Instead, revert to a strict sterile saline wound wash routine (0.9% sodium chloride, twice daily), avoid all physical manipulation of the ear, and consult a professional piercer or a dermatologist. Understanding the precise biology of when can you change earrings after piercing is the ultimate safeguard against these setbacks, ensuring your new jewelry is worn safely and comfortably for years to come. For more technical specifications on initial jewelry standards, refer to the APP Jewelry Guidelines.


