Mastering Wire Jewelry Rings: A Step-by-Step Crafting Guide
Learn how to craft custom wire jewelry rings with our step-by-step guide. Master wire gauges, hardness, wrapping techniques, and styling tips.


The art of crafting wire jewelry rings sits at the fascinating intersection of metallurgy and wearable sculpture. Unlike cast or stamped jewelry, wire-wrapped rings are formed through the physical manipulation of metal, requiring an intimate understanding of tension, temper, and gauge. Whether you are designing a minimalist thumb ring or an intricate woven cocktail ring, mastering the fundamentals of wire manipulation is essential. This comprehensive guide will walk you through the technical specifications, tool requirements, and step-by-step processes needed to create durable, professional-grade wire jewelry rings.
The Anatomy of Wire: Choosing the Right Gauge and Hardness
Before cutting your first piece of metal, you must understand the two critical variables that dictate how your wire will behave: gauge (thickness) and temper (hardness). Selecting the wrong combination is the primary reason beginner wire rings lose their shape or snap during formation.
Understanding Wire Temper
Temper refers to the metal's hardness and malleability, which is determined by how much it has been drawn or annealed. According to metallurgical standards outlined by jewelry suppliers like Rio Grande, wire is generally sold in three tempers:
- Dead Soft: Highly malleable and pliable. It bends easily with bare hands but work-hardens quickly. Ideal for intricate weaving, tight spirals, and wrapping around cabochons.
- Half-Hard: Has been partially work-hardened. It offers a balance of malleability and structural integrity, making it the gold standard for ring shanks, jump rings, and structural loops that need to hold their shape under mild stress.
- Full-Hard: Extremely stiff and brittle. It resists bending and will snap if forced into a tight radius. Rarely used for ring making, except for specialized clasps or rigid structural pins.
Wire Gauge Reference Chart for Ring Making
The American Wire Gauge (AWG) system measures thickness. The higher the number, the thinner the wire. Below is a functional matrix for ring construction:
| AWG Size | Millimeter (mm) | Best Application in Ring Making | Recommended Temper |
|---|---|---|---|
| 14g - 16g | 1.62 - 1.30mm | Heavy thumb rings, structural base bands, forged shanks | Half-Hard / Dead Soft (if forging) |
| 18g - 20g | 1.02 - 0.81mm | Standard ring shanks, swirl rings, prong settings | Half-Hard |
| 22g - 24g | 0.64 - 0.51mm | Wire weaving, decorative wrapping, bead stringing | Dead Soft |
| 26g - 28g | 0.40 - 0.32mm | Micro-weaving, securing delicate faceted stones | Dead Soft |
Essential Tools for Crafting Wire Jewelry Rings
Professional results require precision tools. Avoid hardware store pliers, as their serrated teeth will permanently mar your metal. Invest in jewelry-specific tools to ensure clean, flush cuts and smooth bends.
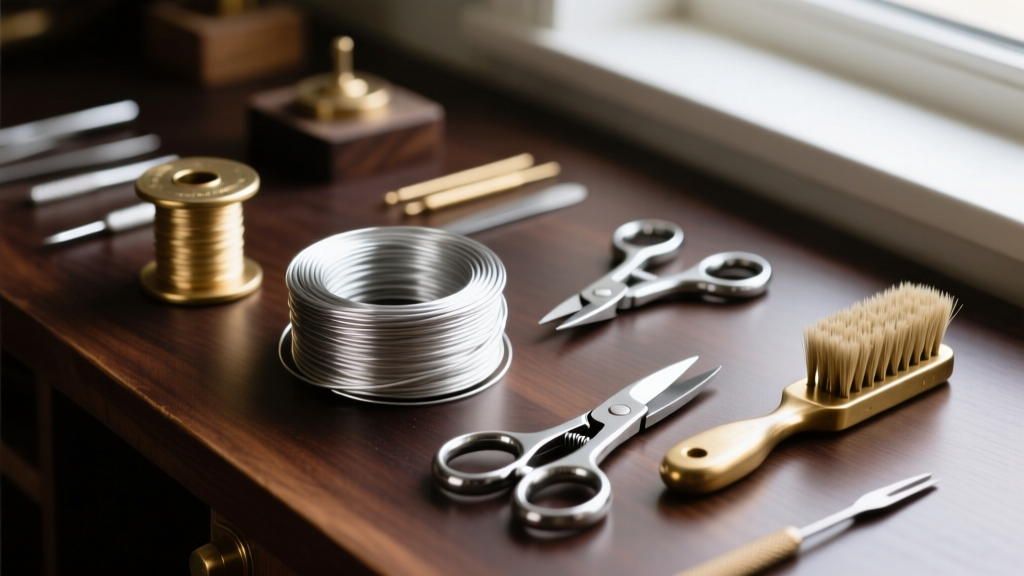
- Flush Cutters: Brands like Lindstrom or Tronex provide a perfectly flat cut on one side of the wire, eliminating the need for excessive filing.
- Nylon Jaw Pliers: Essential for gripping and bending wire without leaving tool marks or scratching the metal's surface.
- Round-Nose Pliers: Used for creating consistent loops, swirls, and prongs. Look for stepped round-nose pliers for repeatable loop sizes.
- Steel Ring Mandrel: A tapered steel rod with engraved size markings. Crucial for shaping the shank accurately.
- Rawhide or Nylon Mallet: Used to work-harden the ring shank against the steel mandrel without flattening or denting the wire.
Step-by-Step Guide: Crafting a Classic Double-Swirl Ring
The double-swirl ring is a foundational design that teaches shank formation, symmetry, and work-hardening. We will use 18-gauge half-hard Argentium silver wire, prized for its tarnish resistance and brilliant finish.
Step 1: Measurement and Cutting
Determine the target ring size. For a standard US size 7, the inner circumference is approximately 54.5mm. Because the wire has physical thickness, you must account for the wire's diameter when wrapping around the mandrel. Cut a 4-inch (100mm) length of 18-gauge half-hard wire using your flush cutters, ensuring the cut is perfectly perpendicular.
Step 2: Forming the Shank
Place the center of your wire against the steel mandrel at the half-size mark below your target size (e.g., size 6.5 for a target of 7). This compensates for the metal's spring-back. Using your thumbs and nylon jaw pliers, wrap the wire tightly around the mandrel until both ends cross over each other, forming a complete circle.
Step 3: Creating the Swirls
Remove the ring from the mandrel. Grip the tip of one extending wire end with the very tip of your round-nose pliers. Roll the pliers inward toward the center of the ring to create a tight, flat spiral. Repeat on the opposite side, ensuring both swirls are symmetrical and lie flat against the top of the ring shank.
Step 4: Work-Hardening and Setting
Place the formed ring back onto the mandrel. Using a rawhide mallet, strike the sides of the ring shank firmly but evenly. This compresses the metal's crystalline structure, work-hardening the half-hard wire into a rigid, durable band. Use a brass brush or polishing cloth to bring up the final luster.
Troubleshooting Common Wire Wrapping Failures
Even experienced artisans encounter structural failures. Understanding the metallurgy behind these issues is key to prevention. Jewelry educators at Interweave emphasize that most wire failures stem from ignoring the metal's work-hardening limits.
Pro-Tip on Metal Fatigue: Every time you bend wire, you alter its crystalline structure, making it harder and more brittle. If you bend a piece of half-hard wire back and forth to 'fix' a mistake, it will rapidly become full-hard and snap. Always form your bends deliberately and use nylon jaw pliers to gently squeeze shapes into place rather than repeatedly bending the wire.
Issue: The ring shank is oval, not round.
Solution: You likely applied uneven pressure while wrapping the mandrel, or you used dead-soft wire which lacks the memory to hold a perfect circle under tension. Switch to half-hard wire and use a rawhide mallet to gently tap the high points of the oval while the ring is on the steel mandrel.
Issue: The wire ends are scratching the wearer's finger.
Solution: Your flush cutters may be leaving a sharp 'pinch' at the end of the cut. Always follow up a cut with a few strokes of a cup bur or a fine-grit needle file to round off the microscopic sharp edges before forming your swirls or wraps.
Styling Your Wire Rings Across Different Fingers
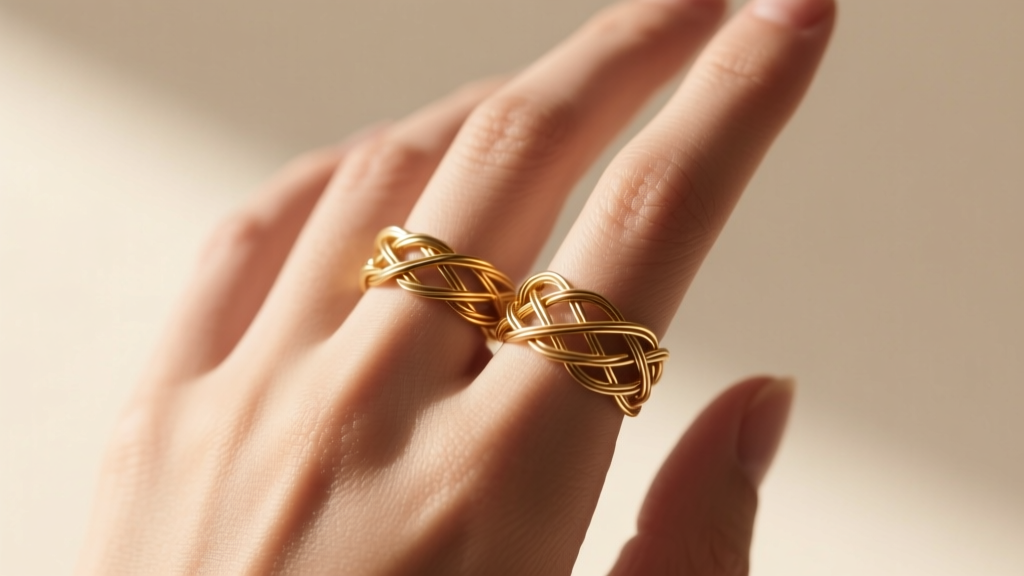
Wire jewelry rings offer unparalleled versatility in styling due to their lightweight nature and customizable profiles. How you design the ring should dictate its placement on the hand.
The Thumb and Index Finger
Thumbs and index fingers endure the most lateral friction and impact. Rings designed for these digits require structural integrity. Use thicker gauges (14g to 16g) and forged, hammered shanks. A wide, flat-forged wire band or a heavy geometric wrap will stand up to daily wear without warping.
The Middle and Ring Finger
These fingers are ideal for statement cocktail rings and intricate wire-woven designs. Because they are somewhat protected by the adjacent fingers, you can utilize delicate 24g or 26g weaves, incorporate fragile gemstone cabochons, and build tall, architectural cages that would be crushed on the outer digits.
The Pinky Finger
Pinky rings are traditionally signets or subtle accent bands. For wire rings, a minimalist 20g bypass design or a tiny, tightly woven micro-macrame style wire band works beautifully. Ensure the inner diameter is sized precisely, as the pinky's knuckle-to-base ratio often requires a slightly more oval shank for a comfortable fit.
Caring for and Maintaining Wire Jewelry Rings
Because wire rings rely on tension and physical wraps rather than soldered joints, maintenance requires a gentle touch. Never use ultrasonic cleaners on wire-woven rings, as the high-frequency vibrations can loosen tension-set stones and unravel tight micro-weaves.
For routine cleaning, use a mild dish soap and a soft-bristled baby toothbrush to gently dislodge oils and lotions trapped between the wire wraps. If your silver wire rings develop heavy tarnish, use a specialized silver polishing cloth rather than liquid dips, which can leave chemical residues in the tight crevices of the wire work. For copper or brass wire rings, a quick bath in a solution of warm water, salt, and lemon juice will strip oxidation and restore the bright, metallic base color in seconds. Store your wire rings individually in soft pouches to prevent heavier pieces from crushing the delicate weaves of lighter designs.

