What Is a Ring Base Where You Customize It? Jewelry Guide
Learn what a ring base is, how to choose the right metal, and step-by-step methods to customize your own jewelry with stones, resin, or engraving.

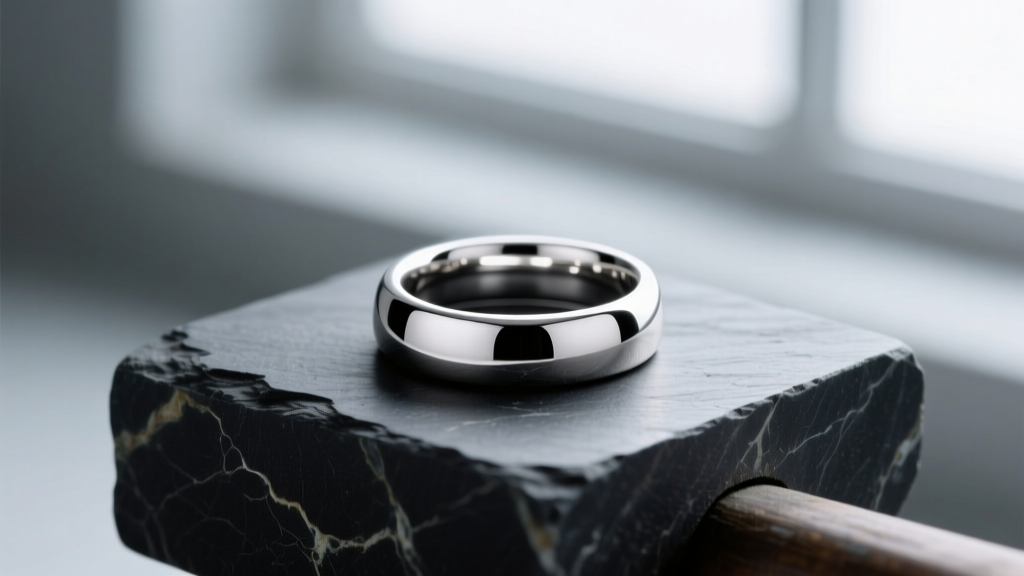
If you have ever found yourself asking, "what is a ring base where you coustimze it jewelry" pieces with, you are stepping into the rewarding world of jewelry fabrication and assembly. A ring base (often called a ring blank or finding) is the foundational metal structure of a ring that features a pre-attached mount, pad, or bezel designed to hold custom elements like cabochons, resin, enamel, or stamped designs. Rather than fabricating a ring shank and soldering a setting from scratch, beginners and production jewelers alike use these bases to streamline the creation of bespoke finger jewelry.
Understanding the anatomy, metallurgy, and mechanical requirements of ring bases is critical for creating durable, professional-looking custom rings. This guide breaks down everything you need to know to select, size, and customize your ring blanks.
The Anatomy of a Customizable Ring Base
A standard customizable ring base consists of two primary components: the shank (the band that wraps around the finger) and the head or mount (the platform where your customization sits). The transition point between the shank and the mount is called the shoulder. In high-quality blanks, the shoulder is reinforced to prevent the mount from snapping off under lateral pressure.
Flat Pad vs. Bezel Cup vs. Channel Bases
The type of mount you choose dictates what materials you can use for your customization:
- Flat Pad Bases: Feature a flat, often textured or grooved metal disc. These are ideal for gluing flat-backed cabochons, polymer clay, or UV resin. Standard pad diameters range from 8mm to 25mm.
- Bezel Cup Bases: Include a raised metal wall (the bezel) surrounding a recessed floor. After dropping a stone into the cup, the jeweler uses a bezel pusher or burnisher to fold the metal walls over the stone's edge, securing it without adhesives.
- Channel and Blank Band Bases: Feature a continuous groove along the shank for setting multiple small stones (channel setting) or a thick, flat shank designed for metal stamping and engraving.
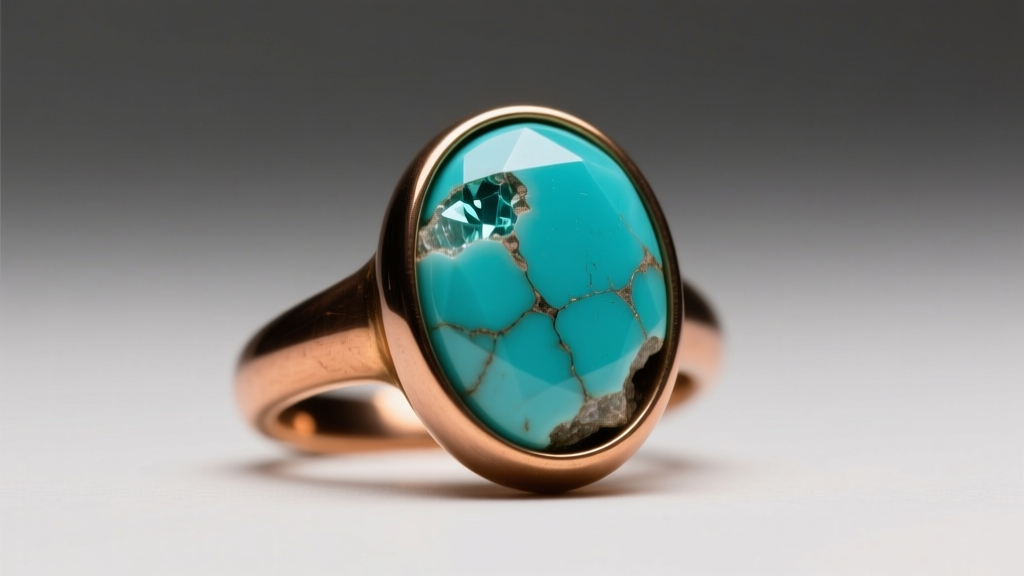
Material Grades: Choosing Your Metal Foundation
The metallurgy of your ring base determines its durability, hypoallergenic properties, and how it responds to customization techniques like soldering or stamping. According to industry suppliers like Rio Grande, selecting the correct alloy is the first step in preventing premature jewelry failure.
| Metal Grade | Best Customization Method | Solderable? | Avg. Blank Cost (USD) |
|---|---|---|---|
| 925 Sterling Silver | Soldering, fine stone setting | Yes (Torch) | $8.00 - $25.00 |
| CZ125 Brass | Metal stamping, patinas | Yes (Torch) | $2.50 - $6.00 |
| 316L Surgical Steel | Adhesive cabochons, laser engraving | No (Laser only) | $3.00 - $8.00 |
| Grade 5 Titanium | Anodizing, advanced machining | No (Specialized) | $15.00 - $40.00 |
Expert Insight: If you plan to use a butane torch to solder additional charms or bezel wires to your ring base, avoid 316L stainless steel. Stainless steel contains chromium, which forms an oxide layer that prevents traditional silver or gold solder from flowing. For beginners learning to solder, 925 sterling silver or CZ125 brass are the most forgiving metals.
Sizing and Shank Thickness: The Technical Specs
Ring bases are typically sold in standard US sizes (e.g., sizes 5 through 10). However, buying a blank that is slightly too small and sizing it up is a common practice. The shank thickness—measured in millimeters from the finger to the outside edge—plays a massive role in comfort and structural integrity.
How to Measure and Adjust Blank Rings
A durable everyday ring base should have a shank thickness of at least 1.8mm to 2.2mm. Anything thinner than 1.5mm will warp under the natural squeezing force of the human hand. To adjust the size of a brass or silver ring base:
- Slide the ring onto a steel ring mandrel to your desired size mark.
- Use a rawhide or nylon mallet (never a steel hammer, which will mar the metal) to strike the shank evenly.
- Rotate the ring a quarter-turn after every strike to maintain a perfect circle.
- Warning: Hammering work-hardens brass and silver. If the metal becomes stiff and brittle, you must anneal it by heating it to a dull cherry red with a torch and quenching it in water to restore its malleability. For comprehensive annealing tutorials, the Ganoksin Project offers extensive metallurgical guides.
Step-by-Step: Attaching Your Custom Elements
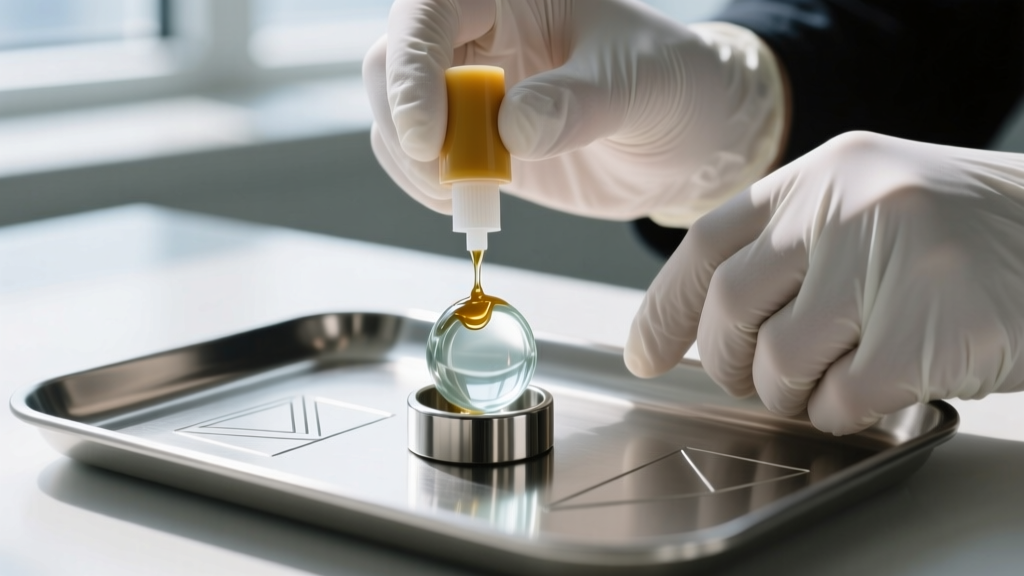
When working with flat pad or bezel cup bases that require adhesives rather than metal-setting techniques, choosing the right chemical bond is critical. Superglue (cyanoacrylate) is a common beginner mistake; it dries brittle, degrades with UV exposure, and will permanently fog glass or clear resin cabochons.
The Adhesive Decision Framework
- G-S Hypo Cement: Best for micro-pave rhinestones or tiny seed beads. It features a needle-point applicator but lacks the shear strength for large, heavy cabochons.
- E6000 Jewelry & Bead: A flexible, industrial-strength adhesive. It requires 24 to 72 hours to fully cure and emits strong VOC fumes, necessitating a well-ventilated workspace. Its flexibility makes it ideal for bonding metal to porous materials like wood or turquoise.
- Two-Part Epoxy (e.g., Devcon 5-Minute): The gold standard for securing glass, quartz, or ceramic cabochons to metal pads. It creates a rigid, waterproof bond that sets in minutes.
Prepping the Pad for Maximum Adhesion
Adhesives require a "mechanical tooth" to grip the metal. Before applying any glue, use 400-grit sandpaper or a fiberglass scratch pen to lightly scuff the flat pad of the ring base. Wipe away all metal dust with isopropyl alcohol. Apply a micro-drop of epoxy to the center of the pad, press your cabochon down firmly, and use a cotton swab dipped in alcohol to wipe away any squeeze-out before it cures.
Common Beginner Mistakes and How to Fix Them
Even with high-quality blanks, structural failures can occur if best practices are ignored. Here are three frequent issues and their solutions:
- The "Spinning" Ring: If your custom cabochon is heavy, it will cause the ring to spin on the finger. Fix: Use a ring guard, or solder small sizing beads to the inside of the shank to lower the center of gravity.
- Green Skin from Brass Blanks: CZ125 brass contains copper, which reacts with skin acidity to leave a green residue. Fix: Coat the inside of the shank with a jeweler's nano-ceramic coating or clear nail polish, or plate the finished piece in rhodium.
- Resin Bubbles in Bezel Cups: When pouring UV resin into a deep bezel cup base, trapped air creates unsightly bubbles. Fix: Warm the resin bottle in hot water before pouring to lower its viscosity, and use a heat gun on a low setting to pop surface bubbles before curing.
Sourcing Quality Blanks in 2026
When sourcing ring bases, avoid unverified marketplace sellers that mislabel base metals as sterling silver. Always look for suppliers that provide assay certificates or clearly state their alloy compositions (e.g., "nickel-free 316L" or ".925 stamped"). Investing $5 more per blank in verified, lead-free, and nickel-free metals will save your custom jewelry business from catastrophic allergic reactions and tarnishing complaints down the line. Whether you are stamping motivational quotes into brass bands or setting hand-cut agates into silver bezel cups, mastering the ring base is the first true step into professional jewelry design.