Choosing Your First Lip Piercing Jewelry Ring: A Beginner Guide
Learn when and how to switch to a lip piercing jewelry ring. Discover safe materials, exact diameter sizing, and healing tips for hoops.

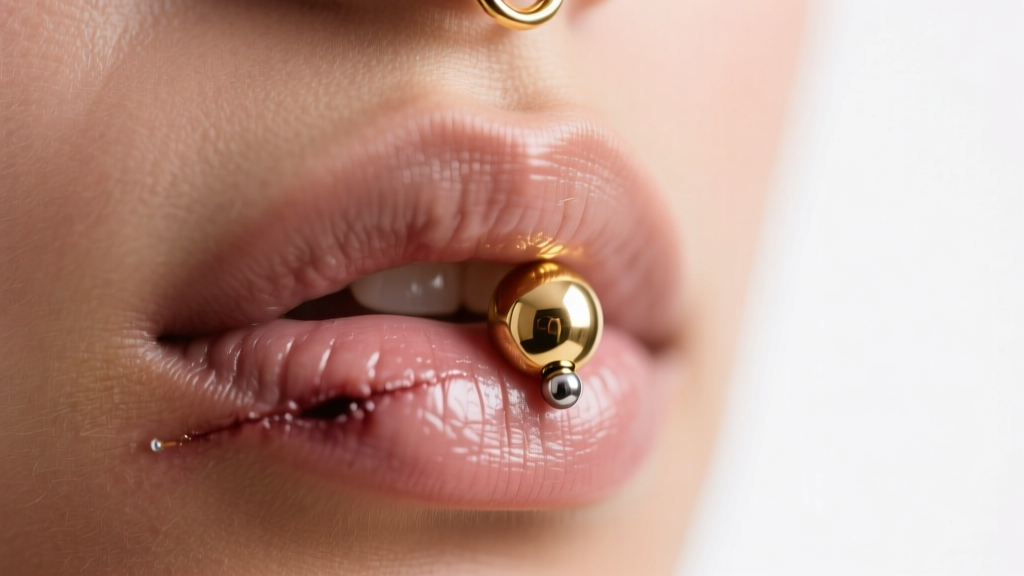
Transitioning from a flat-back labret stud to a hoop is one of the most exciting milestones in your body modification journey. However, swapping your starter jewelry too early, or choosing the wrong dimensions, can lead to severe irritation, migration, and prolonged healing. If you are finally ready to upgrade to a lip piercing jewelry ring, this comprehensive guide will walk you through the biological timelines, mechanical styles, and exact sizing matrices you need to know in 2026 to keep your piercing healthy and perfectly styled.
The Healing Timeline: When is a Ring Actually Safe?
The most common mistake beginners make is switching to a ring the moment the initial swelling subsides. While your lip piercing may look healed on the outside after four weeks, the internal fistula (the tube of scar tissue that forms the piercing channel) is still incredibly fragile. According to the Association of Professional Piercers (APP), oral and facial piercings require a minimum of 3 to 6 months to fully mature before they can handle the constant movement and rotational friction that a ring introduces.
Flat-back labret studs are the gold standard for initial piercings because they remain stationary. A ring, by contrast, rotates freely. Every time you eat, speak, or sleep, a ring drags dried lymph, oral bacteria, and external debris directly through the healing fistula. If you switch to a lip piercing jewelry ring before the 12-to-16-week mark, you risk triggering an irritation bump or causing the piercing to reject entirely. Always consult your professional piercer for a fistula check before making the swap.
Decoding Lip Piercing Jewelry Ring Styles
Not all hoops are created equal. The structural design of the ring dictates how easy it is to insert, how it sits against your teeth, and how prone it is to harboring bacteria. Here is a breakdown of the three primary styles you will encounter:
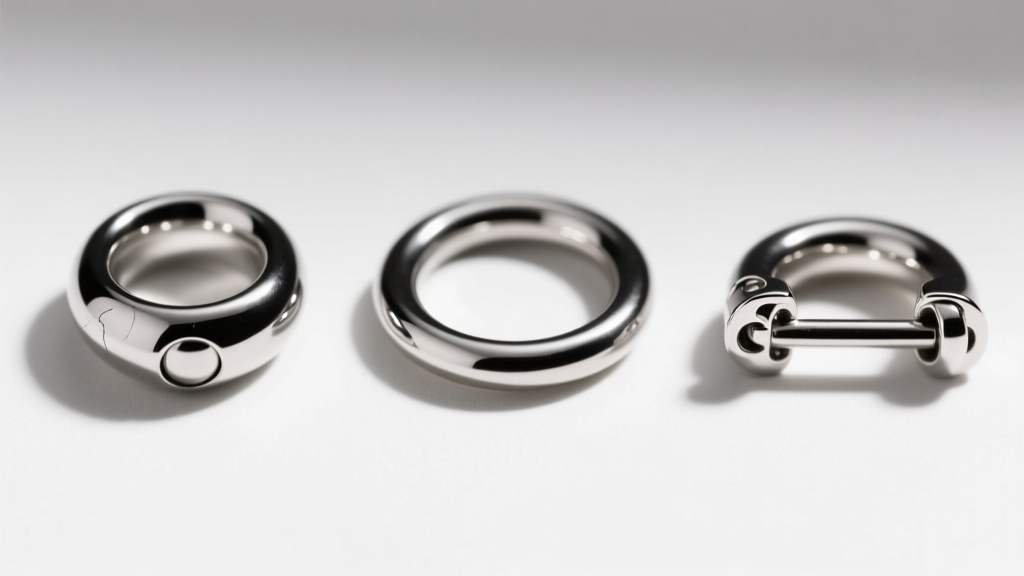
1. Hinged Segment Rings (Clickers)
For beginners, the hinged clicker is the undisputed champion. Featuring a seamless hinge on one side and a secure click-closure on the other, these rings require no tools to open or close. They offer a continuous, smooth surface that glides easily through the fistula without snagging on healing tissue.
2. Captive Bead Rings (CBRs)
The classic CBR relies on the tension of the ring to hold a small bead in place. While they offer a perfectly seamless look when closed, they are notoriously difficult for beginners to manipulate. Opening a CBR requires ring-opening pliers, and closing it requires precise tension alignment. Forcing a CBR into a lip piercing without the proper tools often results in warped metal and scratched jewelry.
3. Seamless / Endless Rings
These rings feature a tiny hollow tube that one end slots into. While they look great, the microscopic seam where the wire meets the tube can trap plaque and bacteria. Furthermore, if the ring is twisted open improperly, it will warp and never close flush again, creating a sharp edge that can slice the inside of your lip.
The Sizing Matrix: Avoiding the "Cheese Cutter" Effect
Sizing a lip piercing jewelry ring requires understanding two distinct metrics: gauge (the thickness of the wire) and inner diameter (the width of the circle). Getting the inner diameter wrong is the primary cause of the dreaded "cheese cutter effect."
If a ring's diameter is too small, it will pull upward on the tissue. Over time, this constant mechanical tension acts like a wire cutting through a block of cheese, causing the piercing to slowly migrate outward and eventually reject. To prevent this, your first ring must accommodate the natural swelling and curvature of your lip.
| Piercing Type | Standard Gauge | Recommended Starting Inner Diameter | Why This Size? |
|---|---|---|---|
| Standard Labret (Lower Lip) | 16G (1.2mm) or 14G (1.6mm) | 5/16" (8mm) or 3/8" (10mm) | Allows room for lower lip curvature and smiling without pulling the puncture site upward. |
| Monroe / Madonna (Upper Lip) | 16G (1.2mm) | 1/4" (6mm) or 5/16" (8mm) | The upper lip is thinner and flatter; a smaller diameter prevents the ring from resting on the gumline. |
| Medusa (Philtrum) | 16G (1.2mm) or 14G (1.6mm) | 5/16" (8mm) | Accommodates the pronounced Cupid's bow curve without pressing into the front teeth. |
| Snake Bites (Dual Lower) | 16G (1.2mm) | 5/16" (8mm) | Provides symmetrical clearance for both piercings during speech and eating. |
Note: Never wear an 18-gauge (1.0mm) or 20-gauge (0.8mm) ring in a lip piercing. The wire is simply too thin and will almost guarantee migration due to the cheese cutter effect.
Material Grades: Don't Compromise on Your First Hoop
Because a ring constantly moves through the fistula and rests against your oral mucosa, material biocompatibility is non-negotiable. The moist, slightly acidic environment of the mouth will rapidly degrade low-quality metals.
- Implant-Grade Titanium (ASTM F136): The absolute best choice for your first ring. It is completely nickel-free, lightweight, and impervious to oral acids. Brands like NeoMetal and BVLA offer exceptional titanium clickers.
- Solid 14k or 18k Gold: Excellent for healed piercings, provided it is nickel-free and alloyed for body safety. Avoid gold-plated or gold-filled jewelry, as the friction of the ring rotating will eventually wear the plating away, exposing base metals to your bloodstream.
- Niobium: A highly reactive metal that can be safely anodized to create vibrant colors without using toxic dyes or paints. It is slightly heavier than titanium but equally biocompatible.
- Metals to Avoid: Surgical steel (often contains nickel, triggering contact dermatitis), Sterling Silver (tarnishes rapidly in the mouth and can cause permanent argyria staining in the tissue), and mystery metals from online marketplaces.
Step-by-Step: How to Safely Insert Your First Ring
If you and your piercer have agreed it is time to switch, proper insertion technique is critical to avoid traumatizing the channel. Never force jewelry through dry tissue.
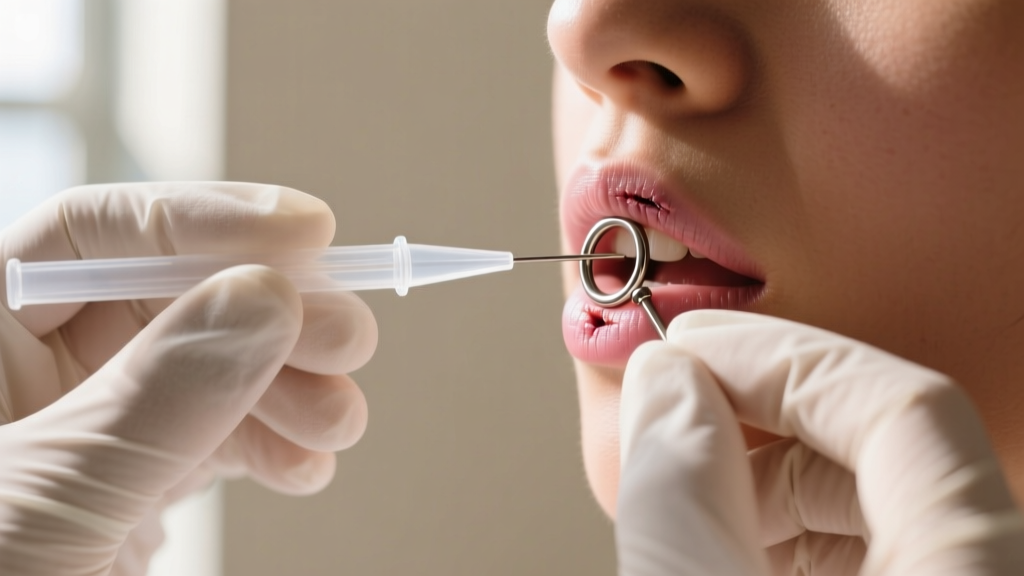
- Prep the Environment: Wash your hands thoroughly with antimicrobial soap and put on disposable nitrile gloves. This gives you a better grip on the tiny jewelry.
- Lubricate: Apply a tiny drop of sterile, water-based lubricant or pure jojoba oil to the ring and the piercing hole. Never use petroleum jelly, which traps bacteria.
- Use a Taper: For a seamless transition, use an acrylic or steel insertion taper matching your gauge. Slide the taper through the fistula, then align the ring with the back of the taper and gently push the ring through, following the taper's path.
- Secure the Closure: If using a clicker, listen for the distinct "click" and gently tug the ends to ensure it is locked. If using a CBR, use your ring-closing pliers to gently squeeze the ring until the bead snaps securely into the dimples.
"Always insert a ring from the outside-in for lip piercings. Pushing from the inside of the mouth outward forces oral plaque and bacteria directly into the healing fistula channel."
Long-Term Maintenance and Oral Health
Once your lip piercing jewelry ring is successfully installed, the maintenance protocol shifts. The inside of a ring sits against your teeth and gums, making oral hygiene paramount. The American Dental Association warns that continuous friction from metal rings can lead to localized gingival recession and enamel wear over time.
To mitigate this, practice "oral awareness"—consciously train your tongue and lips to avoid resting the metal against your front teeth. Clean the inside of the ring daily with a soft-bristled toothbrush and non-alcoholic mouthwash to prevent plaque and calculus buildup on the metal. If you notice your gums receding or your teeth becoming sensitive near the piercing site, downsize to a flat-back stud or consult your dentist immediately. A beautiful ring is never worth the cost of your dental health.


