Troubleshooting Pain & Rejection in Belly Button Rings Jewelry
Discover expert troubleshooting for belly button rings jewelry. Learn to fix irritation bumps, sizing pain, and rejection with precise 2026 care guides.

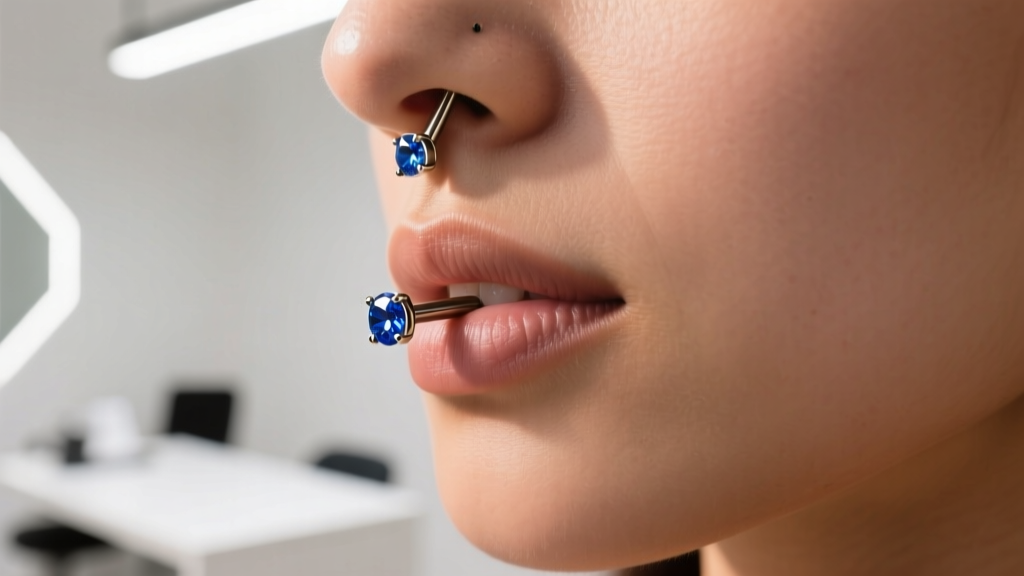
When you invest in high-quality belly button rings jewelry, the expectation is a seamless, comfortable healing process. However, the navel is a highly dynamic area of the body, subject to constant folding, friction from waistbands, and shifting weight. Because of this unique anatomical environment, even the most meticulously performed piercings can encounter roadblocks. From sudden irritation bumps to creeping rejection, troubleshooting these issues requires a clinical understanding of biomechanics, metallurgy, and precise jewelry sizing. In this comprehensive 2026 guide, we move beyond generic aftercare advice to diagnose and solve the most common mechanical and biological failures associated with navel piercings.
The Biomechanics of Navel Irritation
Before blaming your aftercare routine, it is crucial to understand the biomechanics of the navel. The standard navel piercing is placed through the upper lip of the umbilical fold. When you sit, bend, or wear high-waisted clothing, this tissue fold compresses. If the jewelry is too rigid, too long, or features protruding gemstone prongs, this compression forces the metal to act as a lever against the delicate fistula (the piercing channel). This phenomenon, known as micro-trauma, tears the newly formed epithelial cells inside the channel, leading to chronic inflammation. Many issues attributed to poor hygiene are actually rooted in the physical design of the belly button rings jewelry itself. To resolve mechanical irritation, you must eliminate the lever effect by addressing both the jewelry's profile and its dimensional fit.
Material Allergies vs. Mechanical Irritation
A frequent troubleshooting error is confusing a contact allergy with mechanical irritation. If your piercing is weeping clear fluid, intensely itchy, and surrounded by a dry, flaky rash, you are likely experiencing a nickel allergy. According to the Association of Professional Piercers (APP), only specific grades of titanium and niobium are recommended for initial and troubled piercings.
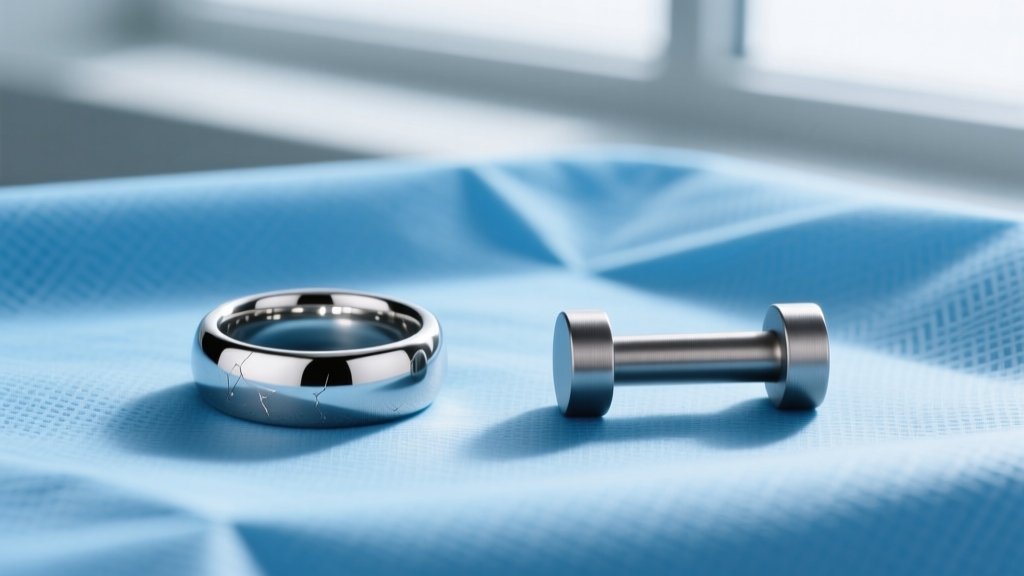
Many commercial jewelry brands sell 316L stainless steel under the guise of "surgical steel." While 316L is suitable for surgical scalpels that are in the body for minutes, it contains up to 14% nickel. In the highly acidic and moist environment of a healing navel, nickel ions leach into the tissue, triggering an immune response. To troubleshoot a suspected allergy, immediately swap your jewelry for implant-grade titanium.
| Material Grade | Nickel Content | Best Use Case | Average Price Range |
|---|---|---|---|
| ASTM F-136 Titanium | 0% (Nickel-Free) | Initial piercings, severe allergies, rejection troubleshooting | $35 - $85 |
| ASTM F-67 Titanium | 0% (Nickel-Free) | Healed piercings, budget-friendly hypoallergenic options | $20 - $45 |
| 316L Stainless Steel | 10% - 14% | Fully healed piercings only (if no nickel sensitivity exists) | $10 - $25 |
| Acrylic / Bioflex | 0% | Temporary use for MRIs or sports (porous, traps bacteria) | $5 - $15 |
Sizing Mismatches: The Hidden Culprit Behind Rejection
If your belly button rings jewelry feels heavy, snags constantly, or sits at an awkward angle, you are likely wearing the wrong size. The standard gauge for navel piercings is 14G (1.6mm). However, for individuals experiencing the early stages of rejection, upsizing to a 12G (2.0mm) barbell can distribute the physical stress over a wider surface area, effectively halting the migration process.
The Barbell Length Matrix
Length is measured from the top ball to the bottom ball, excluding the gems or threading. Choosing the correct length is vital for accommodating swelling without leaving room for the jewelry to flip and snag.
- 1/2" (12mm): Used exclusively for the initial swelling phase or during pregnancy. Leaving this in long-term will cause the jewelry to swing, tearing the fistula.
- 7/16" (11mm): The industry standard for a healed navel. It provides enough clearance for the upper lip to fold comfortably when sitting.
- 3/8" (10mm): The "downsize" length. If your piercing is fully healed but the 7/16" barbell still catches on your shirts, switching to a 3/8" internally threaded barbell will eliminate the snag hazard.
Troubleshooting the "Irritation Bump"
The dreaded irritation bump (hypertrophic scarring) is a localized overgrowth of collagen that forms directly adjacent to the piercing hole. It is not a keloid, nor is it an infection. According to the Cleveland Clinic, hypertrophic scars remain confined to the boundary of the original wound and are caused by prolonged tension and micro-trauma.
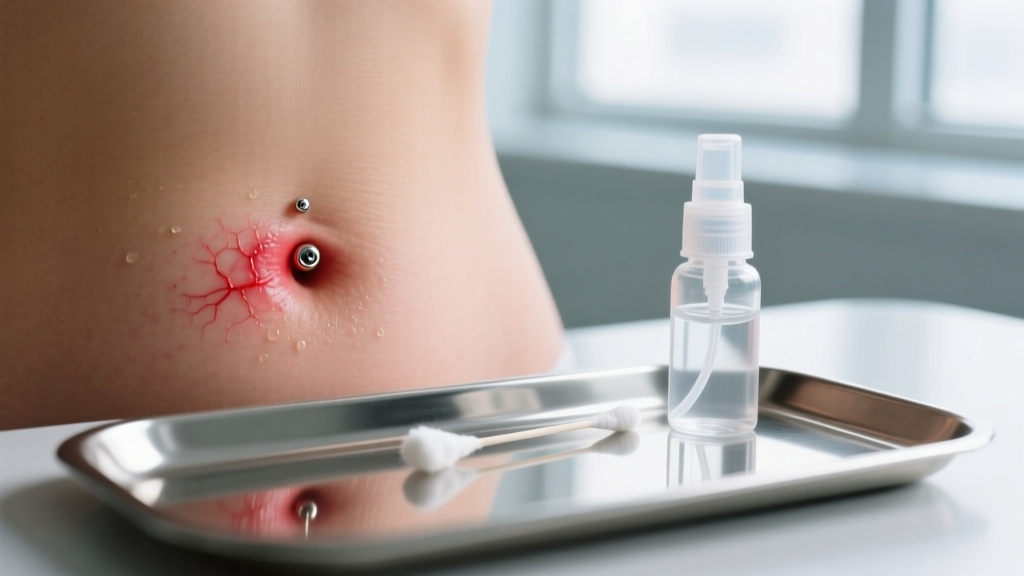
To shrink an irritation bump, you must remove the tension causing it. First, verify your jewelry is internally threaded or threadless; externally threaded jewelry acts like a cheese grater on the fistula every time it is moved. Second, abandon harsh chemicals. Tea tree oil, aspirin pastes, and rubbing alcohol will chemically burn the delicate mucosal tissue and exacerbate the bump.
Expert Protocol for Bump Reduction: Apply a sterile, warm 0.9% sodium chloride saline compress to the area for 5 minutes twice daily. The warmth increases local blood circulation, while the isotonic saline gently softens and removes lymph crusties without dehydrating the tissue. Follow this by gently patting the area completely dry with a non-woven gauze pad.
True Rejection vs. Temporary Migration
Migration is a natural, slight shifting of the piercing channel over time. Rejection is an active immune response where the body pushes the jewelry entirely out of the skin. To troubleshoot this, you must measure the "tissue bridge"—the strip of skin between the exit hole and the edge of your navel lip.
A healthy tissue bridge should be at least 1/4 inch (6mm) thick. If the tissue bridge becomes translucent, highly sensitive, or measures less than 3mm, the piercing is actively rejecting. No amount of saline soaks or material swaps will stop true rejection; it is a genetic and anatomical inevitability. If you observe these signs, the only safe troubleshooting step is to visit a professional piercer for immediate removal. Leaving a rejecting barbell in place will result in a severe, bifurcated scar that will permanently prevent you from ever being re-pierced in that exact location. Once removed, massage the area daily with pure jojoba oil to maintain tissue elasticity for a potential future re-piercing at a deeper, more stable angle.
Final Thoughts on Navel Troubleshooting
Troubleshooting problematic belly button rings jewelry requires a methodical approach. By upgrading to ASTM F-136 titanium, ensuring your barbell length perfectly matches your current swelling levels, and treating irritation bumps with isotonic warmth rather than harsh chemicals, you can rescue a failing piercing. Always prioritize internally threaded, anatomically appropriate designs to ensure your navel jewelry remains a source of joy, not chronic discomfort.


