How to Clean and Care for Your New Navel Earring Piercing
Learn expert cleaning and maintenance tips for your navel earring. Discover safe solutions, healing timelines, and how to prevent bumps.

Understanding the Navel Earring Healing Environment
When people search for a navel earring, they are usually referring to the curved barbell, J-barbell, or floating barbell worn in a belly button piercing. Unlike earlobe piercings that heal in a matter of weeks, a navel piercing is a complex fistula that navigates a high-friction, high-movement zone of the body. The navel is constantly subjected to bending, sitting, and friction from waistbands, making its aftercare fundamentally different from other piercings.
According to the Association of Professional Piercers (APP), the average healing timeline for a navel piercing ranges from 6 to 12 months, and sometimes up to 18 months for complete fistula maturation. During this critical window, your cleaning routine dictates whether your piercing thrives or succumbs to irritation bumps, embedding, or outright rejection. In 2026, modern piercing science emphasizes a "less is more" approach, moving away from harsh chemicals and toward sterile, pH-balanced wound care.
The Science of Navel Piercing Aftercare
The navel is a naturally occurring depression in the abdomen, which means it can trap sweat, dead skin cells, lint, and bacteria. Furthermore, the digestive tract's expansion after meals and the mechanical stress of sitting down put immense pressure on the piercing channel. If your initial jewelry is too tight, swelling can cause the tissue to engulf the barbell (embedding). If it is too long, the excess metal will snag on clothing, tearing the delicate fistula and triggering hypertrophic scarring.
Therefore, aftercare is not just about cleaning; it is about managing the physical environment of the piercing. This means wearing high-waisted, loose-fitting clothing, avoiding heavy lifting that strains the core, and keeping the area dry and ventilated.
Step-by-Step Cleaning Routine for Your Navel Earring
A proper cleaning routine should be performed exactly twice a day—once in the morning and once at night. Over-cleaning will strip the fistula of its natural protective flora and dry out the healing tissue, leading to micro-tears.
Step 1: Preparation and Hygiene
Always wash your hands thoroughly with an antibacterial, fragrance-free liquid soap before touching your piercing or the surrounding skin. Never touch your navel earring with unwashed hands.
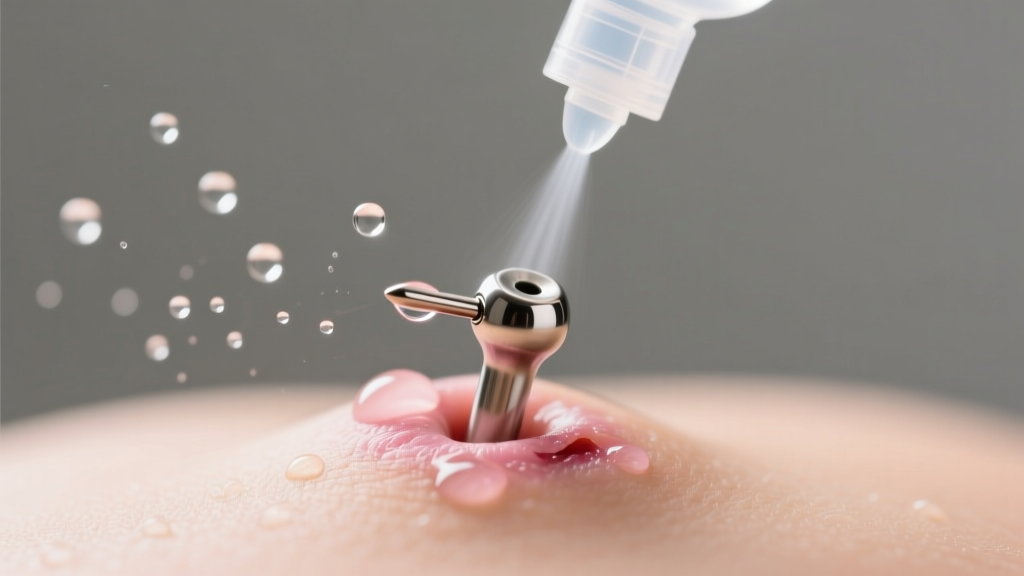
Step 2: Apply Sterile Saline
Use a commercially packaged, sterile wound wash saline solution containing only two ingredients: 0.9% sodium chloride and purified water. Brands like NeilMed or H2Ocean are industry standards. Spray the saline directly onto the entry and exit holes, or saturate a piece of non-woven sterile gauze and hold it against the navel as a warm compress for 3 to 5 minutes. The warmth increases blood flow, while the saline softens any lymphatic crusties.
Step 3: Gentle Drying
Moisture trapped in the navel cavity is a breeding ground for bacteria and yeast. After rinsing, gently pat the area dry using non-woven gauze. Avoid cotton balls or Q-tips, as they shed microscopic fibers that can wrap around the jewelry bar and become embedded in the healing fistula. You can also use a hair dryer on the absolute lowest, coolest setting held at least 12 inches away to ensure the navel cavity is completely dry.
The "Do Not Use" List
Despite outdated internet myths, modern dermatology and professional piercers strictly advise against the following substances, as they cause cytotoxicity (cell death) and delay healing:
- Rubbing Alcohol & Hydrogen Peroxide: These destroy healthy, newly forming cells and severely dry out the tissue.
- Tea Tree Oil & Essential Oils: Highly caustic and known to cause severe contact dermatitis and chemical burns on open wounds.
- Antibiotic Ointments (Neosporin, Bacitracin): These create an occlusive barrier that traps bacteria inside the fistula and blocks necessary oxygen flow.
- Bar Soaps & Body Washes: Even "gentle" soaps contain surfactants and fragrances that irritate the piercing channel. Let clean water run over the area in the shower, but do not apply soap directly to the wound.
Material Matters: When to Change Your Navel Earring
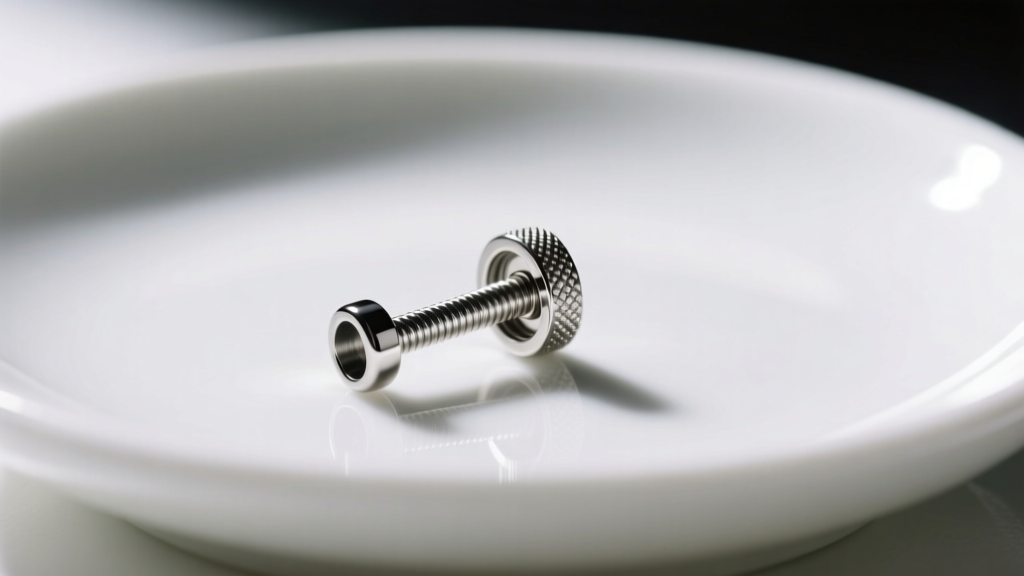
The metal sitting inside your body dictates how your immune system responds to the wound. In recent years, the industry has seen a massive shift away from 316L Surgical Steel for initial piercings due to its nickel content, which can cause sensitization and chronic inflammation. For a healing navel earring, material purity is non-negotiable.
| Material Grade | ASTM Standard | Biocompatibility & Cleaning Reaction | Recommended for Healing? |
|---|---|---|---|
| Implant-Grade Titanium | ASTM F-136 | Hypoallergenic, highly corrosion-resistant, immune to saline degradation. | Yes (Gold Standard) |
| Niobium | N/A (Elemental) | Highly biocompatible, anodizable, but softer and prone to scratching if cleaned aggressively. | Yes |
| 316L Surgical Steel | ASTM F-138 | Contains trace nickel; can cause localized allergic reactions and delayed healing in sensitive individuals. | No (Use only after full healing) |
| Sterling Silver / Plated | N/A | >Oxidizes when exposed to lymph and saline; plating chips and harbors bacteria.Never |
If your piercer used a mystery metal or a low-grade steel barbell, consider upgrading to an internally threaded or threadless implant-grade titanium curved barbell (typically 14-gauge or 12-gauge) as soon as possible. For initial swelling, a length of 3/8" to 7/16" (10mm to 11mm) is standard. Once the swelling subsides (usually around 4 to 8 weeks), you must downsize to a shorter bar (5/16" or 8mm) to prevent snagging and irritation bumps.
Troubleshooting Common Navel Earring Issues
Even with meticulous care, the navel's hostile environment can lead to complications. Recognizing the difference between normal healing and a failing piercing is a critical skill.
Irritation Bumps vs. Keloids
A small, red, or flesh-colored bump adjacent to the exit hole is almost always a hypertrophic scar (an irritation bump), not a keloid. This is the body's response to mechanical friction, excessive moisture, or jewelry that is too long. The solution is not tea tree oil or aspirin paste; the solution is removing the source of friction, downsizing the jewelry, and applying warm sterile saline compresses. True keloids are genetic, grow far beyond the boundaries of the piercing, and require dermatological intervention.
Migration and Rejection
If you notice the tissue between the entry and exit holes becoming thinner, or the jewelry sitting closer to the surface of the skin, your body is rejecting the navel earring. Migration is an immune response where the body treats the jewelry as a foreign splinter and pushes it out. Once rejection begins, it cannot be reversed. The only course of action is to remove the jewelry immediately to prevent severe scarring and allow the tissue to heal flat.
Long-Term Maintenance and Safe Swapping
Once your navel piercing is fully healed (confirmed by a professional piercer, usually after 9 to 12 months), you can transition to a wider variety of jewelry styles, including dangling navel earrings, floating navel bars with bottom gems, and solid 14k or 18k gold pieces. However, long-term maintenance is still required.
"A healed piercing is not a closed door; it is a permanent, skin-lined tube that requires regular hygiene to prevent sebum buildup and odor." — Healthline's guide to piercing aftercare
Every time you remove your navel earring for a swap, inspect the threading. Internally threaded jewelry (where the screw is on the gem end, passing smoothly through the tissue) is vastly superior to externally threaded jewelry (where the screw is on the bar, tearing through the fistula). Clean your jewelry by boiling solid titanium or gold in distilled water for 5 minutes, or use an ultrasonic jewelry cleaner with a mild, ammonia-free solution. Never use harsh chemicals on gemstone settings, as they can degrade the prongs or cloud stones like opals and pearls.
The LITHA Method for Long-Term Health
The most valuable advice for navel earring care is the LITHA method: Leave It The Hell Alone. Stop twisting the jewelry. Stop checking if it moves. Stop picking at microscopic lymph crusties with your fingernails. Your body possesses an incredible ability to heal and maintain itself; your only job is to provide a clean, stable, and irritation-free environment for it to do so.


