How to Add a Bead to Necklaces: Step-by-Step Guide
Learn how to add a bead to necklaces with our step-by-step guide. Master crimping, wire wrapping, and clasp adjustments for custom jewelry sizing.


The Art of Necklace Customization in 2026
Customizing jewelry is a cornerstone of the 2026 modular fashion movement. Whether you are looking to adjust the drape of a collarbone-length chain, integrate a vintage focal piece into a modern rope necklace, or simply repair a broken strand, knowing how to properly add a bead to necklaces is an essential bench skill. Mass-produced jewelry rarely fits every neckline perfectly, and the ability to modify your pieces ensures they sit flawlessly against your collarbone or sternum. In this comprehensive guide, we will explore the exact metallurgy, tool requirements, and step-by-step techniques required to seamlessly integrate new beads into both beading wire and finished chain link necklaces.
Essential Tools and Material Grades
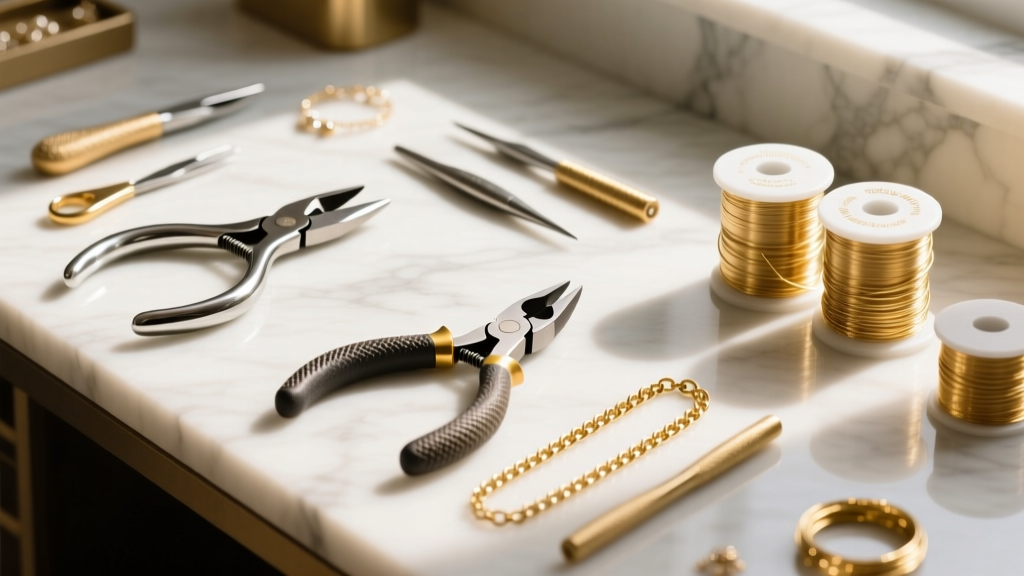
Before attempting to modify any fine or fashion jewelry, you must understand the materials you are working with. The most common failure point in necklace customization is using base-metal findings that work-harden and crack under pressure. For crimping, always opt for .925 sterling silver or 14/20 gold-filled crimp tubes (specifically 2x2mm in size). These alloys are malleable enough to fold securely without splitting. Avoid base metal or plated brass crimp beads, as they frequently fail to hold tension and will eventually snap.
For stringing, nylon-coated stainless steel beading wire is the industry standard. According to the Soft Flex Company, a .019-inch diameter wire is the most versatile choice, accommodating everything from lightweight freshwater pearls to heavy crystal glass beads. You will also need a dedicated set of jewelry pliers: chain-nose pliers (for gripping), flush cutters (for clean wire cuts), and a specialized crimping tool like the Beadalon or EuroTool crimping pliers, which feature dual notches designed to fold the metal tube into a secure, rounded bead.
Method 1: The Crimp Bead Technique (For Beading Wire)
If you are stringing a new bead onto a flexible beading wire necklace, the crimping method is the most secure approach. This technique relies on mechanical friction and metal deformation to lock the bead in place.
Step-by-Step Crimping Instructions
- Thread the Components: Slide your 2x2mm sterling silver crimp tube onto the .019-inch beading wire, followed by the new bead you wish to add.
- Create the Loop: Pass the working end of the wire back through the bead and the crimp tube, creating a small loop at the top. Leave a 2mm tail of wire extending past the crimp tube.
- Tension and Align: Pull the tail wire taut using chain-nose pliers, ensuring the wires inside the crimp tube are lying parallel and not crossing over one another. Crossing wires will cause the crimp to fail when compressed.
- The First Squeeze (The U-Shape): Place the crimp tube into the second notch (the U-shaped notch) of your crimping pliers. Squeeze firmly to compress the tube into a tight 'U' shape, separating the two wires into distinct channels.
- The Second Squeeze (The Fold): Rotate the crimp 90 degrees and place it into the first notch (the rounded notch) of the pliers. Squeeze again to fold the 'U' in half, creating a neat, rounded bead that securely locks the wire in place.
- Trim the Tail: Use flush cutters to trim the excess wire tail as close to the crimp as possible, then tuck the remaining microscopic tail into the adjacent bead hole if possible.
Method 2: Jump Rings and Wire Wrapping (For Finished Chains)
Adding a bead to an already finished chain link necklace requires a different approach, as you cannot easily thread a bulky bead over the entire chain and clasp. Instead, you must use jump rings or wire-wrapped loops to suspend the bead from a specific link.
According to master jewelers at Rio Grande, the structural integrity of a jump ring relies on its gauge and diameter. For standard pendant beads weighing under 15 grams, an 18-gauge, 4mm outer diameter (OD) jump ring is ideal. Thinner rings (20-gauge or 22-gauge) are prone to pulling open under the pendulum effect of a swinging necklace.
The Twist-Open Technique
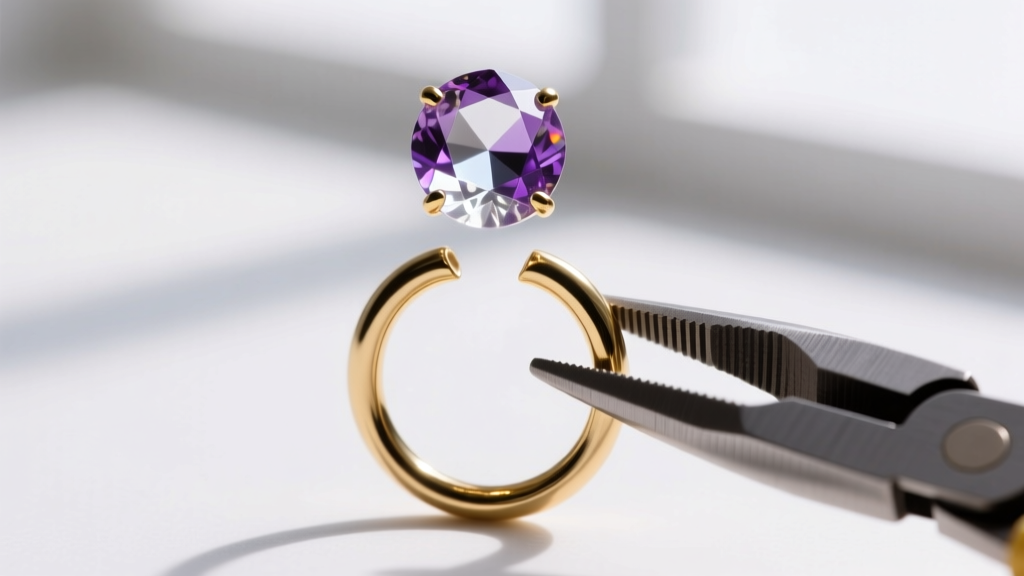
Never pull a jump ring apart laterally (side-to-side), as this distorts the perfect circle and weakens the metal's temper. Instead, grip the ring on either side of the split with two pairs of flat-nose or chain-nose pliers. Twist one hand forward and the other backward to open the ring. Slide the ring through the chain link and the bead's bail or wire-wrapped loop, then twist the ring closed until you hear and feel a distinct 'click' as the flush-cut ends meet perfectly.
Troubleshooting Common Beading Failures
Even experienced jewelers encounter issues when modifying necklaces. Here is how to troubleshoot the most common failures:
- Crimp Slippage: If the crimp bead slides down the wire after crimping, the wire was likely too thin for the tube, or the wires were crossed inside the tube before squeezing. Always ensure parallel alignment and use a wire gauge that fills at least 70% of the crimp tube's interior volume.
- Wire Fatigue and Kinking: Nylon-coated stainless steel wire has a 'memory.' If you accidentally kink the wire while threading a tight bead hole, the structural integrity of the steel core is compromised. Cut the wire and start over; never attempt to straighten a kinked wire, as it will eventually snap at the stress point.
- Bead Hole Abrasion: If you are adding heavy metal or rough stone beads to a flexible wire necklace, the sharp edges of the bead hole can saw through the nylon coating over time. Always use a bead reamer to smooth the holes of natural stones, or use a wire guard (French wire) at the clasp connection points to prevent friction wear.
Bead Hole and Wire Gauge Compatibility Chart
Selecting the correct wire diameter for your specific bead is critical for both the drape of the necklace and the longevity of the piece. The following chart, adapted from Fire Mountain Gems stringing guidelines, provides a quick reference for matching materials.
| Bead Material | Average Hole Size | Recommended Wire Gauge | Max Bead Weight |
|---|---|---|---|
| Freshwater Pearls | 0.5mm - 0.8mm | .013" - .015" (Fine) | Lightweight |
| Glass & Crystal | 0.8mm - 1.2mm | .019" (Medium) | Medium |
| Semi-Precious Stone | 1.0mm - 1.5mm | .019" - .024" (Med-Heavy) | Heavy |
| Metal & Lampwork | 1.5mm - 2.0mm+ | .024" (Heavy) or Multi-strand | Very Heavy |
Final Thoughts on Modular Jewelry Design
Learning how to add a bead to necklaces opens up a world of modular styling. By mastering the crimp technique and the proper use of jump rings, you can transform a simple, mass-produced chain into a bespoke, layered masterpiece. Keep your tools clean, respect the metallurgy of your findings, and always test the tension of your crimps before wearing or gifting your customized creations. With the right technique, your necklace modifications will be as durable and secure as factory-finished fine jewelry.