Build an Archival Do It Yourself Necklace Holder: Technical Guide
Learn how to engineer an archival do it yourself necklace holder. We cover anti-tarnish linings, load-bearing hooks, and tangling prevention math.

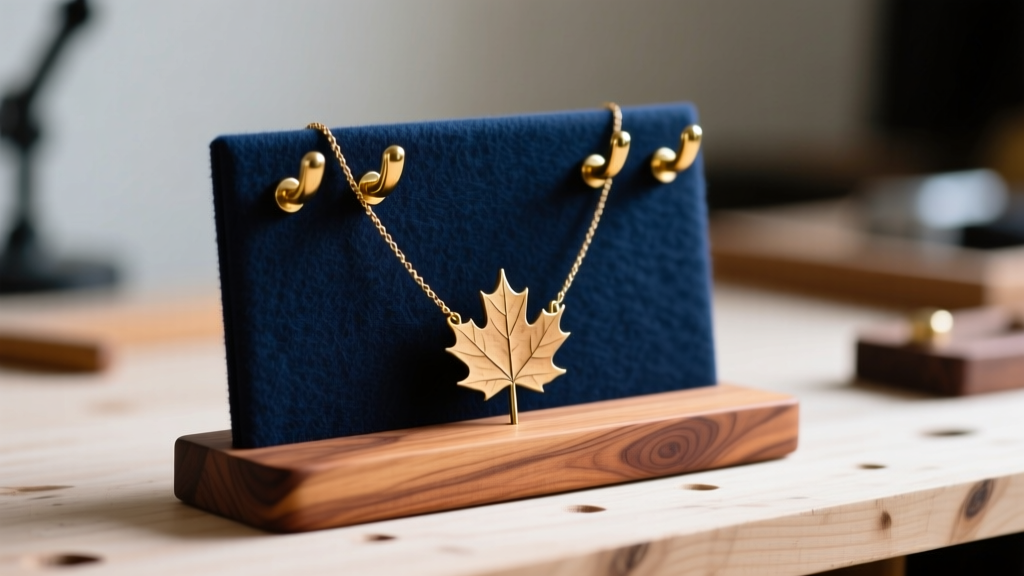
When browsing social media for jewelry storage solutions, you will inevitably encounter the ubiquitous mason jar lid, the painted MDF pegboard, or the hot-glued twine branch. While these crafts offer a rustic aesthetic, they are fundamentally hostile to fine jewelry. As a domain expert in jewelry conservation and display engineering, I approach storage not merely as organization, but as environmental control. A poorly constructed display can accelerate silver sulfide formation (tarnish), stress delicate chain links, and introduce acidic off-gassing directly to porous gemstones.
If you are investing time into a do it yourself necklace holder, you must build it to archival standards. This technical guide will walk you through the material science, load-bearing mathematics, and assembly protocols required to engineer a museum-grade display piece in your own workshop.
The Engineering of Jewelry Storage: Why Most DIYs Fail
The primary failure mode of amateur DIY jewelry holders is chemical reactivity. Standard craft store felt is often dyed with sulfur-based compounds. When enclosed or placed in a humid environment, this sulfur off-gasses and reacts with the copper alloy in sterling silver, creating black silver sulfide. Similarly, medium-density fiberboard (MDF) and raw oak contain high levels of tannins, acetic acid, and formaldehyde. According to the Smithsonian Museum Conservation Institute, acidic vapors from unsealed woods can cause rapid corrosion of metals and degrade the polish on soft stones like pearls and opals.
Furthermore, structural failure is common. Heavy statement pendants require specific load-bearing hardware. Using standard 20-gauge steel cup hooks for a 150-gram gold chain and pendant will inevitably result in the hook bending, warping the wood, or snapping under dynamic load when the necklace is removed.
Material Selection: Woods, Finishes, and Archival Linings
The Acidic Wood Problem and Solution
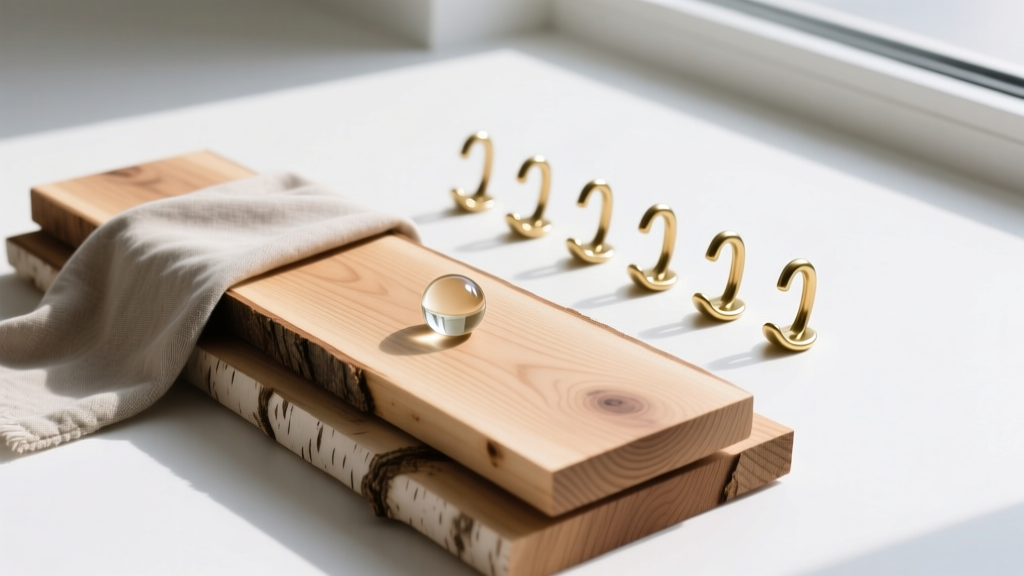
To build a chemically inert base, avoid oak, cedar, walnut, and all engineered woods (MDF, particleboard). Instead, select tight-grained, low-tannin hardwoods. Hard maple, yellow birch, or poplar are your optimal choices. These woods possess a neutral pH profile once properly sealed and offer a dense grain that prevents splintering when drilling micro-pilot holes.
Surface preparation is critical. Sand your board progressively through 120, 220, and finally 320-grit aluminum oxide sandpaper. This closes the wood pores, creating a glass-like surface that minimizes the surface area for chemical exchange.
Sealing and Archival Linings
Do not use oil-based polyurethanes or linseed oil; these cure through oxidation and can release volatile organic compounds (VOCs) for months. Instead, seal the wood with a high-quality, water-based polycrylic finish. Apply three thin coats, sanding lightly with 400-grit paper between coats. Critical protocol: Allow the sealed wood to cure in a well-ventilated, climate-controlled room for a minimum of 30 days before introducing jewelry. This ensures all water and trace solvents have fully evaporated.
For the backing where the chains will rest, bypass standard craft felt entirely. Line the board with Pacific Silvercloth or an equivalent tarnish-inhibiting flannel embedded with fine silver particles. These particles act as a sacrificial anode, absorbing ambient hydrogen sulfide before it can reach your jewelry.
Hardware and Load-Bearing Mathematics
The hooks you choose dictate the longevity of both the holder and the necklace chains. Standard steel cup hooks are prone to micro-corrosion, which can transfer rust to delicate chains. Solid brass or 316L stainless steel are the only acceptable materials for fine jewelry storage.
| Hardware Type | Material | Gauge / Thickness | Max Static Load | Best Application |
|---|---|---|---|---|
| Standard Cup Hook | Solid Brass | 18-Gauge (1.02mm) | 85 grams | Delicate 14k/18k chains, small pendants |
| Heavy-Duty Cup Hook | Solid Brass | 14-Gauge (1.63mm) | 250 grams | Chunky chain necklaces, medium lockets |
| Eye Screw Hook | 316L Stainless | 12-Gauge (2.05mm) | 500+ grams | Heavy statement pieces, multi-strand pearls |
| Adhesive Utility Hook | Plastic/Steel | N/A | Variable | Never use for fine jewelry (adhesive failure risk) |
When sourcing brass hooks, verify they are solid brass, not brass-plated steel. A quick test with a rare-earth neodymium magnet will reveal steel cores; if the hook sticks to the magnet, reject it. The Gemological Institute of America (GIA) consistently advises keeping jewelry away from reactive base metals to prevent galvanic corrosion in humid environments.
Spacing Calculations: The Anti-Tangle Formula
Tangling occurs when the swing radius of a pendant intersects with the adjacent chain. Most DIY guides suggest arbitrary spacing (e.g., "place hooks 3 inches apart"). As an expert, I use a dynamic spacing formula based on the specific inventory you plan to store.
The Archival Spacing Formula:
Hook Spacing = (Width of Widest Pendant ÷ 2) + (Chain Thickness × 2) + 1.5-inch Buffer.
Example: If your widest pendant is 2 inches across, and your thickest chain is 3mm (0.12 inches), the math is: (2 ÷ 2) + (0.12 × 2) + 1.5 = 2.74 inches. Round up to 3 inches for optimal clearance.
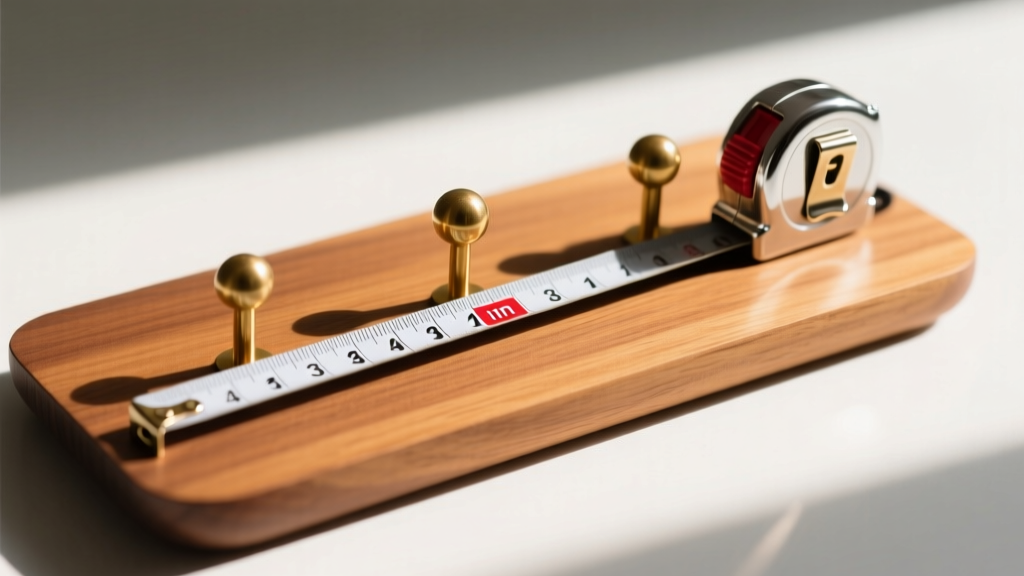
Furthermore, vary the vertical drop. If every hook is placed in a perfectly straight horizontal line, the pendants will stack and scratch one another. Stagger the hooks in a gentle sine wave or chevron pattern, alternating vertical heights by 1.5 to 2 inches. This not only prevents physical contact between gemstones but also creates a visually dynamic, boutique-style display.
Step-by-Step Assembly and Curing Protocols
When driving 14-gauge or 18-gauge hooks into hard maple, driving them directly by hand will cause the wood fibers to split, compromising the structural integrity of the hole. Follow this assembly protocol:
- Marking: Use a digital caliper and a marking gauge to scribe your staggered hole locations. Do not rely on a standard tape measure for micro-adjustments.
- Pilot Drilling: Use a 1/16-inch (1.58mm) titanium-coated brad point drill bit. Drill exactly 3/8-inch deep. Use a piece of painter's tape wrapped around the drill bit as a depth stop to ensure uniform holes.
- Lubrication: Dip the threaded end of the brass hook into a micro-droplet of beeswax. This reduces friction and prevents the brass from shearing off at the neck during installation.
- Driving: Use a specialized cup hook driver attachment for your hand drill, or grip the hook with padded pliers to turn it slowly. Stop turning the moment the shoulder of the hook seats flush against the wood. Overtightening will strip the pilot hole.
Maintenance and Climate Control
Even an archival-grade do it yourself necklace holder requires environmental management. Silvercloth and anti-tarnish strips have a finite saturation point. In a standard bedroom environment (40-50% relative humidity), 3M anti-tarnish strips placed discreetly behind the board will remain effective for roughly six months. In high-humidity environments (above 60% RH), this drops to three months.
Keep the holder away from direct HVAC vents, which cause rapid fluctuations in humidity that can stress the wood joints and the silk threads of pearl necklaces. Dust the board monthly using a clean, untreated microfiber cloth. Never use commercial furniture polishes (like Pledge) on or near the holder, as the aerosolized silicones and solvents will settle on the chains, attracting dust and degrading the luster of your jewelry. By adhering to these technical specifications, your DIY build will rival the conservation-grade displays found in high-end horology and gemology boutiques.


