How to Authenticate and Restore an Antique Bone Necklace
Learn how to authenticate, clean, and restore an antique bone necklace with our step-by-step guide. Expert tips on identifying real bone vs. resin.

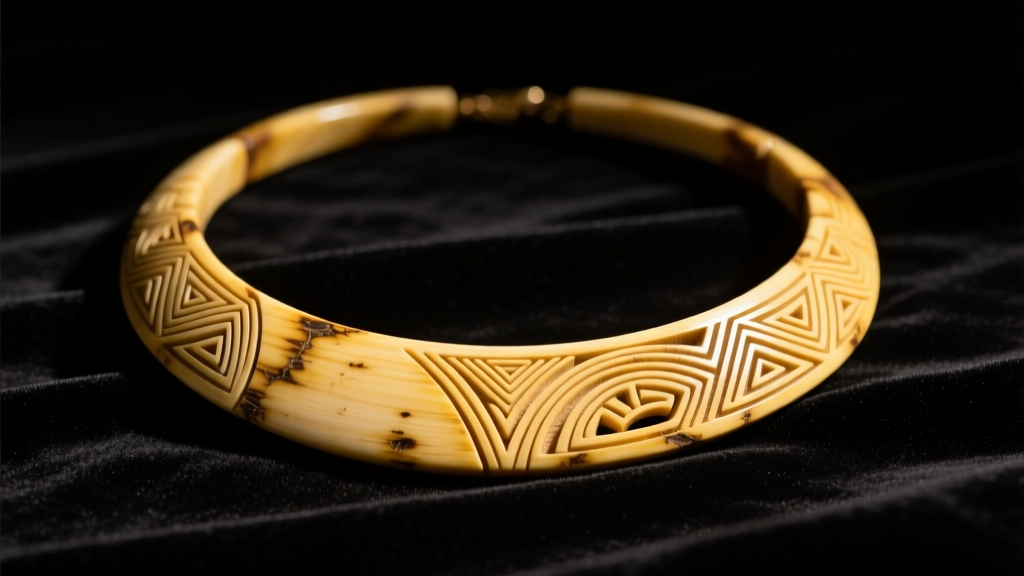
Antique bone jewelry carries a distinct historical weight. Whether you have inherited a Victorian mourning piece, acquired a 1920s Art Deco bone bead sautoir, or sourced a mid-century tribal collar, bone is a porous, organic material that demands specialized care. Unlike metals or crystalline gemstones, bone reacts aggressively to environmental shifts, harsh chemicals, and improper storage. Furthermore, the vintage jewelry market is currently saturated with synthetic replicas made from Bakelite, celluloid, and modern polyurethane resins.
This comprehensive, step-by-step guide will walk you through the exact methodologies used by jewelry conservators to authenticate, assess, clean, and restore an antique bone necklace without compromising its structural integrity or historical value.
Step 1: Authenticating Your Antique Bone Necklace
Before applying any cleaning agents or restringing the piece, you must definitively confirm the material. According to the Gemological Institute of America (GIA), organic gem materials require specific visual and physical identifiers to separate them from synthetic mimics.
Visual Identification: Haversian Canals vs. Mold Lines
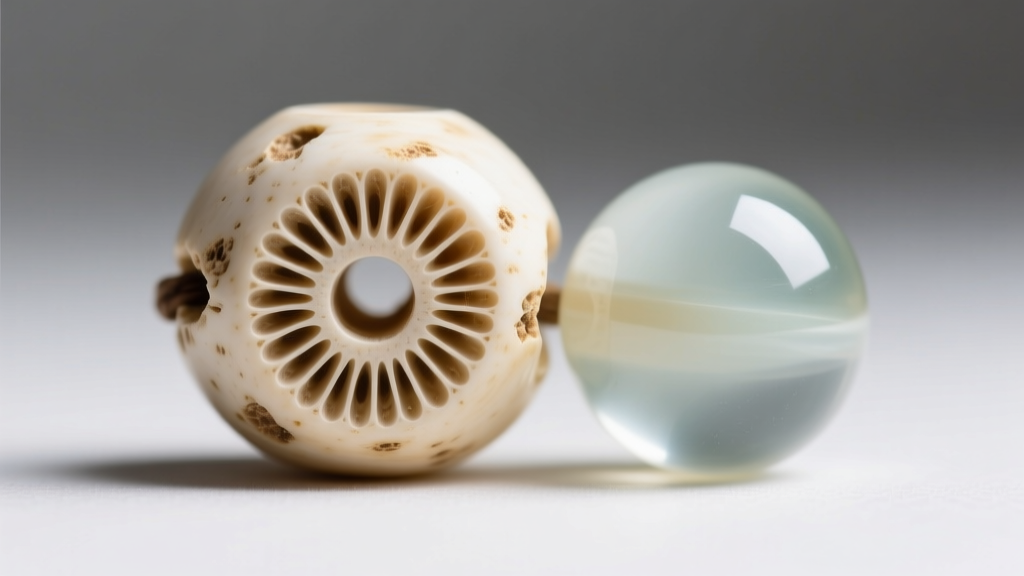
Real bone is a living tissue that leaves behind a distinct microscopic footprint. When examining the beads or pendants under a 10x jeweler's loupe, look for Haversian canals. These appear as tiny, irregularly spaced pores, striations, or faint parallel lines running through the material. Synthetic resins and plastics will appear perfectly uniform, or they may display circular mold lines and perfectly spherical air bubbles trapped just beneath the surface.
The UV Fluorescence Test
Shine a standard 365nm ultraviolet (UV) flashlight on the necklace in a dark room. Genuine antique bone typically fluoresces a pale, chalky blue or stark white. Conversely, early plastics like Bakelite will absorb the light and appear dark, while celluloid may glow a dull, muddy yellow. Modern resins often fluoresce with an unnatural, bright milky-blue or greenish tint due to optical brighteners.
A Note on Ivory and CITES Restrictions
Be aware that some antique "bone" pieces may actually be ivory. Bone lacks the cross-hatched Schreger lines (engine-turning pattern) found in elephant and mammoth ivory. Always verify the material to ensure compliance with CITES (Convention on International Trade in Endangered Species) regulations if you plan to sell or travel with the necklace across international borders.
Step 2: Assessing Structural Integrity and Desiccation
Bone is hygroscopic, meaning it absorbs and releases moisture from the surrounding air. Over decades, fluctuations in humidity can cause the material to dry out, warp, or crack. Inspect your antique bone necklace for the following warning signs:
- Desiccation Cracks: Look for deep, longitudinal fissures running parallel to the natural grain of the bone. These indicate severe moisture loss.
- Warping: Lay flat, disc-shaped bone beads on a glass surface. If they rock or spin unevenly, the bone has warped due to uneven drying or prolonged pressure.
- Drill Hole Abrasion: Antique beads were often hand-drilled, resulting in rough, uneven interior channels. Check if the old stringing cord is heavily frayed, which suggests sharp internal edges that will quickly snap modern threads.
Step 3: The Safe Cleaning Protocol
The most common mistake collectors make is soaking organic jewelry in water or commercial jewelry dips. Bone is highly porous; it will absorb liquids, swell, and subsequently crack as it dries. The American Institute for Conservation (AIC) strictly advises against aqueous immersion for untreated organic artifacts.
Dry Cleaning Method (Primary Approach)
- Use a clean, ultra-soft makeup brush (like a goat-hair powder brush) to gently sweep away surface dust and particulate matter from the carvings and drill holes.
- For stubborn grime in deep crevices, use a wooden toothpick or a dry, soft-bristled interdental brush. Never use metal picks, which will scratch the patina.
Damp Cleaning Method (For Heavy Soil Only)
If the necklace has accumulated heavy skin oils or smoke residue, you may use a barely damp microfiber cloth. Mix one cup of distilled water with a single drop of pH-neutral Castile soap. Wring the cloth out until it is almost dry, wipe a single bead, and immediately buff it dry with a second, clean microfiber cloth. Never let moisture sit on the surface.
Cleaning Agents: What to Avoid
| Cleaning Agent | Effect on Antique Bone | Verdict |
|---|---|---|
| Ultrasonic Cleaners | High-frequency vibrations cause micro-fractures and shattering in porous bone. | NEVER USE |
| Bleach / Hydrogen Peroxide | Strips the natural patina, causes chalky degradation, and weakens the calcium matrix. | NEVER USE |
| Commercial Silver Dips | Contains thiourea and harsh acids that will permanently stain and etch the bone. | NEVER USE |
| Distilled Water + Castile Soap | Safe for surface wiping if immediately dried; will not alter the chemical structure. | USE WITH CAUTION |
Step 4: Restringing and Conditioning
Once the beads are clean and dry, the original stringing material must be replaced. Antique cotton or silk cords degrade over time, losing their tensile strength and becoming acidic, which can damage the bone from the inside out.
Choosing the Right Cord
Because antique hand-drilled holes often feature sharp, unpolished interior edges, standard silk thread will fray and snap. You have two professional options:
- 49-Strand Micro Wire: A nylon-coated stainless steel beading wire (such as Soft Flex .018") offers supreme abrasion resistance. Use sterling silver or gold-filled crimp beads to secure the clasp.
- Knotted Heavy-Duty Silk: If you prefer a traditional drape, use Griffin 100% Natural Silk Bead Cord in Size F or G (0.90mm - 1.05mm). You must tie a hand-knot between every single bead. This prevents the beads from grinding against one another and ensures that if the cord breaks, you only lose one bead.
Sealing and Conditioning with Microcrystalline Wax
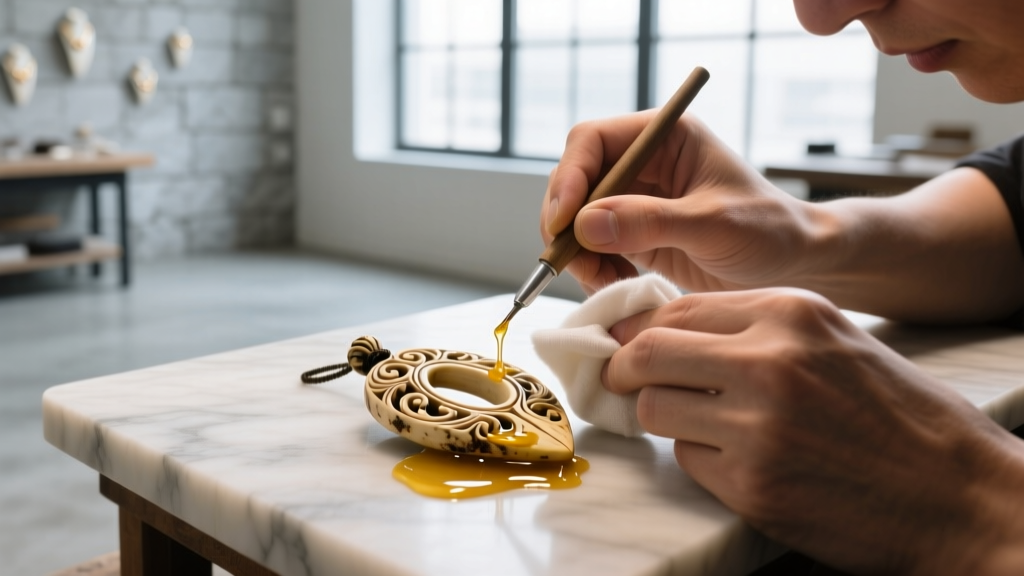
To restore the luster of desiccated bone and protect it from future moisture loss, apply a museum-grade sealant. Renaissance Micro-Crystalline Wax is the industry standard for organic artifacts. Unlike mineral oil or beeswax, which can turn rancid or attract dust, microcrystalline wax is chemically stable and non-yellowing.
- Apply a microscopic amount of wax to a soft, lint-free cotton cloth.
- Rub the wax gently into the bone using circular motions, ensuring it reaches into the carved crevices.
- Allow the wax to dry and haze over for 15 to 20 minutes.
- Buff the necklace vigorously with a clean horsehair shine brush or a fresh microfiber cloth to achieve a soft, natural satin luster.
Step 5: Long-Term Storage and Environmental Controls
The longevity of your restored antique bone necklace depends entirely on its storage environment. Bone is highly susceptible to both extreme dryness and high humidity.
"Organic materials like bone, horn, and tortoiseshell require a stable relative humidity (RH) between 45% and 55%. Fluctuations outside this range cause the material to expand and contract, inevitably leading to structural failure and delamination." — Guidelines for Organic Artifact Preservation.
Store the necklace flat in an acid-free, unbuffered archival tissue box. Avoid hanging the necklace for long periods, as the sustained gravitational pull can stretch the cord and warp the bone beads over time. Keep the piece away from direct sunlight, which will cause the natural patina to bleach unevenly and accelerate desiccation. By following these precise conservation techniques, your antique bone necklace will remain a wearable, historically accurate artifact for generations to come.


