How to Authenticate and Restore a Vintage Marvella Necklace
Learn how to authenticate, clean, and restore a vintage Marvella necklace. Step-by-step guide for identifying marks, faux pearls, and rhinestones.

The Legacy of Marvella: Understanding Your Vintage Piece
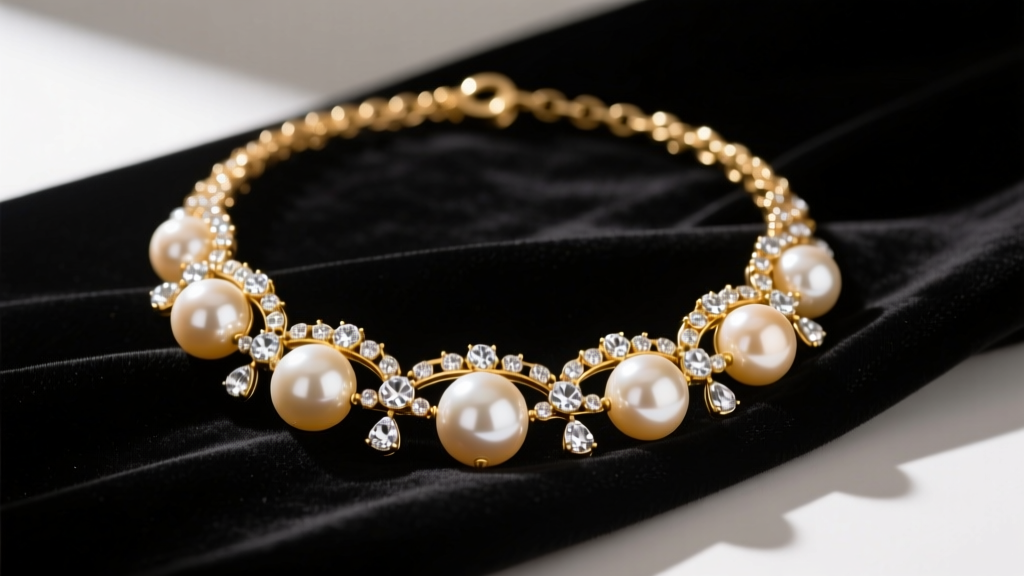
Founded in 1906 by Sol Weinreich, Marvella became one of the most prestigious names in mid-century American costume jewelry. Unlike fine jewelry that relies on the intrinsic value of precious metals and gemstones, a vintage Marvella necklace derives its worth from exceptional craftsmanship, innovative materials, and distinct mid-century design aesthetics. Marvella was particularly renowned for its high-quality faux pearls and brilliant rhinestone arrangements. However, decades of wear, improper storage, and environmental exposure can degrade these materials. Restoring a Marvella piece requires a deep understanding of its specific construction methods, from the composition of its pearlescent coatings to the mechanics of its vintage clasps. This comprehensive guide will walk you through the exact steps to authenticate, assess, clean, and restore your vintage Marvella necklace to its former glory.
Step 1: Authenticating Your Marvella Necklace
Before beginning any restoration process, you must verify the piece's authenticity. The secondary market is flooded with unmarked imitations. According to the Lang Antiques University, Marvella utilized several distinct hallmarks throughout its operational history, which can help date your necklace.
Hallmark Identification Chart
| Hallmark Style | Era of Use | Typical Placement |
|---|---|---|
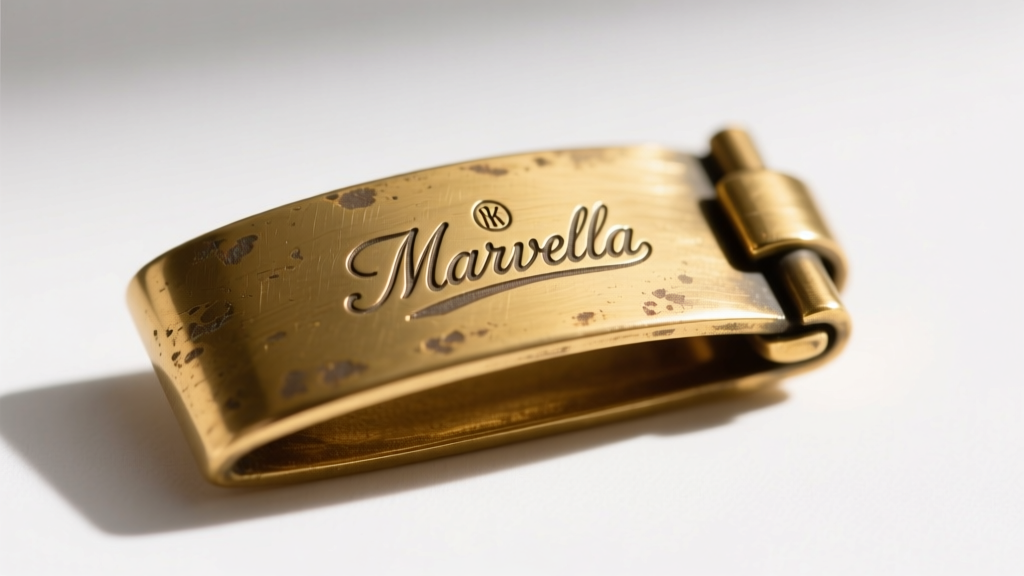
| Marvella (Script) | 1950s - 1960s | Cast into the clasp or on a soldered oval plaque |
| Marvella (Block Letters) | 1970s - 1980s | Stamped directly onto the back of the clasp |
| Marvella PAT. PEND. | 1950s (Specific Designs) | On the back of pendant drops or specialized clasps |
| Weinreich | 1940s - Early 1950s | Small rectangular plaque near the clasp |
Assessing Material Weight and Plating
Authentic Marvella pieces are notably heavy. The base metal was typically a high-grade brass or white metal alloy, heavily electroplated with 14k or 18k gold. If your necklace feels unusually light, it may be a later reproduction or a different brand entirely. Furthermore, examine the gold plating under a jeweler's loupe. Original Marvella plating was thick and durable; if you see a silvery or coppery base metal showing through in high-friction areas, the piece is authentic but requires replating or careful polishing to prevent further degradation.
Step 2: Evaluating Faux Pearls and Rhinestones
Marvella's faux pearls are among the most realistic in the costume jewelry market. Unlike modern plastic beads, vintage Marvella pearls were crafted from solid glass cores coated with a pearlescent lacquer. Historically, this lacquer contained guanine, a crystalline substance derived from fish scales, which gave the beads their deep, luminous orient. The Gemological Institute of America (GIA) notes that these early imitation pearls can be identified by their cool-to-the-touch temperature and substantial weight.
Identifying Pearl Degradation
- Flaking: Check the drill holes. If the pearlescent coating is peeling, the bead is compromised. Unfortunately, guanine coatings cannot be chemically restored once they flake; the bead must be replaced with a high-grade Swarovski or Majorica faux pearl.
- Yellowing: Exposure to UV light and skin oils can yellow the lacquer. Mild yellowing can sometimes be mitigated through careful cleaning, but deep yellowing is permanent.
Inspecting Rhinestone Foil Backing
Marvella heavily utilized foil-backed glass rhinestones, particularly the Aurora Borealis (AB) finish introduced in the mid-1950s. The foil backing is what gives the stone its brilliance. Inspect the stones from the side. If a stone looks "dead" or gray, moisture has likely breached the setting and oxidized the foil. Glued-in stones are more prone to this than prong-set stones, as the adhesive degrades over time, creating microscopic gaps.
Step 3: The Safe Cleaning Protocol
Cleaning vintage costume jewelry requires extreme caution. Never use ultrasonic cleaners, steam cleaners, or commercial silver dips, as these will instantly strip the foil backing from rhinestones and dissolve the pearlescent coating on faux pearls.
Dry Cleaning (The First Line of Defense)
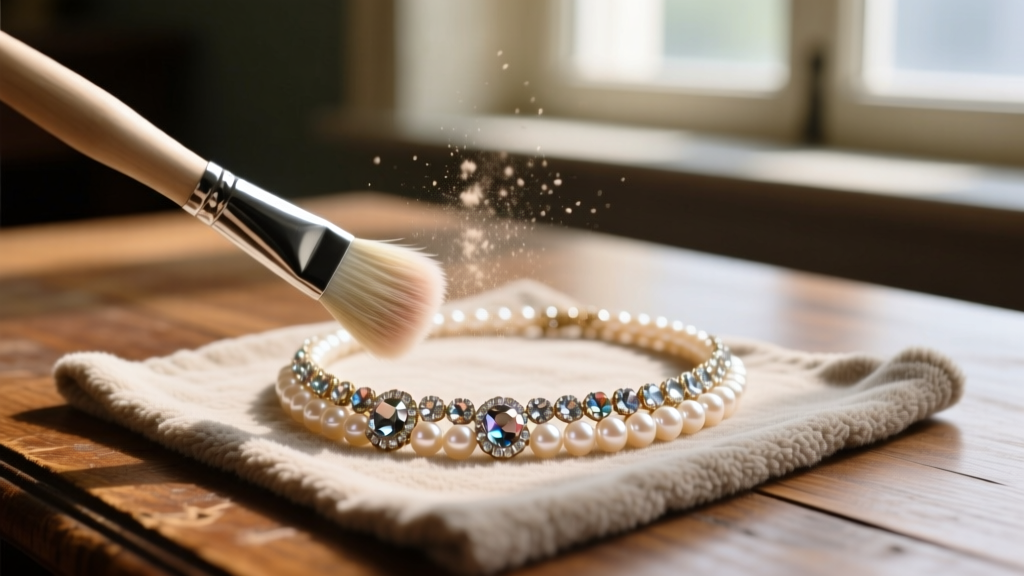
Before introducing any moisture, remove surface dust and oils. Use a clean, soft-bristled makeup brush (like a blending brush) to gently sweep away debris from the prongs and the drill holes of the pearls. Use a dry microfiber cloth to buff the gold-tone metal links. This step alone often restores 50% of the piece's original luster.
Wet Cleaning (For Stubborn Grime)
If the metal links (excluding the stones and pearls) require deeper cleaning, follow this precise protocol:
- Mix a solution of distilled water and a single drop of pH-neutral dish soap (such as Dawn) in a small glass bowl.
- Dip a cotton swab into the solution and wring it out until it is merely damp, not dripping.
- Gently rub the damp swab over the metal links, avoiding any contact with the rhinestone settings or pearl coatings.
- Immediately follow with a dry cotton swab to absorb any residual moisture.
- Allow the necklace to air dry completely on a flat towel in a low-humidity room before storing.
Step 4: Advanced Restoration and Restringing
If your Marvella necklace features a strand of pearls that has stretched, sagged, or broken, restringing is mandatory. Never use standard nylon fishing line or cheap cotton thread, as these will stretch or rot over time.
Materials Needed for Restringing
- Thread: Size F or G pure silk bead stringing thread with an attached needle.
- Findings: French wire (gimp) to protect the silk from the metal clasp, and a new gold-tone fold-over clasp if the original is damaged beyond repair.
- Adhesive: A flexible jewelry glue like GS Hypo Cement for securing the knot inside the bead tip.
The Restringing Process
Begin by attaching a bead tip to one end of the silk thread using a surgeon's knot, secured with a microscopic drop of GS Hypo Cement. Thread each pearl individually. For vintage Marvella necklaces, pearls were often knotted between each bead to prevent them from rubbing together and to minimize loss if the strand broke. Use a bead knotter tool to ensure each knot is tight and uniform. When you reach the clasp, thread the silk through the French wire, loop it through the clasp ring, and tie off with another surgeon's knot inside the second bead tip. Trim the excess silk and close the bead tips securely over the knots using chain-nose pliers.
Final Thoughts on Preserving Mid-Century Elegance
Restoring a vintage Marvella necklace is an exercise in patience and historical preservation. By understanding the specific materials—from the guanine-coated glass pearls to the foil-backed AB rhinestones—you can make informed decisions that protect the integrity of the piece. Always store your restored Marvella necklaces flat in a tarnish-resistant cloth pouch, away from direct sunlight and humidity, ensuring that this remarkable example of mid-century American craftsmanship continues to shine for decades to come.


