How to Authenticate and Style a Vintage Wedding Necklace
Learn how to authenticate, safely restore, and style a vintage wedding necklace for your big day with our expert step-by-step bridal jewelry guide.

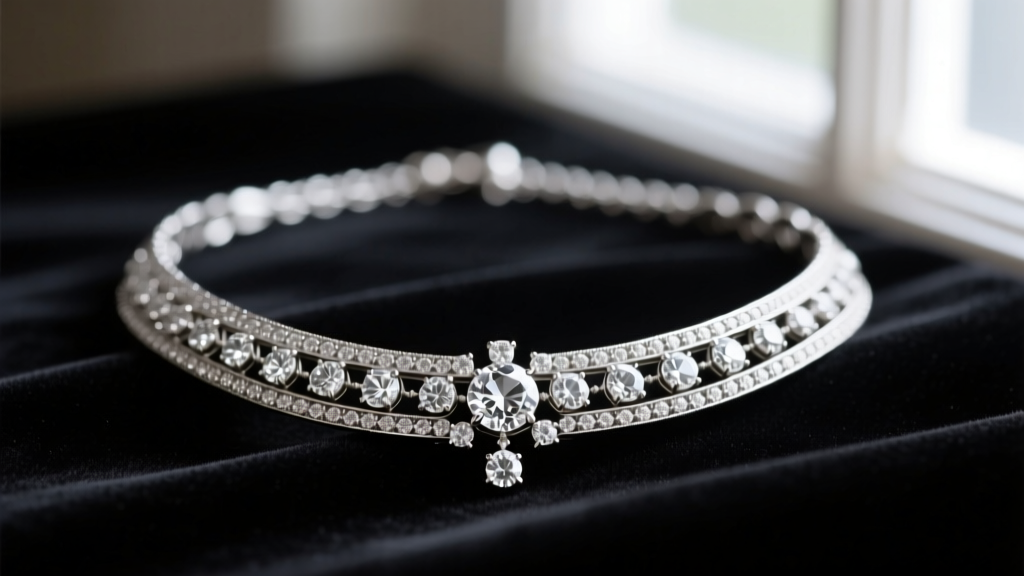
The Allure and Complexity of Antique Bridal Jewelry
As we navigate the bridal jewelry landscape in 2026, the demand for sustainable, historically rich accessories has reached an all-time high. A true vintage wedding necklace offers unparalleled craftsmanship, featuring hand-forged settings and antique diamond cuts that modern machinery simply cannot replicate. However, sourcing an authentic piece requires a discerning eye. The market is currently flooded with "vintage-inspired" reproductions that mimic the aesthetics of the Edwardian and Art Deco eras without the historical integrity or material value. This comprehensive, step-by-step guide will teach you how to authenticate, safely clean, and flawlessly style an antique necklace for your wedding day, ensuring your heirloom piece looks spectacular and remains structurally sound.
Step 1: Sourcing and Authenticating Your Piece
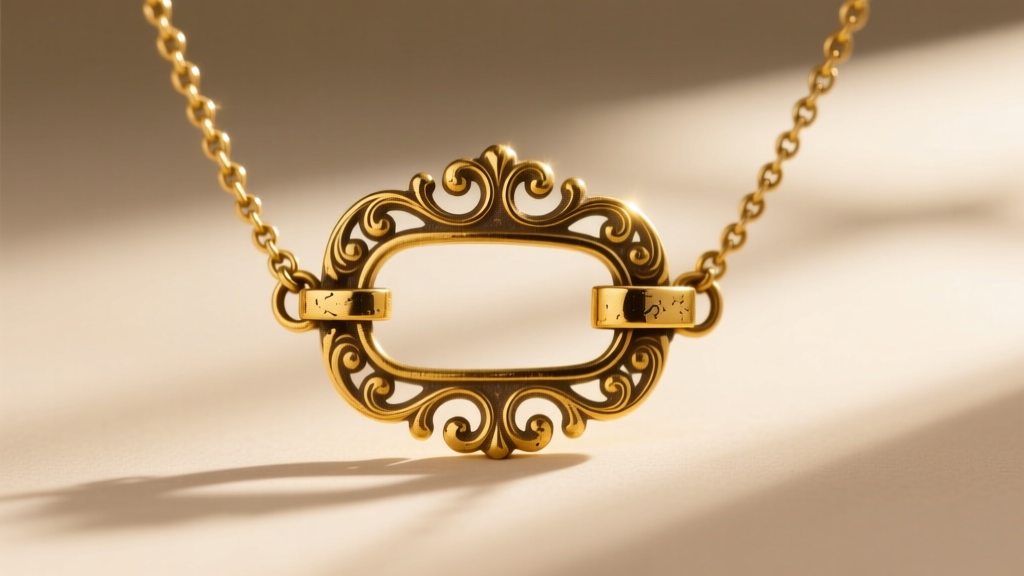
Before you fall in love with a piece, you must verify its origins. Authentication relies on examining the metal purity, the gemstone cutting styles, and, most importantly, the findings (clasps and hinges). According to the Lang Antique Jewelry University, the type of clasp is often the most reliable indicator of a necklace's age, as jewelry manufacturing techniques evolved distinctly across different eras.
Era Identification Matrix
Use this structured comparison chart to cross-reference the physical attributes of the necklace you are evaluating. Genuine antique pieces will align strictly with the metallurgical and mechanical hallmarks of their respective periods.
| Historical Era | Primary Metals Used | Distinctive Clasp Types | Common Gemstone Cuts | Current Market Price Range |
|---|---|---|---|---|
| Victorian (1837-1901) | 15k/18k Yellow Gold, Silver, Pinchbeck | C-Clasp (no safety catch), Padlock | Rose Cut, Old Mine, Cabochon | $800 - $4,500 |
| Edwardian (1901-1915) | Platinum, White Gold over Silver | Early Barrel, C-Clasp with safety chain | Old European, Millegrain settings | $3,500 - $15,000+ |
| Art Deco (1920-1935) | Platinum, White Gold, Onyx, Enamel | Trombone Clasp, Box Clasp with safety | Baguette, Calibre, Transitional | $2,500 - $20,000+ |
| Retro (1935-1950) | 14k Rose Gold, Yellow Gold | Tube Clasp, Early Lobster | Large Emerald Cut, Aquamarine | $1,200 - $6,000 |
Pro-Tip: Always request a loupe inspection. If you see laser welding marks, perfectly uniform machine-milled chains, or modern rhodium plating over worn areas, the piece has likely been heavily altered or is a modern reproduction.
Step 2: Safe Restoration and Cleaning Protocols
Once you have secured your vintage wedding necklace, the next critical step is cleaning. Antique jewelry requires vastly different care than modern pieces. The GIA Gem Encyclopedia explicitly warns against using ultrasonic cleaners or harsh chemical dips on antique jewelry. Many Victorian and Edwardian pieces feature foil-backed gemstones or closed-back settings; introducing liquid into these settings will destroy the foil and cloud the stone permanently. Furthermore, porous stones like pearls, opals, and emeralds (which are often oil-treated) will crack or lose their luster in ultrasonic baths.
The 3-Step Gentle Cleaning Method
- Step 1: The Dry Brush. Use a brand-new, ultra-soft baby toothbrush to gently dislodge dry debris, skin cells, and cosmetic residue from the underside of the settings. Do not use water yet.
- Step 2: The Distilled Bath. Mix a 1:10 ratio of mild, phosphate-free dish soap to lukewarm distilled water. (Tap water contains chlorine and minerals that can react with antique silver and low-karat gold alloys). Dip the brush into the solution and gently agitate the surface of open-set diamonds or sapphires. Never submerge the entire necklace if it contains pearls or glued components.
- Step 3: The Microfiber Polish. Rinse open-set stones with a gentle stream of distilled water. Pat the metal dry with a lint-free microfiber cloth. Avoid paper towels, as their wood-pulp fibers can cause micro-scratches on high-polish platinum and gold.
Step 3: Styling for Modern Bridal Necklines
A vintage wedding necklace is a statement piece that must be balanced with your gown's architecture. The most common mistake brides make is allowing the necklace to compete with intricate bodice beading. In 2026, the prevailing bridal styling philosophy is "contrast and breathe"—pairing ornate antique jewelry with clean, minimalist silk or crepe fabrics.
Neckline Pairing Framework
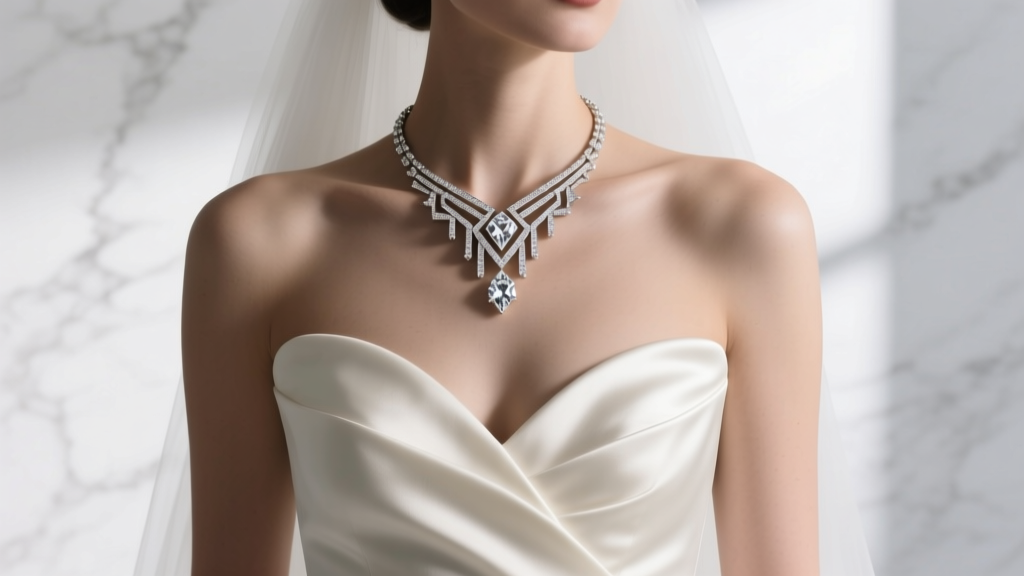
Follow these specific measurements and styling rules to ensure your necklace sits perfectly and complements your silhouette:
- The Sweetheart Neckline: Pair with an Edwardian collet-set diamond riviere (typically 15 to 16 inches in length). The rounded, scalloped edges of the antique diamonds will perfectly mirror the curved dip of the sweetheart bodice without overlapping the fabric seams.
- The Deep V-Neck: Opt for an Art Deco sautoir or a lavalier pendant necklace. These pieces feature a central drop element that draws the eye vertically, elongating the neck and torso. Ensure the pendant terminates at least two inches above the V-neck's lowest point to prevent visual clutter.
- The Halter or High Neck: Skip the traditional collar and instead layer two delicate, 18-inch platinum chains featuring small, bezel-set Old European cut diamonds. This provides a subtle, ethereal sparkle that doesn't choke the neckline or hide the gown's structural details.
"When styling a vintage wedding necklace, always consider the weight distribution. Antique chains were often hand-drawn and can be fragile. If the pendant is heavy, have a jeweler add a hidden, modern safety chain or upgrade the back clasp to a secure lobster clasp while retaining the antique front aesthetic."
Step 4: Appraisal and Insurance Scheduling
Because a vintage wedding necklace is both a significant financial investment and an irreplaceable historical artifact, standard homeowner's or renter's insurance policies will not adequately cover it. You must take immediate steps to protect your asset.
- Obtain a JIS-Certified Appraisal: Seek out an appraiser accredited by the American Gem Society or a similar governing body. The appraisal must detail the exact carat weight, color, and clarity of all stones, the specific metal purity, and the historical era of the piece.
- Schedule the Jewelry: Add a specific "jewelry rider" or "scheduled personal property" endorsement to your existing insurance policy. This ensures you are covered for "mysterious disappearance" (losing the necklace) and accidental damage, which standard policies routinely exclude.
- Document with Macro Photography: Take high-resolution, well-lit macro photos of the necklace, specifically capturing any unique inclusions in the diamonds or distinct hallmarks on the clasp. This visual proof is invaluable for recovery and insurance claims in the event of theft.
Final Thoughts on Wearing History
Choosing a vintage wedding necklace is about more than just accessorizing; it is about wearing a piece of history on one of the most important days of your life. By rigorously authenticating the era, employing safe, non-invasive cleaning methods, and thoughtfully matching the piece to your gown's neckline, you ensure that your antique treasure will not only look breathtaking in your wedding photographs but will also survive to be passed down to the next generation. Take your time, consult with reputable estate jewelers, and trust the meticulous craftsmanship of the past to elevate your modern bridal vision.


