How to Authenticate a White Coral Necklace Vintage Piece
Learn how to authenticate, clean, and restring a white coral necklace vintage piece. Expert gemology tips and step-by-step care instructions.

The 2026 Market for Organic Gemstones
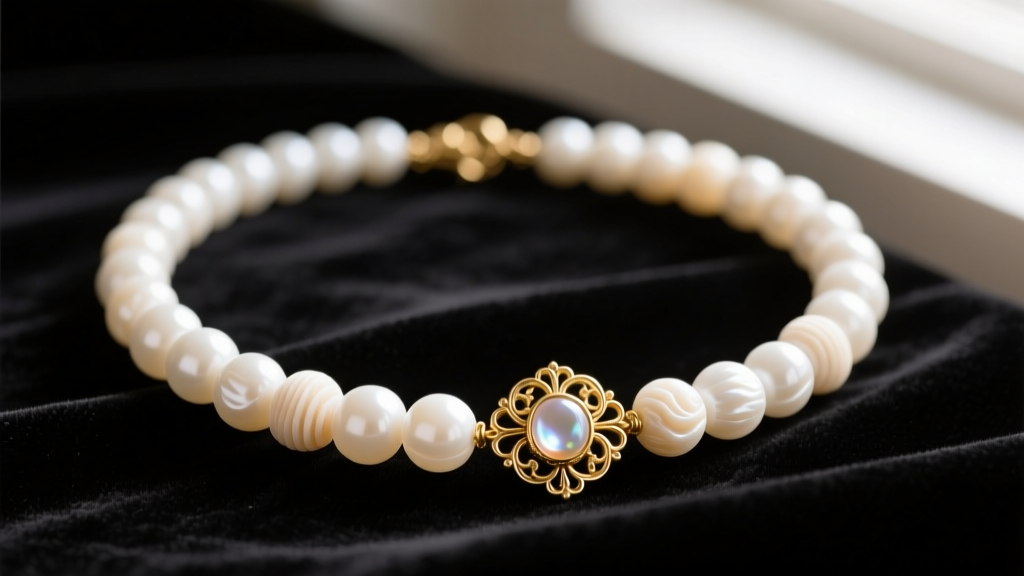
In the current 2026 estate jewelry market, organic gemstones are experiencing a massive resurgence, driven by a collector preference for natural, historically significant materials. Among these, coral remains a highly coveted treasure. However, finding a genuine white coral necklace vintage collectors prize requires a discerning eye. True white coral—often referred to as 'Angel Skin' when it possesses a faint pinkish undertone, or pure Mediterranean white—is a calcium carbonate organic gem that is increasingly rare due to strict international harvesting bans.
Whether you have inherited a family heirloom or are hunting at estate sales, knowing how to properly authenticate, clean, and maintain these porous gems is critical. A high-quality vintage white coral strand can range from $800 to over $3,500 depending on bead diameter (typically 8mm to 14mm), luster, and provenance. This step-by-step guide will walk you through the professional protocols for preserving your investment.
Step 1: Authenticating Vintage White Coral
The market is flooded with imitations, including dyed howlite, bleached bone, and modern resins. To verify your piece, you must perform non-destructive gemological tests. According to the GIA Gem Encyclopedia, coral possesses specific physical and optical properties that synthetics cannot perfectly replicate.
The 10x Loupe Magnification Test
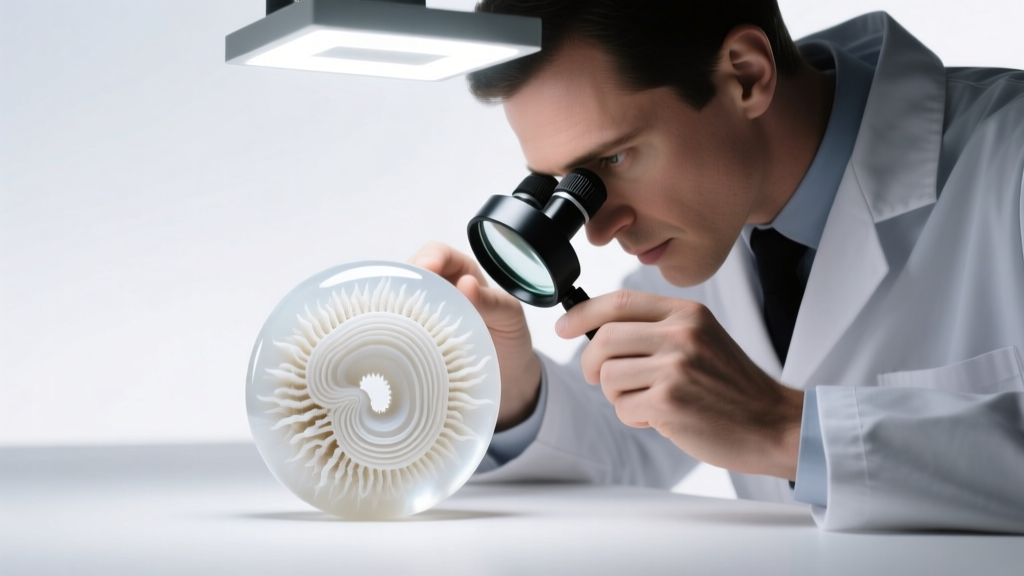
Use a 10x triplet jeweler's loupe to examine the surface and the drill holes of the beads. Genuine white coral will reveal a subtle, wood-grain-like striated pattern or concentric growth rings. Imitations like dyed howlite will show a uniform, granular texture with dark dye concentrating in the natural fractures of the stone. Plastic imitations will appear perfectly smooth or exhibit mold marks and tiny air bubbles near the drill holes.
The Acetone Swab Test
Many lower-grade corals or howlite beads are chemically dyed to mimic the pristine white or soft pink of premium coral. Dip a cotton swab in pure acetone (nail polish remover) and rub it gently against an inconspicuous area, such as the edge of a drill hole. If the swab picks up any color, the piece is dyed. Genuine, untreated white coral will not bleed color.
Comparative Data: Genuine vs. Imitations
| Material | Mohs Hardness | 10x Magnification | Acetone Reaction | UV Fluorescence |
|---|---|---|---|---|
| Genuine White Coral | 3.5 - 4.0 | Striations / Growth Rings | No color transfer | Chalky blue/white |
| Dyed Howlite | 3.5 | Granular, dye in fractures | May bleed dye | None or weak |
| Plastic / Resin | 2.0 - 2.5 | Mold marks, bubbles | May melt/stick | Variable |
| Bleached Bone | 5.0 | Haversian canals (dots) | No color transfer | None |
Step 2: Safe Cleaning Protocols for Porous Organics
Because coral is composed of calcium carbonate, it is highly sensitive to acids and harsh chemicals. The most common failure mode for vintage coral is surface etching caused by improper cleaning or prolonged exposure to skin acidity and perfumes.
What to Absolutely Avoid
- Ultrasonic Cleaners: The high-frequency vibrations will cause micro-fractures in the coral, eventually leading to bead shattering.
- Commercial Jewelry Dips: These contain mild acids (like thiourea) that will instantly dissolve the polished surface of the coral, leaving it dull and pitted.
- Steam Cleaners: Sudden thermal shock can crack organic gems.
The Microfiber Wipe-Down Method
- Prepare a solution of lukewarm distilled water and a single drop of pH-neutral baby shampoo.
- Dampen a lint-free microfiber cloth in the solution and wring it out until it is barely moist.
- Gently wipe each bead individually, paying special attention to the areas around the drill holes where sebum and cosmetic residue accumulate.
- Immediately dry the beads with a separate, soft, dry cloth.
- Allow the necklace to lay flat on a towel for 24 hours to ensure the silk thread inside the drill holes is completely dry before storing.
Step 3: Restringing Your Vintage Coral Beads
Vintage necklaces were traditionally strung on natural silk, which degrades, stretches, and rots over time. If your necklace feels stiff, or if you can see frayed thread at the clasp, it requires immediate restringing to prevent catastrophic bead loss.
Selecting the Right Materials
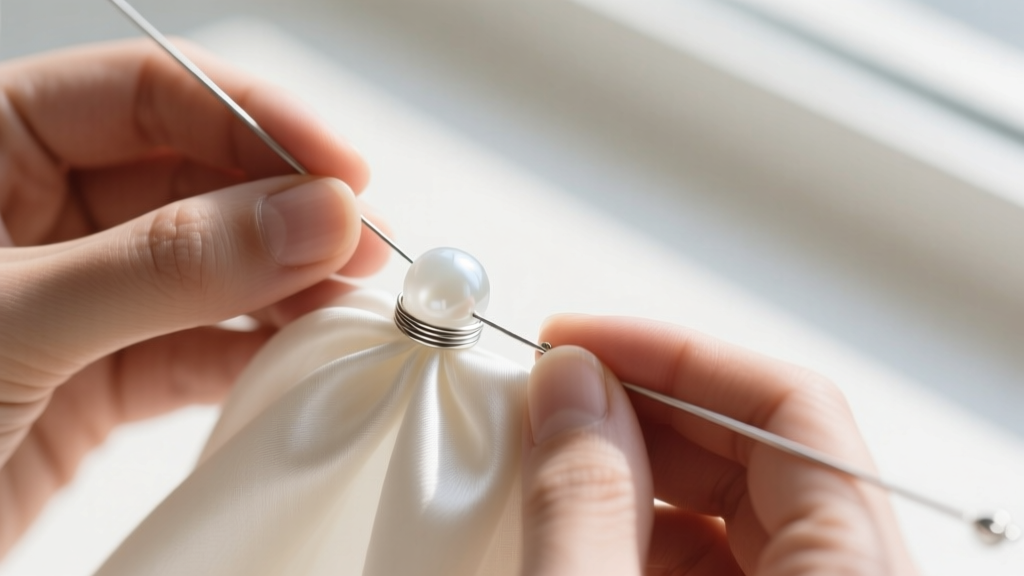
For 8mm to 10mm coral beads, use Size F or G 100% natural silk thread (such as Griffin brand). Silk is preferred over synthetic nylon because it knots beautifully and provides the correct drape for vintage pieces. You will also need French wire (gimp), a microscopic coiled metal wire that protects the silk from abrading against the metal clasp ring.
The Knotting Process
Professional jewelers always knot between every single coral bead. This not only prevents the loss of multiple beads if the strand breaks, but it also stops the beads from rubbing against each other, which can cause permanent friction wear on the delicate calcium carbonate surface.
Use a bead awl or fine tweezers to push the overhand knot tightly against the bead before the silk dries and sets. Finish the ends by threading the silk through a metal bead tip (clam-shell knot cover), tying a secure surgeon's knot, applying a microscopic drop of jeweler's epoxy to the knot, and snapping the metal cover shut to attach the jump ring.
Step 4: Styling and Storage Best Practices
Proper storage is just as vital as cleaning. Organic gems require a specific environment to prevent dehydration and cracking.
Humidity and Light Control
Unlike diamonds or sapphires, coral can dry out and develop a network of fine surface cracks (crazing) if kept in an overly dry environment, such as a safety deposit box or near a heating vent. Store your vintage white coral necklace in a soft cotton pouch inside a room with stable humidity (ideally 40% to 50%). Keep it away from prolonged direct sunlight, which can cause certain untreated corals to yellow or fade over decades.
The 'Last On, First Off' Rule
Always put your coral necklace on after applying makeup, hairspray, and perfume. The alcohol and acidic compounds in cosmetics will degrade the polish. When you remove the necklace at the end of the day, give it a quick wipe with a dry, soft cloth to remove the day's skin oils before placing it back in its pouch. By following these meticulous care protocols, your vintage white coral necklace will retain its luminous, porcelain-like luster for generations to come.


