How to Author the Necklace: Custom Design Troubleshooting Guide
Learn how to author the necklace of your dreams. Our expert troubleshooting guide covers metal grades, setting failures, and bespoke costs.

Introduction: The Role of the Jewelry Architect
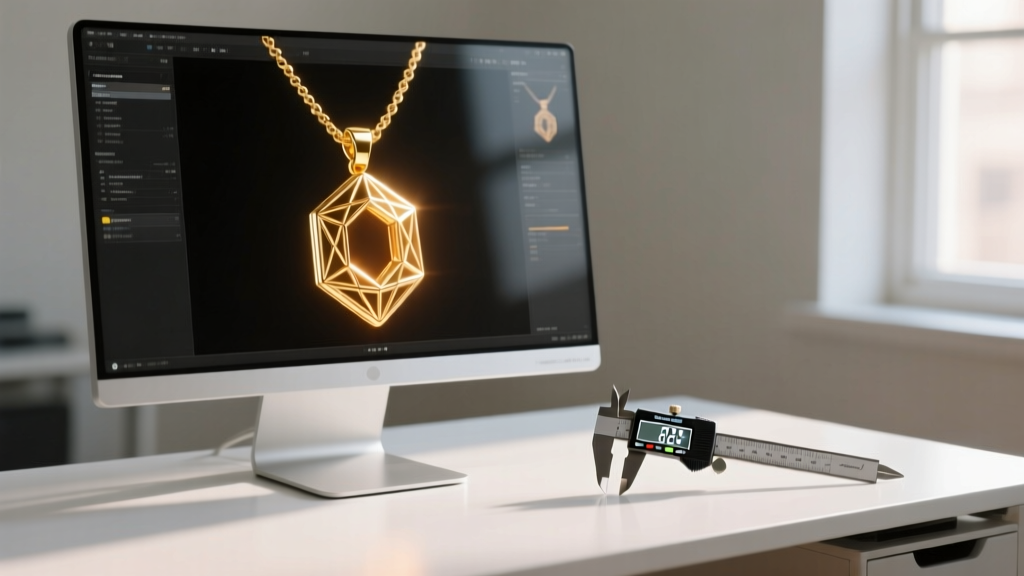
When you decide to author the necklace that will become a lifelong heirloom, you are stepping into the role of a creative director and structural engineer. Commissioning a bespoke piece is not merely about sketching a pretty pendant; it is an exercise in metallurgy, ergonomics, and gemological security. Many first-time custom clients encounter frustrating failures—snapped chains, loose stones, or allergic reactions—because they focused solely on aesthetics while ignoring the physics of jewelry fabrication. This troubleshooting guide will help you navigate the technical pitfalls of custom necklace design, ensuring your final piece is as durable as it is beautiful.
The Blueprint Phase: Avoiding Structural Failures
The most common point of failure in a custom necklace is the junction between the chain and the pendant. When you author the necklace blueprint, you must calculate the pendant-to-chain weight ratio. A frequent mistake is pairing a heavy, solid-cast 15-gram pendant with a delicate 0.8mm cable chain. This mismatch causes work-hardening at the jump ring, eventually leading to a microscopic fracture and a lost pendant.
Troubleshooting the Bail and Jump Ring
- Jump Ring Soldering: Never rely on a simple split jump ring to hold a valuable pendant. Insist that your jeweler laser-welds or torch-solders the jump ring shut. Laser welding is preferable for pieces with heat-sensitive gemstones nearby, as it localizes the thermal impact.
- Chain Gauge Rules: For pendants weighing under 5 grams, a 1.0mm to 1.2mm chain is sufficient. For statement pieces between 10 and 20 grams, you must scale up to a 2.0mm to 2.5mm wheat or rope chain to provide adequate tensile strength.
- Bail Friction: If your custom design features a fixed bail, ensure the inner diameter is at least 0.5mm wider than the chain's thickest point. A tight fit creates constant metal-on-metal friction, silently wearing down both the chain and the bail over time.
Metallurgy and Alloys: Troubleshooting Porosity and Wear
Choosing the right metal is a critical decision when you author the necklace. Many clients default to 18k yellow gold for its rich color, unaware of its mechanical softness compared to 14k alloys or platinum. Furthermore, the casting process itself introduces potential flaws that you must know how to identify during your final inspection.
Casting Porosity: The Hidden Enemy
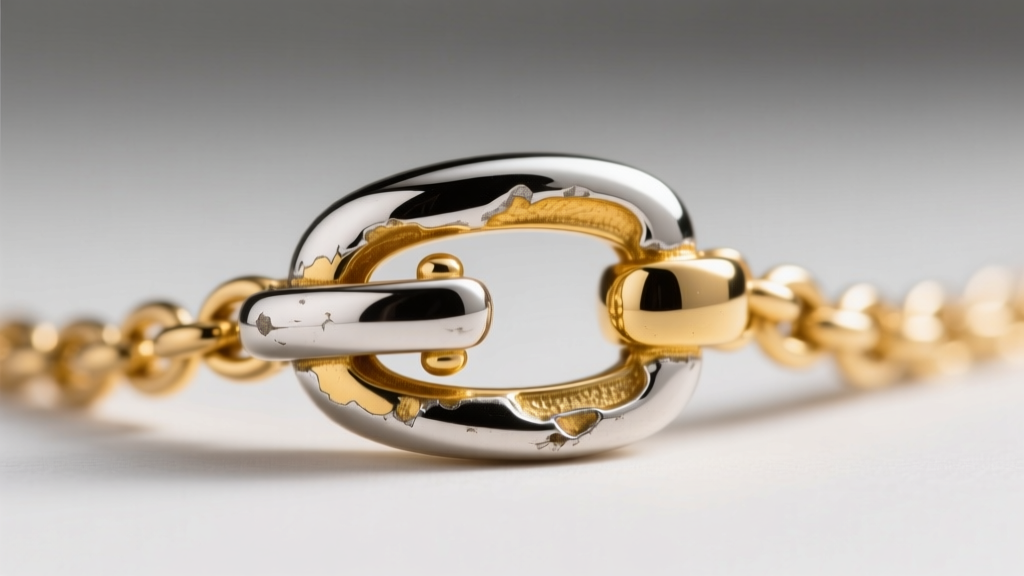
When a jeweler casts your custom pendant, the molten metal cools and shrinks. If the cooling rate is improperly managed or the investment mold traps gases, microscopic air pockets form inside the metal. This is known as casting porosity. Surface porosity looks like tiny pinpricks or orange-peel texturing on the gold. While a jeweler can sometimes burnish surface pits away, internal porosity severely compromises the structural integrity of the prongs and shanks. Always inspect your custom piece under a 10x jeweler's loupe before accepting it. If you see pitting near the stone settings, request a recast.
Metal Alloy Troubleshooting Matrix
| Metal Alloy | Vickers Hardness (HV) | Shrinkage Rate | Common Failure Mode |
|---|---|---|---|
| 14k Yellow Gold | 120 - 140 | ~1.55% | Prong wear, bending |
| 18k Yellow Gold | 125 - 135 | ~1.60% | Scratching, stone loss |
| Platinum 950/Ru | 130 - 145 | ~1.40% | Patina, burnishing |
| 14k White Gold | 130 - 150 | ~1.55% | Rhodium wear, cracking |
Data sourced from industry-standard metallurgical testing. For more on precious metal properties, consult the Jewelers of America consumer guides.
Gemstone Security: Prong vs. Bezel Settings
A custom pendant is subjected to different kinetic forces than a ring. It swings, catches on clothing, and rests against the sternum. Therefore, the setting style you choose when you author the necklace must account for this specific wear pattern.
When to Demand a Bezel Setting
If your design features a softer gemstone—such as an opal, emerald, or tanzanite—a prong setting is a liability. Prongs leave the girdle of the stone exposed to direct impacts. A full bezel setting, where a continuous ribbon of metal wraps around the stone's perimeter, reduces the risk of chipping by over 80%. For bezel settings, ensure the jeweler uses a bearing (a small interior ledge) to seat the stone, rather than simply pushing the metal over the crown, which can crack the gemstone.
Prong Thickness and Maintenance
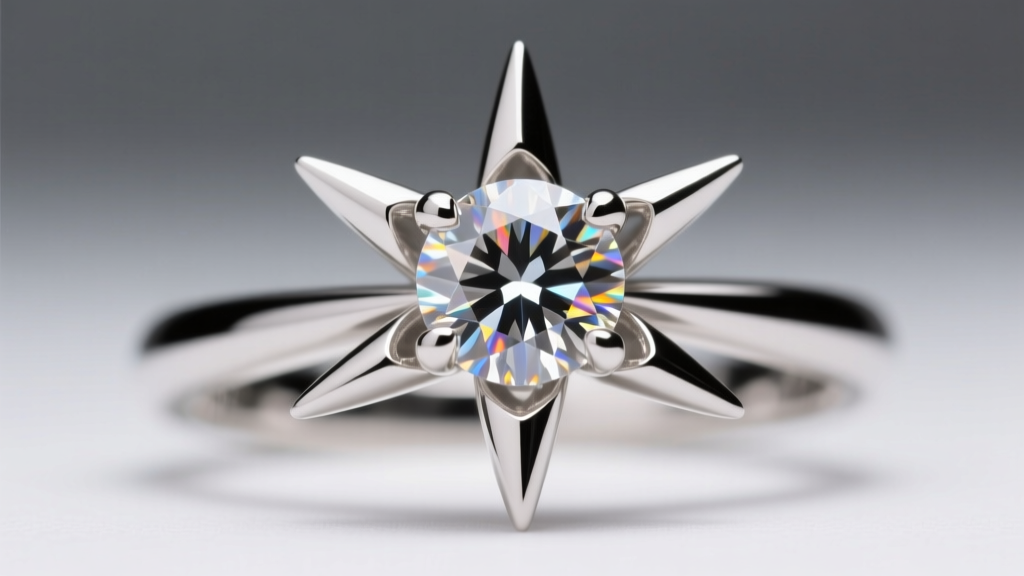
If you prefer the light return of a prong setting, you must specify prong thickness. Standard commercial prongs are often poured at 0.6mm to 0.8mm thick, which is entirely inadequate for a pendant that catches on scarves or seatbelts. Instruct your CAD designer to thicken the prongs to at least 1.1mm at the base, tapering to 0.9mm at the tip. According to the Gemological Institute of America (GIA), proper prong geometry is the single most important factor in long-term stone retention. Furthermore, opt for six prongs instead of four for round brilliant cuts; if one prong snags and pulls back, the remaining five will still secure the diamond.
Ergonomic Failures: Clasp and Hardware Dilemmas
The clasp is the most frequently manipulated component of any necklace, yet it is often an afterthought in custom design. Spring ring clasps are notoriously difficult to operate with one hand and feature internal steel springs that can rust if exposed to moisture. Always upgrade your custom design to a solid 14k or 18k lobster clasp. For heavier pendants, consider a custom-fabricated box clasp with a secondary figure-eight safety latch, which distributes the tension across a wider surface area and prevents the necklace from sliding off if the primary latch fails.
Final QA Checklist Before You Sign Off
Before you make the final payment on your bespoke piece, run through this rigorous quality assurance checklist. Do not rely solely on the jeweler's word; verify the physical attributes yourself.
The Custom Necklace QA Checklist:
- Inspect all prongs under 10x magnification for uniform height and secure contact with the stone's crown.
- Run a piece of silk thread over the settings and chain links; if it snags, there is a microscopic burr that needs polishing.
- Verify the jump ring is fully soldered or laser-welded shut with no visible seams.
- Check the back of the pendant (the gallery) to ensure it is hollowed out or features openwork, allowing light to enter the stone and reducing unnecessary metal weight.
- Confirm the hallmark (e.g., 14K, PT950) and the maker's mark are stamped clearly in an inconspicuous area.
Learning how to successfully author the necklace of your dreams requires a balance of artistic vision and uncompromising technical standards. By understanding the metallurgical realities of casting, the physics of chain tension, and the geometry of stone settings, you transition from a passive buyer to an informed architect of your own jewelry. Troubleshooting these elements during the CAD and wax-model phases will save you thousands of dollars in future repairs and ensure your custom pendant remains a flawless heirloom for generations to come.


