Beginner's Guide to Styling Lightning Bolt Necklaces
Discover how to choose, style, and care for lightning bolt necklaces. Our beginner-friendly guide covers metals, chain lengths, and layering tips.

The Symbolism and Evolution of the Lightning Bolt
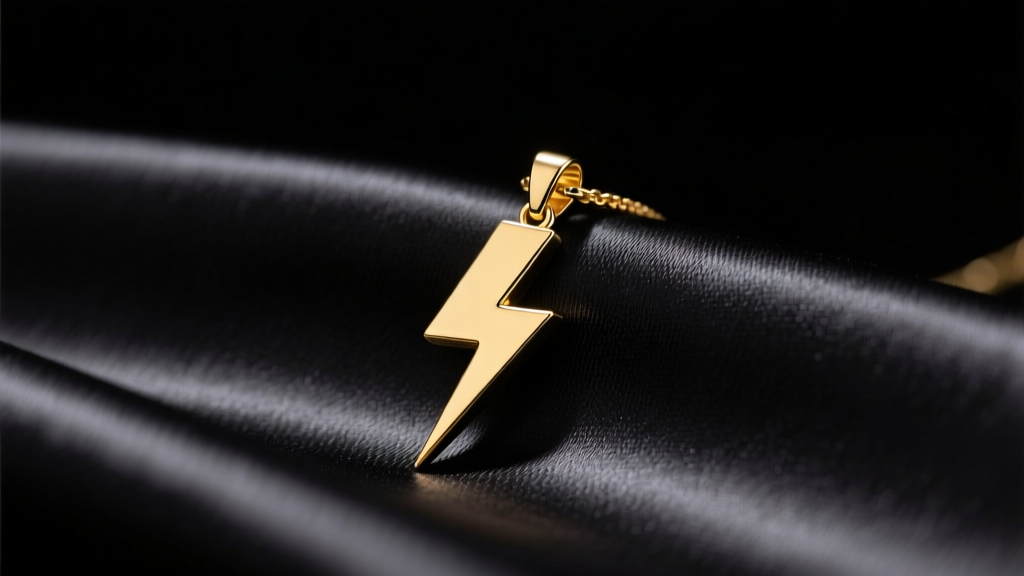
Lightning bolt necklaces have transcended their rock-and-roll origins to become a permanent fixture in everyday jewelry wardrobes. Historically popularized by David Bowie’s Ziggy Stardust era and later adopted by 2010s streetwear culture, the lightning bolt represents sudden inspiration, raw energy, and empowerment. As we navigate the jewelry landscape of 2026, the trend has decisively shifted away from heavily pavé-encrusted, bulky designs toward solid, high-polish, or matte-brushed finishes that emphasize the sharp, geometric purity of the shape.
For beginners, choosing the right lightning bolt pendant can feel overwhelming. The sharp angles, varying proportions, and diverse metal options require a bit of know-how to ensure you get a piece that is both durable and aesthetically pleasing. This guide will break down the exact specifications, material grades, and styling frameworks you need to make an informed purchase.
Decoding Metals: What to Buy on a Beginner Budget
The longevity of your necklace depends entirely on the metal composition. Because lightning bolts feature sharp points and deep inner angles, softer metals can bend, while porous alloys can trap tarnish in the crevices. According to the Gemological Institute of America (GIA), understanding alloy purity is critical for daily wear jewelry.
| Metal Type | Grade / Purity | Estimated Price Range | Pros & Cons |
|---|---|---|---|
| Solid Gold | 14k (58.5% pure) | $150 - $450 | Hypoallergenic, will not tarnish, highly durable. Expensive upfront. |
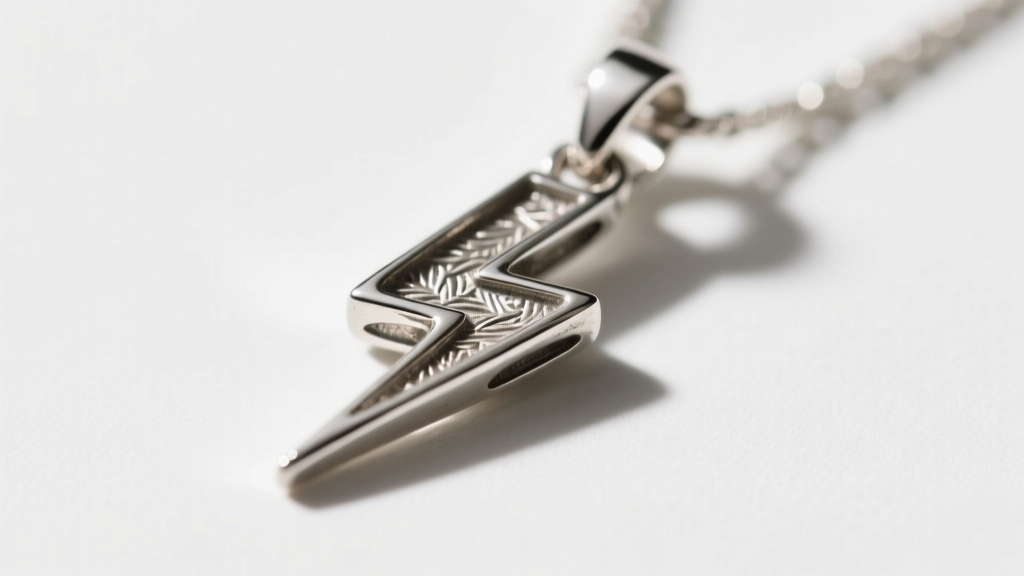
| Sterling Silver | 925 (92.5% pure) | $40 - $110 | Bright and affordable. Prone to oxidation in the bolt's sharp crevices. |
| Surgical Steel | 316L Stainless | $15 - $45 | Extremely durable, nickel-free, won't tarnish. Heavier on the neck. |
| Gold Vermeil | 2.5μm gold over 925 | $60 - $130 | Looks like solid gold initially. The plating will wear off the sharp edges within 1-2 years. |
Expert Tip: If you opt for sterling silver, look for pieces that have been rhodium-plated. This adds a microscopic layer of platinum-group metal that delays tarnishing and gives the silver a brighter, whiter finish that mimics white gold.
Sizing Your Strike: Dimensions and Proportions
Lightning bolt pendants are generally categorized by their vertical drop (height). Choosing the right size dictates whether the piece acts as a subtle accent or a bold statement.
The Subtle Spark (10mm - 15mm)
Pendants in the 10mm to 15mm range are ideal for minimalist styling. They sit discreetly on the collarbone and are perfect for professional environments or wearing underneath a button-down shirt. Pair these micro-bolts with delicate chains (0.9mm to 1.1mm thickness) in lengths between 14 and 16 inches.
The Standard Strike (18mm - 25mm)
This is the sweet spot for most buyers. An 18mm to 25mm bolt offers enough visual weight to be noticed when worn over a plain white t-shirt, but remains lightweight enough for 24/7 wear. An 18-inch chain with a 1.2mm cable or box link provides the perfect structural support without overpowering the pendant.
The Statement Bolt (30mm - 50mm)
Oversized bolts lean heavily into streetwear and editorial fashion. These pieces require thicker chains (2.0mm to 3.5mm), such as Cuban links or heavy rope chains, to support the weight of the pendant and prevent the chain from snapping at the clasp.
Hardware Mechanics: Jump Rings and Bails
One of the most common failure points in pendant necklaces is the connection hardware. Because a lightning bolt is an asymmetrical, angular shape, it swings and pivots differently than a round pendant. This constant friction can saw through weak jump rings over time.
- The Bail: Ensure the loop (bail) at the top of the bolt is smooth. If the bail has a sharp inner edge, it will act like a blade against your chain.
- The Jump Ring: The ring connecting the bail to the chain must be at least 18-gauge (1.0mm thick) and, ideally, soldered shut. If you are buying a pre-assembled necklace, inspect the jump ring for a visible split; if it is not soldered, take it to a local jeweler to have it fused for a $10-$20 fee.
- The Clasp: Avoid spring-ring clasps for anything heavier than a standard strike bolt. Opt for a lobster clasp, which features a stronger internal spring and a wider opening for easy removal.
The 3-Step Layering Framework for Beginners
Layering a lightning bolt necklace requires balancing its sharp geometry with softer, complementary shapes. As outlined by styling experts at Vogue, successful layering relies on varying texture, weight, and length to prevent tangling.
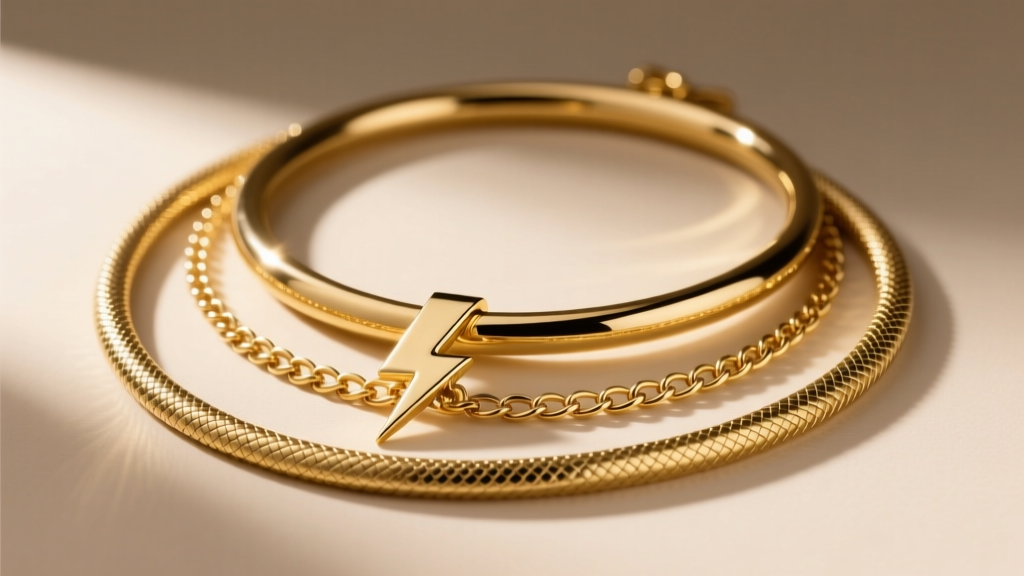
- Base Layer (16 inches): Start with a lightweight, non-pendant chain to anchor the stack. A 16-inch 1.0mm snake chain or a simple choker provides a clean canvas.
- The Focal Point (18 inches): This is where your lightning bolt lives. An 18-inch 1.2mm cable chain with a standard 20mm bolt pendant sits perfectly in the hollow of the throat, drawing the eye downward.
- The Anchor (20 to 22 inches): Finish with a softer, rounder pendant to contrast the sharp angles of the bolt. A plain gold hoop, a simple pearl, or a smooth bezel-set gemstone on a 20-inch chain creates visual harmony and prevents the stack from looking overly aggressive.
Maintenance: Cleaning the Crevices
The sharp, zigzagging inner angles of a lightning bolt pendant are notorious for trapping skin oils, lotions, and environmental dust. If left uncleaned, this buildup will dull the metal and, in the case of sterling silver, accelerate localized tarnishing.
The Cleaning Protocol:
- Mix a few drops of mild, phosphate-free dish soap (like Dawn) into a bowl of lukewarm water.
- Submerge the necklace for 5 to 10 minutes to loosen debris.
- Use a soft-bristled baby toothbrush to gently sweep the inner crevices of the bolt. Never use a hard-bristled brush, as it will leave micro-scratches on high-polish finishes.
- Rinse thoroughly under distilled water to prevent hard water spots.
- Pat dry with a lint-free microfiber cloth.
Warning: If your lightning bolt features black enamel detailing or pavé-set diamonds, never use an ultrasonic jewelry cleaner. The high-frequency vibrations can shatter the enamel or shake the tiny stones loose from their micro-prongs. Stick to manual, gentle cleaning for any mixed-material pieces.
Final Thoughts
A lightning bolt necklace is more than just a trendy accessory; it is a dynamic piece of geometry that adds an instant edge to any outfit. By prioritizing durable metals like 14k gold or 316L steel, paying close attention to the thickness of your jump rings, and following a structured layering framework, you can ensure your pendant remains a staple in your collection for years to come. Whether you are drawn to the subtle 12mm spark or the bold 40mm strike, understanding these foundational mechanics transforms you from a casual buyer into an informed jewelry collector.


