How to Style and Secure a Finger Necklace: A Beginner's Guide
Learn how to choose, style, and securely wear a finger necklace. Discover the best chains, bails, and safety tips for displaying cherished rings.

What Exactly Is a Finger Necklace?
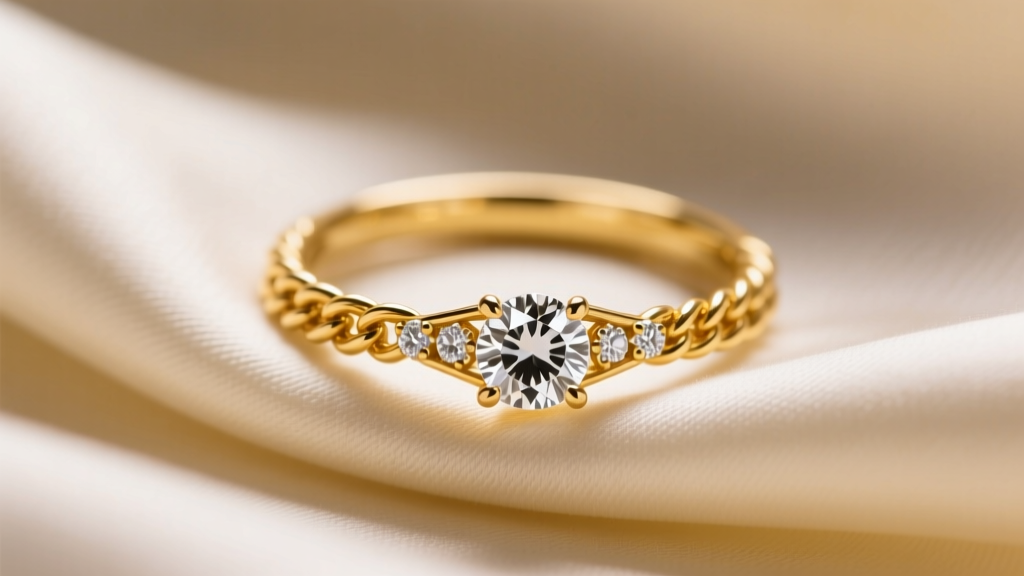
A finger necklace—often referred to as a ring pendant necklace or ring keeper chain—is a specialized piece of jewelry designed to securely hold and display a finger ring. While traditionally used as memorial jewelry to keep a lost loved one's wedding band close to the heart, the finger necklace has evolved into a mainstream fashion staple. In 2026, we see them used to repurpose inherited rings that don't fit, display promise rings during travel, or simply layer mixed metals for a curated, eclectic neckline.
However, threading a ring onto a random chain from your jewelry box is a recipe for disaster. Rings are heavy, asymmetrical, and often feature sharp prongs or hard gemstones that can damage standard chains. This beginner-friendly explainer will walk you through the exact hardware, material science, and styling techniques required to wear a finger necklace safely and elegantly.
The Anatomy of a Secure Ring Pendant Setup
The most critical component of your finger necklace is not the chain, but the ring keeper bail. A standard jewelry bail (the loop that connects a pendant to a chain) is designed for flat, teardrop, or fixed-loop pendants. A ring, being a rigid circle, requires specialized hardware to prevent it from sliding off the sides or getting wedged.
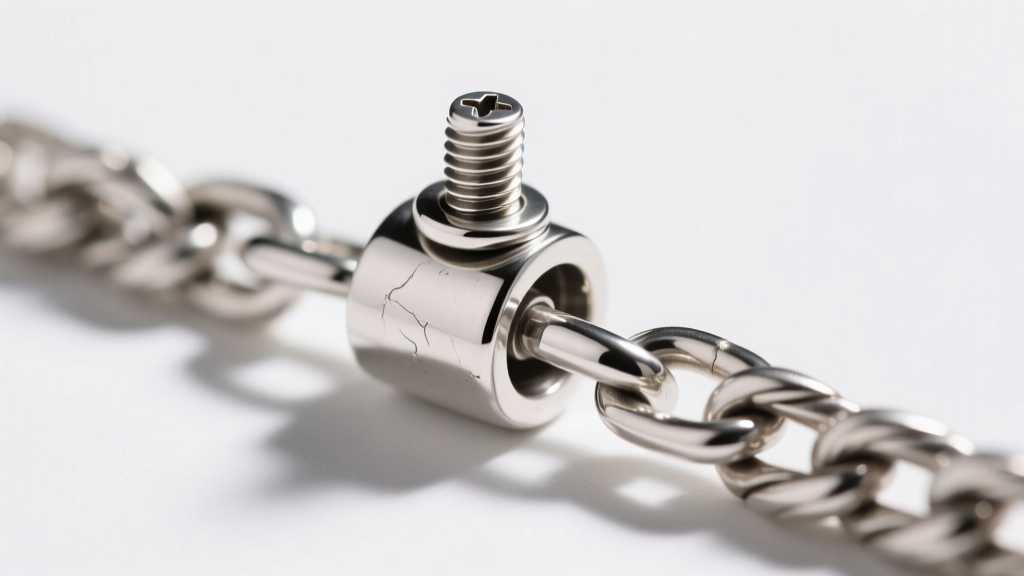
- The Screw-Top Barrel Bail: This is the gold standard for security. It features a small metal tube with a threaded screw cap. You slide the ring onto the tube and screw the cap shut. It is virtually impossible for the ring to slip off without manual unscrewing.
- The Hinged Cradle Bail: This bail features a curved, U-shaped cradle with a hinged top that snaps shut. It allows the ring to hang perfectly flat against the chest, which is ideal for wide signet rings or bands with intricate engravings.
- The Silicone O-Ring Method: For a budget-friendly, DIY approach, jewelers often use a tiny, transparent silicone O-ring (similar to those used in watch repair) placed on either side of the ring on the chain. This creates friction and prevents the ring from sliding too far left or right, though it is less secure than a metal bail.
Chain Gauge vs. Ring Weight: A Compatibility Matrix
One of the most common mistakes beginners make is pairing a heavy signet ring with a delicate 0.9mm cable chain. The weight of the ring will cause the chain to stretch, kink, and eventually snap. According to structural guidelines from the Jewelers of America, you must match the chain's gauge (thickness) and link style to the ring's weight and profile.
| Chain Type | Gauge (mm) | Max Ring Weight | Best Use Case |
|---|---|---|---|
| Standard Cable | 1.0 - 1.5mm | Under 5g | Lightweight, plain wedding bands or thin stacking rings. |
| Rope Chain | 1.5 - 2.5mm | 5g - 12g | Diamond engagement rings or medium-weight vintage bands. |
| Wheat (Spiga) | 2.0 - 3.0mm | 10g - 20g | Heavy signet rings, wide memorial bands, or men's rings. |
| Leather Cord | 2.0 - 4.0mm | 15g+ | Casual styling, masculine jewelry, or bohemian layering. |
Pro Tip: Always weigh your ring on a digital jeweler's scale before purchasing a chain. If your ring weighs 8 grams, buy a chain rated for at least 15 grams to account for the dynamic tension caused by movement and snagging.
Material Clashes: Preventing Galvanic Corrosion
When building a finger necklace, material compatibility is just as important as structural integrity. If you thread a platinum or titanium ring onto a sterling silver or copper-alloy chain, you risk triggering galvanic corrosion. As the Gemological Institute of America (GIA) notes, when two dissimilar metals are in constant physical contact and exposed to an electrolyte (like human sweat), the less noble metal will corrode at an accelerated rate.
If you wear a titanium ring on a sterling silver chain, the silver will rapidly tarnish, pit, and weaken at the exact point of contact. To prevent this, follow the Rule of Metal Hierarchy:
- Match Metals Exactly: A 14k gold ring should go on a 14k gold chain. This is the safest route.
- Use a Barrier: If you must mix metals, use a specialized ring keeper bail made of a neutral, non-reactive material like surgical-grade titanium or anodized aluminum to act as a buffer between the ring and the chain.
- Coating: For temporary fashion setups, a thin layer of clear jewelry guard or even clear nail polish on the inside of the ring can prevent metal-on-metal friction and chemical reactions.
Step-by-Step: Threading and Securing Your Ring
Ready to assemble your finger necklace? Follow this precise sequence to ensure maximum security and prevent damage to your gemstones.
- Inspect the Ring: Check for loose prongs or sharp edges. If your ring features a diamond, remember that diamond sits at a 10 on the Mohs hardness scale and will easily scratch a gold or silver chain. Consider wrapping the ring in a microfiber jewelry sleeve or using a silicone guard if the chain is soft.
- Prepare the Bail: If using a screw-top barrel bail, ensure the threads are clean. A tiny drop of jewelry-safe threadlocker (not superglue) can prevent the barrel from vibrating loose over time.
- Thread the Chain: Pass the chain through the bail first, then secure the bail to the ring. Never try to force a thick chain clasp through the ring itself, as this can bend the clasp's spring mechanism.
- The Tug Test: Hold the chain by the clasp and give it three firm, sharp tugs. If the bail shifts, the ring slips, or the chain links stretch, you need to upgrade your hardware.
Styling Your Finger Necklace for Everyday Wear
A finger necklace is inherently sentimental, but it doesn't have to look outdated. In 2026, the trend leans toward intentional layering and mixed textures. Here is how to style your ring pendant for different necklines and occasions:
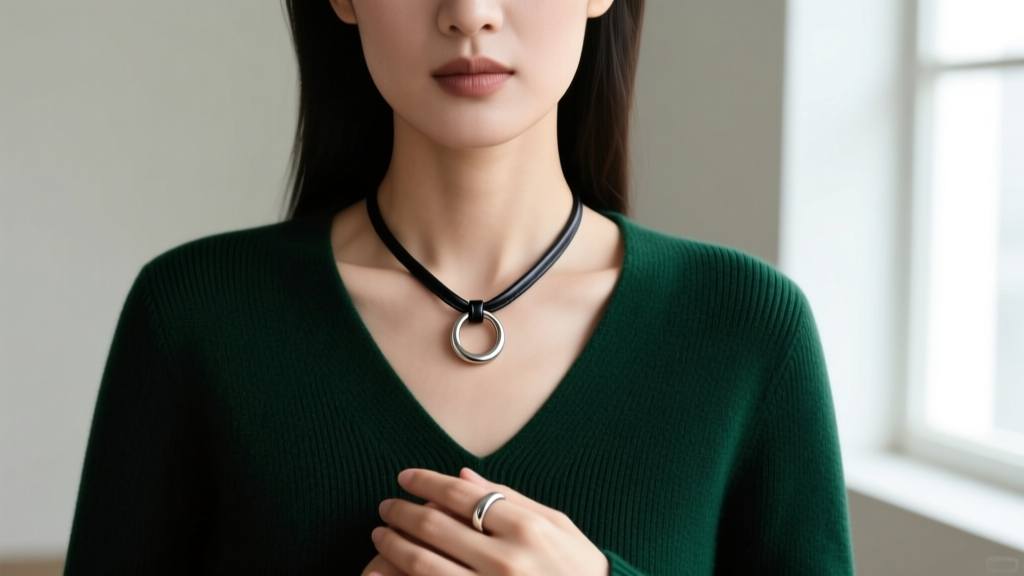
- The V-Neck Anchor: A single, heavy signet ring on a 24-inch wheat chain rests perfectly in the negative space of a V-neck sweater or wrap dress. It draws the eye downward and elongates the neck.
- The Layered Stack: Pair your finger necklace with two shorter, delicate chains (16" and 18"). For example, a 20" leather cord holding a titanium band layered beneath a 16" gold satellite chain and an 18" pearl choker creates a rich, multi-textural look.
- The Hidden Memorial: For a deeply personal, private approach, wear a 30-inch chain so the ring rests against your sternum, hidden beneath your shirt. This is a popular choice for those who want the physical comfort of a loved one's ring without making it a focal point of their outfit.
Troubleshooting Common Finger Necklace Issues
Even with the right setup, you may encounter a few practical hurdles. Here is how to solve them like a professional jeweler:
The Ring Keeps Flipping Upside Down
Because rings are top-heavy, they naturally want to flip so the band faces forward and the gemstone hides against your chest. The Fix: Use a hinged cradle bail that grips the sides of the ring, or solder a tiny, flat gold bead to the inside of the ring's shank to act as a counterweight, forcing the gemstone to face outward.
The Chain is Scratching the Gemstone
If you are using a soft rope chain with a sapphire or ruby ring (Mohs 9), the metal links will eventually cause micro-abrasions on the stone's girdle. The Fix: Switch to a smooth, polished snake chain or a box chain, which have flat surfaces that glide against the stone rather than biting into it.
The Clasp Keeps Sliding to the Front
A heavy ring pendant will pull the chain taut, causing the lightweight clasp to migrate from the back of your neck to the front. The Fix: Attach a small, decorative counterweight charm to the chain, exactly one inch away from the clasp. This adds just enough weight to the back of the neck to keep the clasp anchored behind your collarbone.
By understanding the mechanics of bails, respecting metal compatibility, and matching chain gauges to ring weights, your finger necklace will remain a secure, beautiful, and deeply meaningful part of your daily wardrobe for decades to come.


