The Best Way to Untangle Necklaces: A Beginner's Guide
Discover the best way to untangle necklaces without breaking them. Learn expert techniques, safe lubricants, and tools for delicate chains.

The Frustration of the Tangled Chain
There are few things more universally frustrating in jewelry care than pulling a delicate chain from your jewelry box only to find it transformed into a microscopic, impenetrable bird's nest. Whether it is a vintage 14k gold rope chain or a modern sterling silver box chain, knots happen. But pulling at them blindly is the fastest route to permanent damage. Finding the best way to untangle necklaces requires a basic understanding of metallurgy, friction, and the physics of knotting. This beginner-friendly explainer will walk you through the exact techniques, tools, and safe household lubricants professional jewelers use to rescue tangled chains without causing metal fatigue or structural failure.
The Physics of Spontaneous Knotting
Why do necklaces tangle in the first place? Physicists Dorian Raymer and Douglas Smith actually won an Ig Nobel Prize for studying this exact phenomenon. They proved that when a flexible string (like a necklace chain) is agitated in a confined space, the ends act as 'random walkers,' threading through adjacent loops and creating complex knots in mere seconds. Understanding this helps you realize that the knot is rarely a single, solid mass; it is a series of overlapping loops held together entirely by friction. Your goal is not to pull the chain apart, but to eliminate the friction so the loops can slide back through one another.
Chain Weave Vulnerability
Not all chains tangle or break in the same way. The structural integrity of the chain dictates how you must handle the knot:
- Cable and Curb Chains: These have open, rounded links. They are the most forgiving and can usually be manipulated with fine needles without kinking.
- Box Chains: Made of square, interlocking links. If forced, the square links can crush or warp, ruining the geometric symmetry of the chain.
- Herringbone and Snake Chains: These are flat, tightly woven, and highly fluid. They are incredibly prone to kinking. If a herringbone chain kinks inside a knot, the metal undergoes 'work hardening,' becoming brittle and likely to snap. Never pull a herringbone knot tight.
- Rope Chains: The twisted, braided structure can easily catch on itself, creating dense, multi-layered knots that require heavy lubrication to resolve.
Choosing the Right Lubricant for Your Metal
The secret to the best way to untangle necklaces lies in reducing surface friction. However, you must choose a lubricant that will not damage the metal or any gemstones attached to the pendant. According to care guidelines from the Jewelers of America, porous materials require entirely different care than solid metals.
| Lubricant | Best For | Avoid Using On | Why It Works |
|---|---|---|---|
| Baby Oil (Mineral Oil) | Gold, Platinum, Sterling Silver | Pearls, Turquoise, Opals | Inert, non-oxidizing, and provides excellent, long-lasting slip without going rancid. |
| Cornstarch / Talc | Pearls, Porous Gems, Silver | Deep rope chains (hard to clean out) | A dry lubricant that reduces friction without introducing moisture or oils that stain porous stones. |
| Olive Oil | Gold and Platinum (in a pinch) | Sterling Silver (long term) | Readily available, but can oxidize and leave a sticky residue if not washed out immediately. |
| Graphite (Pencil) | Clasp mechanisms | Chain links | Excellent dry slip, but will leave dark, messy smudges on the visible links of the chain. |
Tools of the Trade: What to Use and What to Avoid
Before you begin, you need the right tools. Put away your standard steel tweezers. Steel has a Mohs hardness of about 4 to 4.5, while 18k gold sits at roughly 2.5 to 3. Using steel tweezers to aggressively pick at a knot will result in severe scratching and gouging of the precious metal. Instead, gather the following:
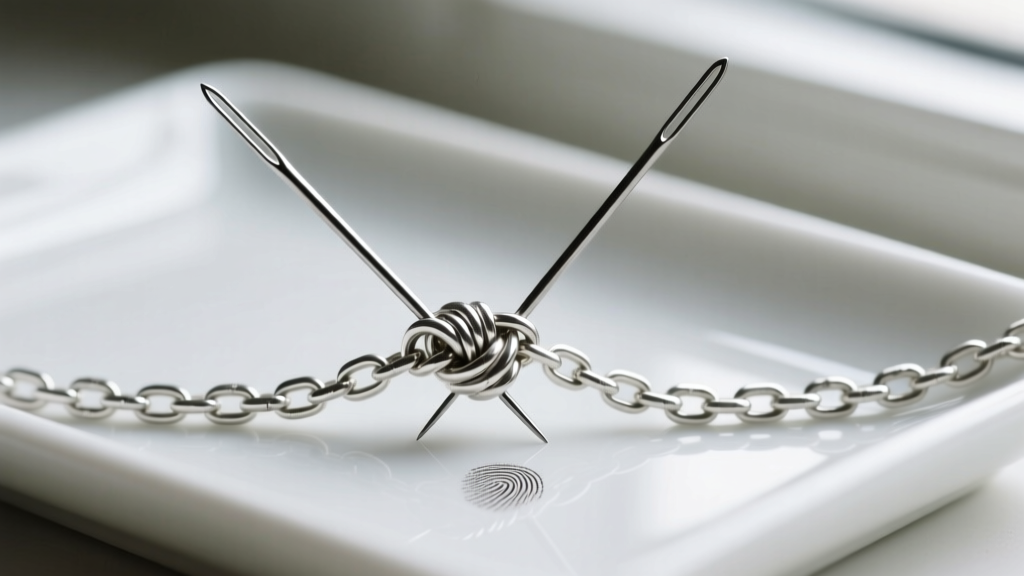
- Two Size 9 or 10 Beading Needles: These are extremely thin, flexible, and have a dull enough tip that they will slide between links without scratching the metal.
- Bamboo Skewers or Wooden Toothpicks: Wood is softer than all precious metals, making it the safest tool for pushing links apart.
- A Flat, Non-Porous Surface: A glass or ceramic tray provides a hard, contrasting background so you can see the knot clearly.
- Magnification: A simple jeweler's loupe or a bright desk lamp is crucial for identifying the 'core' of the knot.
Step-by-Step: The Best Way to Untangle Necklaces
Follow this precise methodology to safely dismantle even the most stubborn jewelry knots.
Step 1: Isolate and Prepare
Lay the necklace completely flat on your ceramic tray. Unhook the clasp. If the clasp is caught in the knot, do not force it open; work the knot away from the clasp first. Ensure you have excellent, direct overhead lighting.
Step 2: Apply the Lubricant
Using a cotton swab, apply a small drop of baby oil directly to the center of the knot. Do not douse the entire chain; you only need to target the friction points. Allow the oil to seep into the microscopic gaps between the links for about 60 seconds.
Step 3: Loosen the Core
Take your two needles (or bamboo skewers). Insert the tips into the absolute center of the knot. Instead of pulling the chain ends outward (which tightens the knot), gently push the center links inward and downward against the tray. You are trying to create 'slack' in the core.
Step 4: Wiggle and Slide
Once you have created a millimeter of slack in the center, use one needle to hold that space open while using the other needle to gently guide the adjacent loop through the gap. Work outward from the center, one loop at a time. Patience is your primary tool here.
Post-Care: Degreasing and Polishing
Once the knot is resolved, you must remove the lubricant. Leaving mineral oil on your jewelry will attract dust, lint, and skin cells, creating a dull, grimy film over time. The Gemological Institute of America (GIA) recommends using a mild, non-detergent soap for cleaning precious metals.
Mix a few drops of basic Dawn dish soap (a powerful surfactant that breaks down oils) into a bowl of lukewarm water. Let the untangled necklace soak for 10 minutes. Gently agitate the water, then rinse the chain under a gentle stream of warm water. Pat it dry with a lint-free microfiber cloth. Never use paper towels, as the wood fibers can catch on the links and cause micro-scratches.
Prevention: How to Stop the Tangles Before They Start
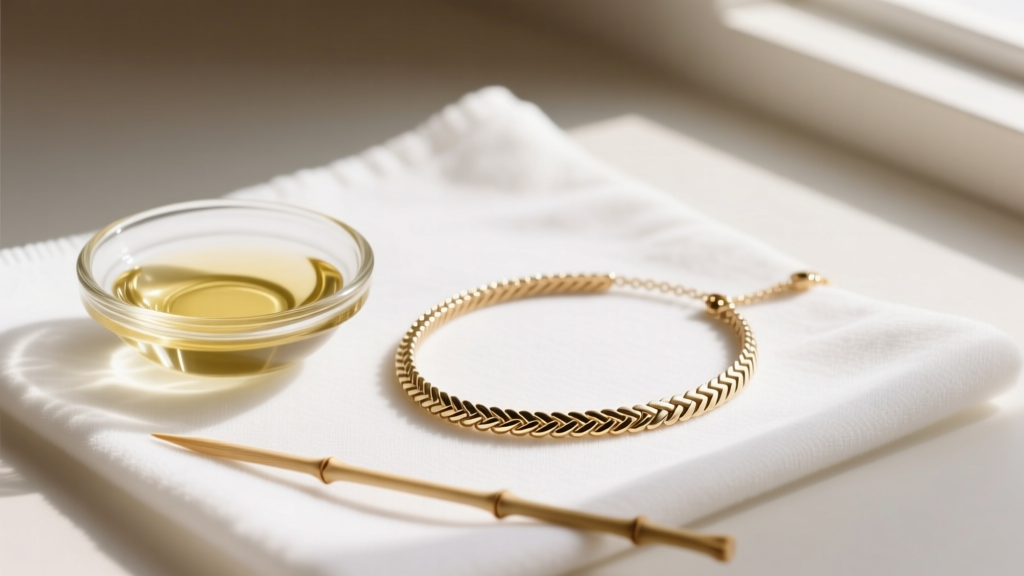
Now that you know the best way to untangle necklaces, the ultimate goal is to prevent them from tangling in storage. Spontaneous knotting requires agitation and free-moving ends. By immobilizing the chain, you defeat the physics of the knot.
- The Straw Method: Thread one end of the necklace through a plastic or paper drinking straw and close the clasp. The rigid straw prevents the chain from folding in on itself.
- Cling Wrap: Lay the necklace flat on a sheet of plastic cling wrap, fold the top layer over it, and press down to create a vacuum seal. This is excellent for travel.
- Individual Pouches: Store chains in separate, soft flannel pouches. Never throw multiple chains into a single communal jewelry box drawer.
When to Seek Professional Help
While the techniques above will solve 95% of household tangles, there are times when you should stop and visit a professional jeweler. If you are dealing with a hollow-core chain (like many large, lightweight Italian gold ropes), the links can easily crush under the pressure of a needle. Similarly, if a herringbone chain has developed a sharp, creased kink inside the knot, a jeweler has specialized, polished steel burnishers that can gently massage the metal fibers back into alignment without snapping the work-hardened alloy. Knowing your limits is just as important as knowing the technique.


