How to Build a Necklace Army: Beginner Layering Guide
Learn how to build a curated necklace army. This beginner guide covers chain gauges, the 2-inch spacing rule, metal grades, and anti-tangle hacks.

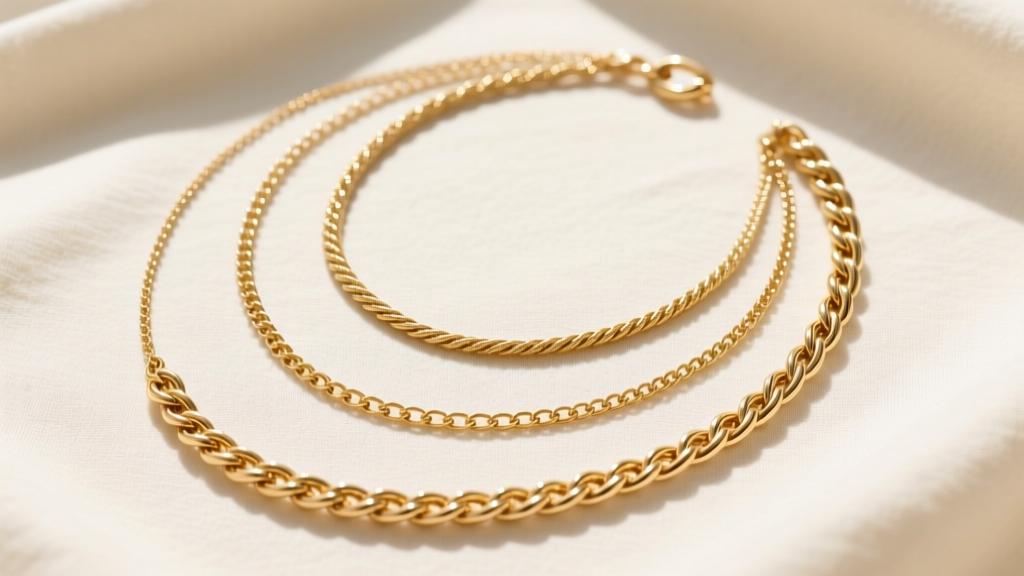
What Exactly is a 'Necklace Army'?
In the world of modern jewelry styling, a 'necklace army' refers to a meticulously curated, modular stack of chains designed to be worn together in perfect harmony. Unlike simply throwing every piece of jewelry you own around your neck, building a necklace army requires strategic planning. It is about understanding visual weight, metal textures, and spatial distribution. For beginners, the goal is to create a cohesive look that appears effortless but is actually engineered to prevent tangling, clashing, and neck fatigue. As we move through 2026, the trend has shifted away from chaotic, bohemian layering toward structured, architectural stacks that rely on precise gauge sizing and mixed metallic finishes.
Building your first necklace army does not require a massive budget or a degree in metallurgy. It simply requires a foundational understanding of chain anatomy and a few strict rules regarding length and texture. This guide will walk you through the exact specifications needed to draft, deploy, and maintain a flawless layered stack.
Drafting the Roster: Chain Profiles and Gauges
The most common mistake beginners make when building a necklace army is selecting chains that are too thick. A stack composed entirely of heavy, 4mm Cuban links will look bulky, feel uncomfortable, and inevitably tangle into a single metallic knot. The secret to a successful layering roster lies in the 'sweet spot' of chain gauges: between 1.0mm and 2.5mm. This width provides enough visual presence to stand alone but remains delicate enough to play well with others.
Texture contrast is your best friend. If your first chain is a smooth, reflective surface, your second chain should feature a twisted, matte, or patterned link. This contrast ensures that each piece in your army is visible, rather than blending into a single, undefined mass of metal.
| Chain Style | Ideal Gauge (mm) | Texture Profile | Ideal Stack Position |
|---|---|---|---|
| Cable Chain | 1.0mm - 1.5mm | Smooth, classic, minimalist | Base layer (14' to 16') |
| Box Chain | 1.2mm - 2.0mm | Geometric, highly reflective | Mid layer (18') |
| Rope Chain | 1.5mm - 2.5mm | Twisted, textured, vintage | Statement layer (20') |
| Figaro Chain | 1.5mm - 2.0mm | Patterned, alternating links | Accent layer (22') |
The Spacing Strategy: Lengths and Drop Rates
A necklace army falls apart without proper spatial command. If your chains are too close in length, they will rub against each other, causing friction, micro-scratches, and severe tangling. To maintain order, you must adhere to the '2-Inch Drop Rule.' This principle dictates that each subsequent chain in your stack should be at least two inches longer than the one above it.
For a standard three-piece army, your lengths should map out as follows: The first chain sits at 16 inches, resting just above the collarbone. The second chain drops to 18 inches, resting on the upper chest. The third chain falls to 20 inches, creating a cascading 'V' shape that elongates the neck. If you are adding a fourth piece, push it to 22 or 24 inches and attach a small, lightweight pendant to act as an anchor, keeping the chain perfectly centered and preventing it from flipping over.

Metallurgy on a Budget: PVD, Gold-Filled, and Solid
Outfitting an entire necklace army in solid 14k or 18k gold is prohibitively expensive for most beginners. Fortunately, modern manufacturing techniques offer highly durable alternatives that allow you to build a robust roster without draining your savings. According to the Gemological Institute of America (GIA), understanding the difference between plating, filling, and solid alloys is crucial for predicting the lifespan of your jewelry.
- PVD Coated Stainless Steel ($30 - $60 per chain): Physical Vapor Deposition (PVD) is a vacuum-sealed coating process that bonds gold-colored titanium nitride to a 316L surgical stainless steel core. As noted in the Rio Grande Metals Guide, PVD coatings are vastly superior to traditional electroplating. They are waterproof, sweat-proof, and will not turn your skin green, making them the ultimate workhorse for your everyday necklace army.
- 14k Gold-Filled ($60 - $120 per chain): By legal definition, gold-filled jewelry must contain a layer of solid 14k gold that makes up at least 1/20th (5%) of the total weight of the item, mechanically bonded to a brass core. It offers the exact look and hypoallergenic properties of solid gold but at a fraction of the cost. It is ideal for mid-layer chains that experience moderate friction.
- Solid 14k Gold ($250+ per chain): Reserve solid gold for your base layer (the 16-inch chain closest to your skin) or for a permanent, soldered 'forever' chain. Solid gold will never tarnish or wear through, but it is soft and can stretch if pulled.
Tactical Anti-Tangle Maneuvers
The greatest enemy of any necklace army is the dreaded tangle. When multiple chains share the same clasp point at the back of your neck, they twist together with every movement. To combat this, you must employ tactical hardware solutions.
First, upgrade your clasps. Standard spring-ring clasps are notoriously difficult to manage when layering. Swap them out for 5mm or 6mm lobster clasps, which offer a wider surface area and are easier to grip. For the ultimate anti-tangle solution, invest in a multi-strand magnetic spacer clasp. This single hardware piece features multiple loops that anchor the back of your 16', 18', and 20' chains at fixed intervals, ensuring they remain perfectly spaced from the front of your neck all the way to the nape.
Second, leverage weight distribution. Ensure your longest chain is also your heaviest chain (e.g., a 2.5mm rope chain). The extra weight acts as a pendulum, naturally pulling the chain downward and preventing it from riding up and wrapping around the lighter, shorter chains above it.

Your First Deployment Checklist
Before you step out the door, run your necklace army through this final quality assurance checklist to ensure maximum longevity and visual impact:
- Check the Gauge: Are all chains under 3mm in width? (If yes, proceed).
- Verify the Spacing: Is there a minimum 2-inch gap between each layer?
- Confirm Texture Contrast: Did you mix at least two different link styles (e.g., smooth box with twisted rope)?
- Inspect the Hardware: Are all lobster clasps facing outward, and is your magnetic spacer securely snapped together?
Building a necklace army is an exercise in personal curation. By respecting the rules of gauge, spacing, and metallurgy, you transform a chaotic pile of chains into a sophisticated, modular armor that elevates any neckline. Start with three core pieces, master the layering mechanics, and gradually recruit new textures and pendants into your ranks as your style evolves.


